Configuring GitLab with group-level Kubernetes cluster
Overview
After your GitLab Demo Cloud account has been created, your runners and CI jobs will use the pre-configured instance-level cluster by default. The instance-level cluster is designed to be transparent behind the scenes and does not support customization or administration and reporting capabilities as a demo systems user.
You can create your own Kubernetes cluster using in your own GCP project that you can provision using the GitLab Sandbox Cloud. By having your own cluster, you have full administrative access to the cluster for troubleshooting CI jobs and pods that are experiencing issues.
This tutorial shows you how to create a cluster and connect it to your GitLab group. You will access the Google Cloud Platform (GCP) console to see your cluster, use the Google Cloud Shell to run kubectl commands on your cluster, and access the GitLab Demo Cloud Omnibus instance to configure your pre-created group with a Kubernetes cluster.
For a more inutitive UI for managing your cluster resources, we recommend using K9s.
Deprecation Notice
This method of connecting your cluster was deprecated in GitLab v14.5. This tutorial is preserved for educational purposes. See the Kubernetes Agent documentation for the new method for connecting clusters to GitLab.
Pre-Requisites
- Creating and accessing your Demo Systems account
- Create a GCP project using the GitLab Sandbox Cloud
Step-by-Step Instructions
Task 1. Create a Kubernetes cluster using the Google Cloud Platform (GCP) Console (Web UI)
For additional assistance with accessing your GCP project, see the GitLab Sandbox Cloud handbook instructions.
-
Open a new tab or window in your web browser.
-
If you’re not already signed in, please sign in with your GitLab email account.
-
In the blue top navigation bar, locate the dropdown menu to the right of the
Google Cloud Platformtitle. These are the projects (authentication realms) that you have access to. Make sure your project (ex.jmartin-xxxxxxxx) is selected. -
In the blue top navigation bar, locate and click on the hamburger menu icon to the left of the
Google Cloud Platformtitle. These are all of the services that are available in the Google Cloud Platform. In the Compute section, click on Kubernetes Engine or Kubernetes Engine > Clusters.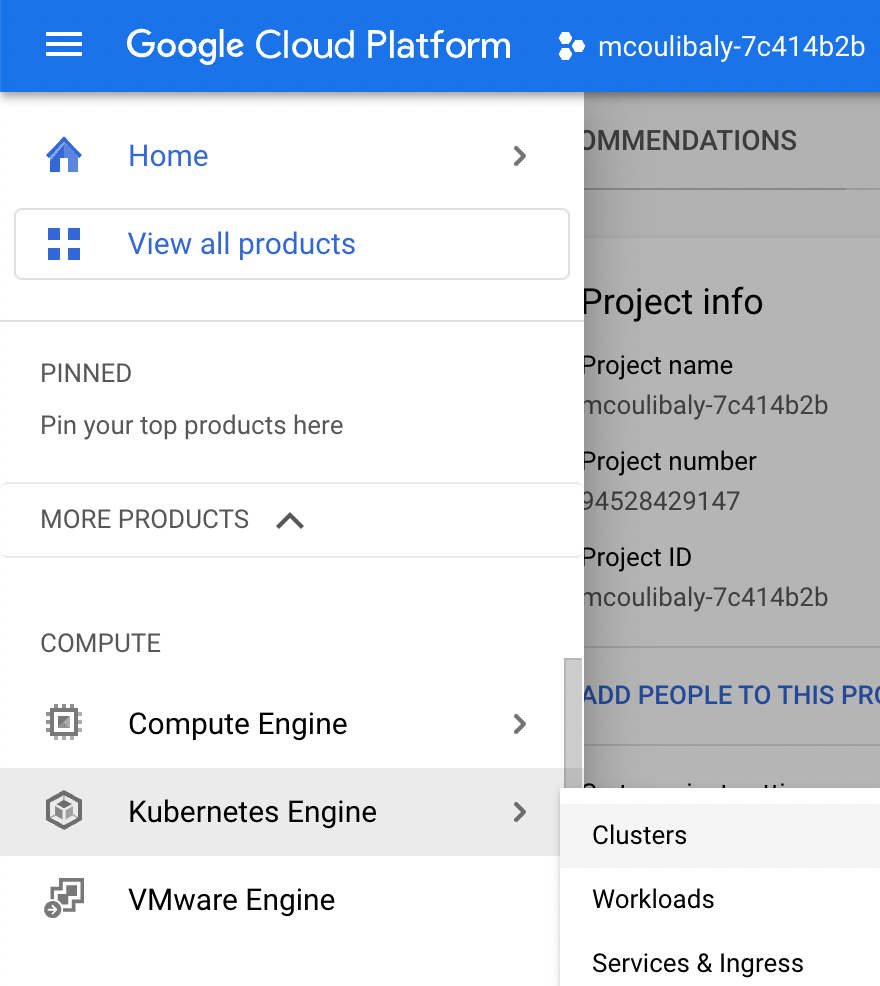
-
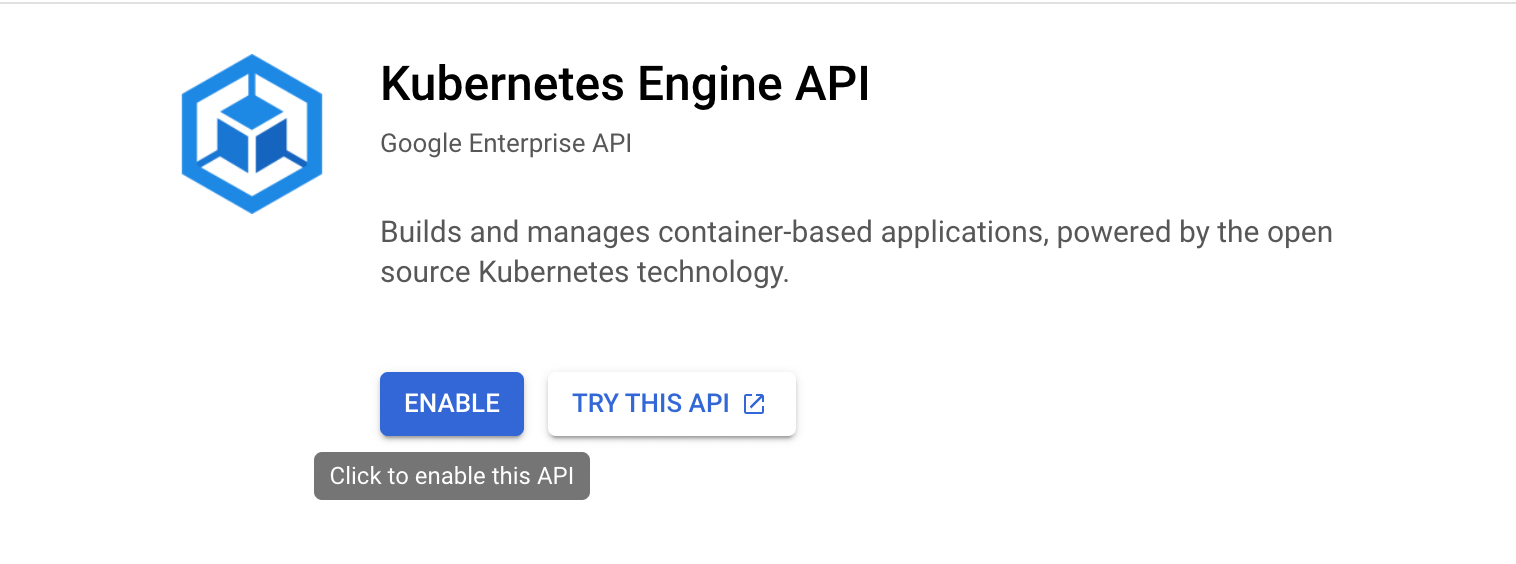
On the Kubernetes clusters page, click on ENABLE to initialize the Google API service. This action might take take a few moments.
-
In the new page, click on CREATE then on CONFIGURE to the right of
GKE Standard.

-
On the left-hand menu, click on the following sections to configure your cluster:
-
Cluster basics: specify your cluster name (ex.
jmartin-cluster) and make sure to select Zonal as ‘Location Type’.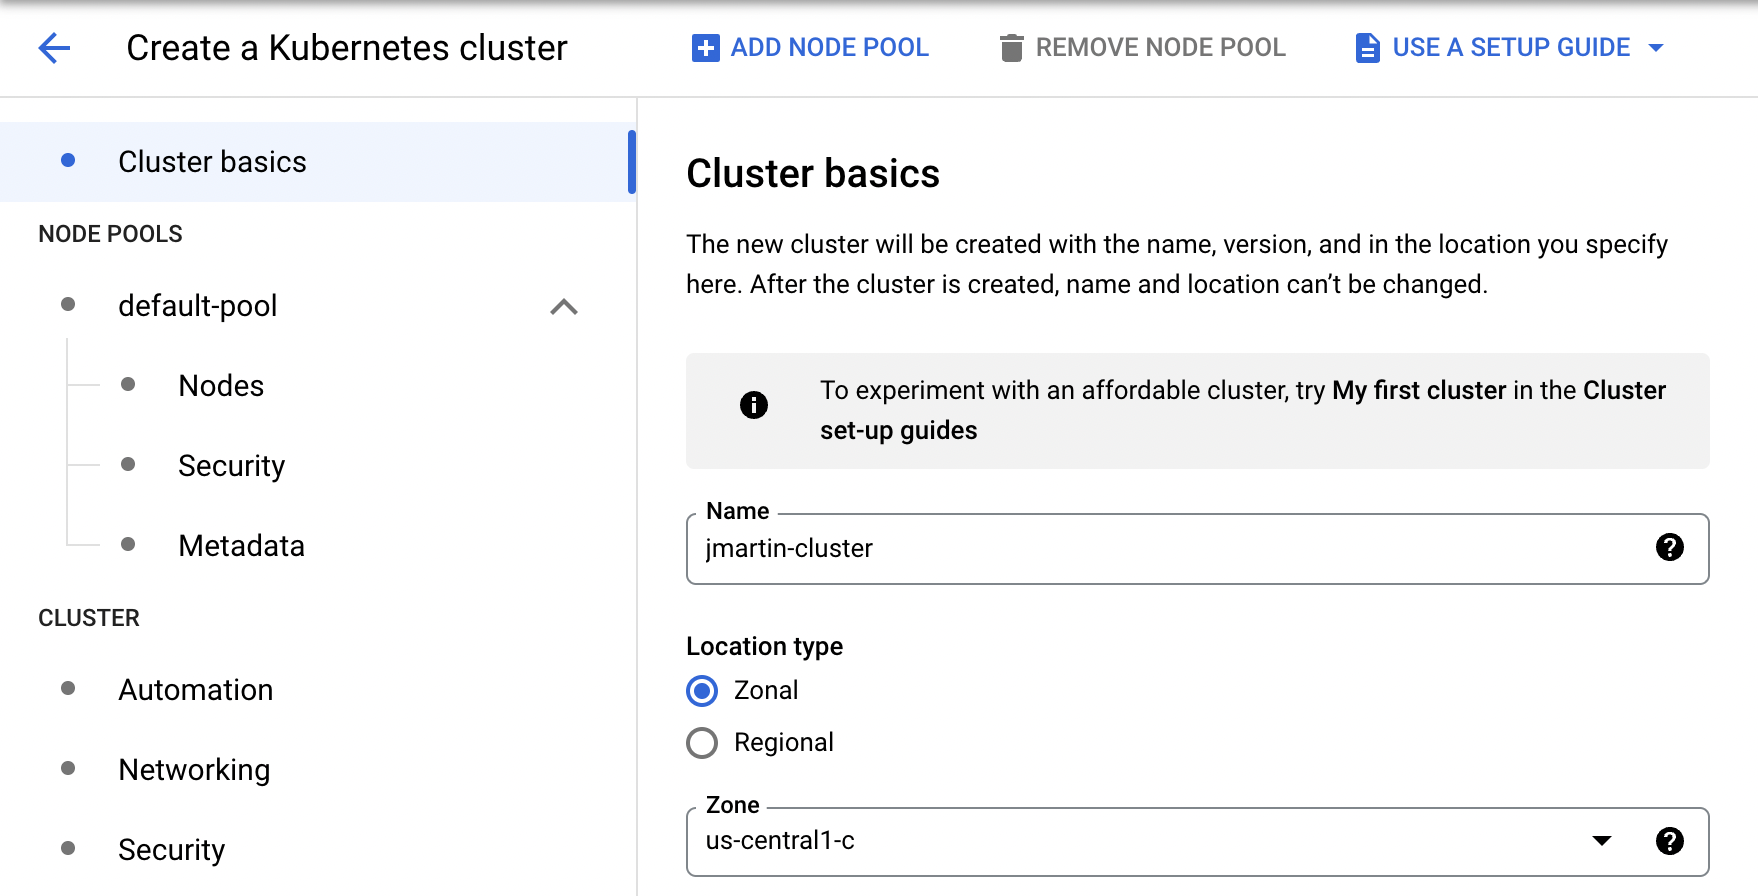
-
Node Pools -> default-pool: specify 1 (one) for the ‘Number of nodes’

-
Node Pools -> default-pool -> Nodes: select e2-standard-2 for the ‘Machine type’ (recommended)

-
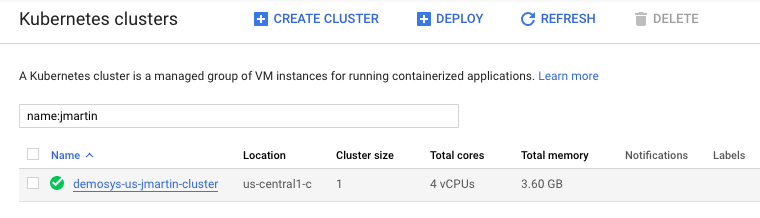
Click on CREATE on the bottom navigation bar.When your cluster appears, click on the name of your cluster.
-
You are now at the dashboard for your cluster. It is recommended to bookmark this page for future access.
Task 2. Obtain the Cluster CA Certificate
-
Create a new file in your preferred text editor so we can copy and paste values into it for temporary reference.
-
Copy and paste your cluster name (at the top of the cluster dashboard) into the text file (Ex.
jmartin-cluster). -
In your browser on the cluster dashboard in the GCP console, locate and click on the Show credentials link next to the Endpoint (IP address value).
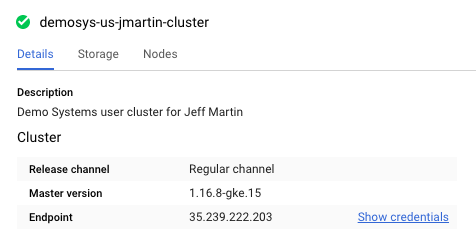
-
In the Cluster credentials pop-up modal window, copy and paste each of the values to your text editor file. For the value for the Cluster CA certificate, be sure to include the hyphen lines for
BEGIN CERTIFICATEandEND CERTIFICATE. -
Click the Close button in the bottom right corner.
Task 3. Connect to Google Cloud Shell for configuring gitlab-admin service account
These instructions have been customized from the GitLab documentation to show the specific instructions for the demo systems infrastructure.
-
On your cluster dashboard in the GCP console, locate and click on the Connect button in the top page navigation (below the search bar in the blue top navigation).
-
In the Connect to the cluster pop-up modal, click the Run in Cloud Shell button.
If you have experience with
kubectlandgcloudcommand-line tools, you can optionally use the command shown. If you want to use them locally, you need to install them from here (kubectl, gcloud).
-
At the bottom of your browser window, a terminal window will appear. It may take a few moments for the Cloud Shell to finish provisioning.
The Cloud Shell is a small container that Google provides for you to have terminal access in your browser without needing to configure your local machine.
-
When the Cloud Shell terminal appears, the first line will be pre-populated with a command to obtain the credentials for your cluster using role-based access control (RBAC). Simply press the ENTER key.
jmartin@cloudshell:~ (jmartin-xxxxxxxx)$ gcloud container clusters get-credentials jmartin-cluster --zone us-central1-c --project jmartin-xxxxxxxxFetching cluster endpoint and auth data. kubeconfig entry generated for demosys-us-jmartin-cluster.If you do not see the output shown in the example above, it is likely that your GCP account has permissions issues and you should contact
#demo-systemsteam for assistance. -
Use the following command to get the API URL and copy/paste the outputted URL to your text file.
kubectl cluster-info | grep 'Kubernetes master' | awk '/http/ {print $NF}'For recent versions of Kubernetes:
kubectl cluster-info | grep 'Kubernetes control plane' | awk '/http/ {print $NF}'https://35.239.222.203This will return an IP address that is the same as the endpoint IP that you can see in the GCP Console Web UI with an
https://prefix. Keep in mind that this URL does not provide a web UI for your cluster and is only used for API purposes.
-
Use the following command to create the service account.
kubectl create sa gitlab-admin -n kube-system
kubectl create clusterrolebinding gitlab-admin --serviceaccount=kube-system:gitlab-admin --clusterrole=cluster-admin
You will receive a confirmation.
serviceaccount "gitlab-admin" created clusterrolebinding "gitlab-admin" created -
Use the following command to get the API token for the
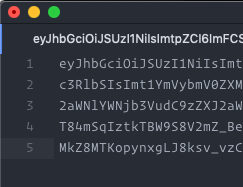
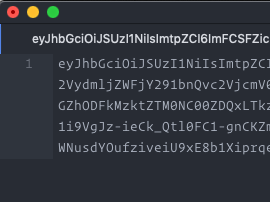
gitlab-adminservice account and copy/paste the value of thetokento your text editor.kubectl -n kube-system describe secret $(kubectl -n kube-system get secret | grep gitlab-admin | awk '{print $1}')Name: gitlab-admin-token-b5zv4 Namespace: kube-system Labels: <none> Annotations: kubernetes.io/service-account.name=gitlab-admin kubernetes.io/service-account.uid=bcfe66ac-39be-11e8-97e8-026dce96b6e8 Type: kubernetes.io/service-account-token Data ==== namespace: 11 bytes token: eyJhbGciOiJSUzI1NiIsImtpZCI6ImFCSFZicS1DbUpYbkZDNnRBcnc0TzhYeDNXbnBJMWoxck93ZHI3UkhOYVUifQ.eyJpc3MiOiJrdWJlcm5ldGVzL3NlcnZpY2VhY2NvdW50Iiwia3ViZXJuZXRlcy5pby9zZXJ2aWNlYWNjb3VudC9uYW1lc3BhY2UiOiJrdWJlLXN5 c3RlbSIsImt1YmVybmV0ZXMuaW8vc2VydmljZWFjY291bnQvc2VjcmV0Lm5hbWUiOiJnaXRsYWItYWRtaW4tdG9rZW4tanI1bTciLCJrdWJlcm5ldGVzLmlvL3NlcnZpY2VhY2NvdW50L3NlcnZpY2UtYWNjb3VudC5uYW1lIjoiZ2l0bGFiLWFkbWluIiwia3ViZXJuZXRlcy5pby9zZXJ 2aWNlYWNjb3VudC9zZXJ2aWNlLWFjY291bnQudWlkIjoiOGZhODFkMzktZTM0NC00ZDQxLTkzMmEtZmNkYzViOGY5NTRkIiwic3ViIjoic3lzdGVtOnNlcnZpY2VhY2NvdW50Omt1YmUtc3lzdGVtOmdpdGxhYi1hZG1pbiJ9.loW-jWN9Ktvoi0z34y2jaTCcr9SiPH-v_X_pvXYMfeus7 T84mSqIztkTBW9S8V2mZ_Be_QVbVMJERjUDrCyKwcvH1vwSJPNuYFJLCONDbevm1i9VgJz-ieCk_Qtl0FC1-gnCKZmJot76FEQpXjGrwRmZ0JQDxWtg680bLxEYqv7DZXcZzWNusdYOufziveiU9xE8b1XiprqeEj6Gy7BzI9jeCxGDAnC0Ff7D5rgAGi6GNayrGWZ8YXYvi1dhEekG-pW8 MkZ8MTKopynxgLJ8ksv_vzCRSiwQ79H7mSR3TwTXoqjjzD3XOY2gIACGt2tpLRJu3mTuUQWkrL69bfLFnw ca.crt: 1115 bytes -
In your text editor, remove the line breaks in the token so that it is on a single line.
The line breaks appear as a space in the token when pasting into the GitLab UI and will result in a connection error with invalid credentials if you do not remove the line breaks.
-
You have successfully obtained the credentials needed to connect your cluster from GitLab.
Task 4. Accessing the GitLab Instance
See the demo systems handbook page instructions for accessing the GitLab Omnibus instance.
Task 6. Add Kubernetes Cluster to GitLab Group
It is imperative that you configure the cluster inside of your own group and not from the Admin section. If you make changes in the Admin section, this will cause breaking changes for the entire team. Please be mindful of the admin privileges that your account has for demo purposes.
-
In the left side bar for your group (ex.
Jeff Martin), locate and click on Kubernetes. -
On the Kubernetes page, you will see a list of clusters that are available. If you have not added a group cluster, this should only show instance clusters.
-
In the top right corner, click the Add Kubernetes cluster button.

-
On the Add a Kubernetes cluster integration page, click the Add existing cluster tab.
-
In the form fields, use the following values and copy and paste the appropriate values from your text editor file.
Kubernetes cluster name: (copy/paste - ex. jmartin-cluster) Environment scope: * API URL: (copy/paste - ex. https://35.239.222.203) CA Certificate: (copy/paste) Service Token: (copy/paste) RBAC-enabled cluster: checked GitLab-managed cluster: checked -
Click Add Kubernetes cluster.

Review
You have successfully configured a Kubernetes cluster with your group on GitLab.
You can now close the GCP console tab and continue using GitLab with Kubernetes integrated.
6184f29b)
