Level Up
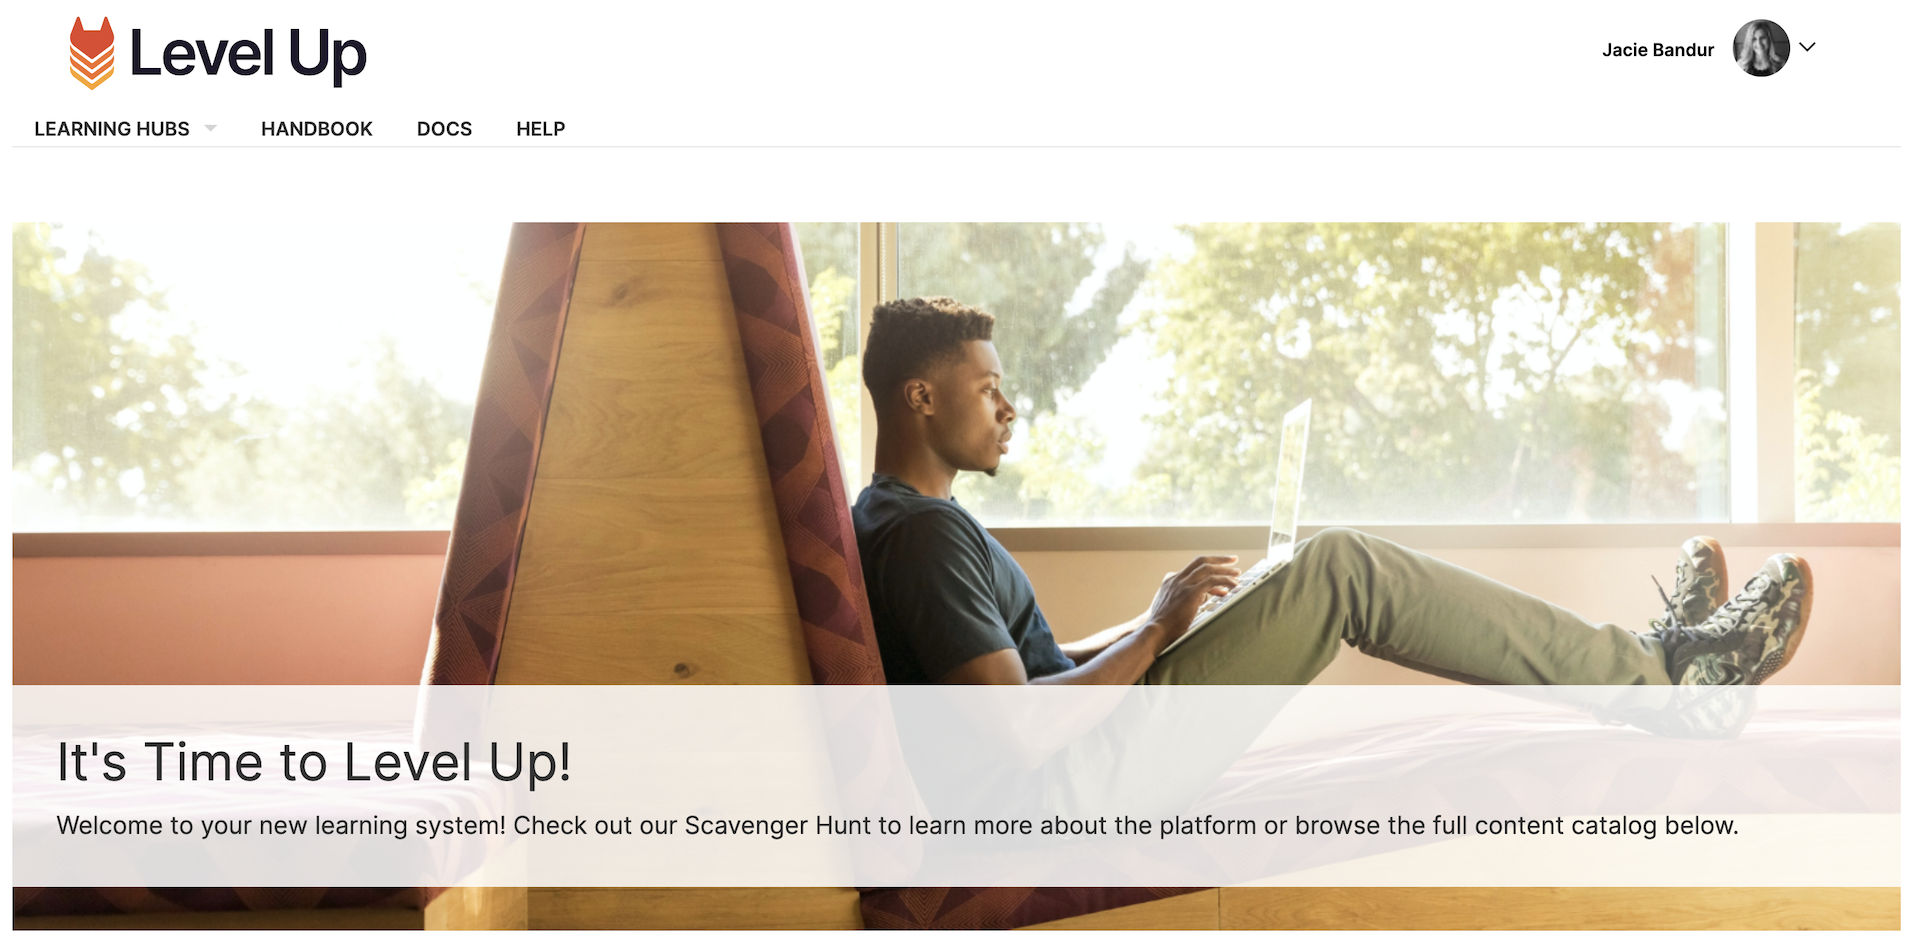
Welcome to Level Up!
This handbook page is meant to support both learners and administrators in Level Up. Thought Industries is the provider of the Level Up platform and is mentioned often in this documentation.
Contribute to Level Up
At GitLab, everyone can contribute. Read below about how to contribute to Level Up. If you’d like to explore the content creation options in Level Up, check out this Demo Course.
Why contribute?
Contributing to Level Up democratizes learning and enables our team members, customers, and community members to contribute to the growth of learning opportunities at GitLab. Some benefits for contributors include:
- Share the work you’ve created to teach others how to use GitLab
- Curate existing information that has helped you or others learn to use GitLab
- Share information you’ve created about working remotely
- Establish yourself as a subject matter expert within our learning community
- Share learning pathways and other instructional design materials you’ve created
- Enable organizations to learn about GitLab using innovative learning methods
Stay Tuned: Future iterations of contributions to Level Up will include elevated permissions for Learning evangelists to add new material directly to Level Up!
Learning Evangelist Training
To contribute to Level Up, there are two things to do.
First, please open an issue in the lxp-contributions project using the lxp_contribution issue template and tag Jamie Allen. We will review your training request and advise on next steps. The Learning and Development team can assist in the creation of content, or if you’d prefer, you can go through the Learning Evangelist Training so that you can create it yourself.
If you want to build the content into the platform yourself, please complete the Level Up Learning Evangelist training. This training course uses instructional videos to teach learners the basics of content creation in Level Up, and includes some best practice to think about when designing learning content and gathering materials. Once you have completed the training, the Learning and Development team will uplift your permissions in Level Up to give you access to course authoring tools.
You can also use the Learning Evangelist handbook page to review any of the content in the course, directly from the handbook.
Support
For questions not answered below, reach out in the #learninganddevelopment Slack channel or open an issue.
I’m a GitLab team member and I have a question or problem related to Level Up.
- Please reach out to the #learninganddevelopment Slack channel for support.
I have a question about how to use the Level Up platform.
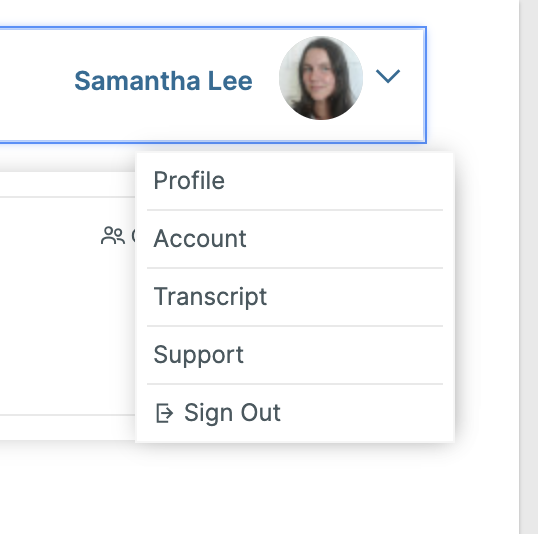
- When you’re logged into Level Up, click the drop down menu next to your profile photo and select
Support. Here, you’ll see both general and GitLab-specific help resources related to using Level Up. See screenshots below.
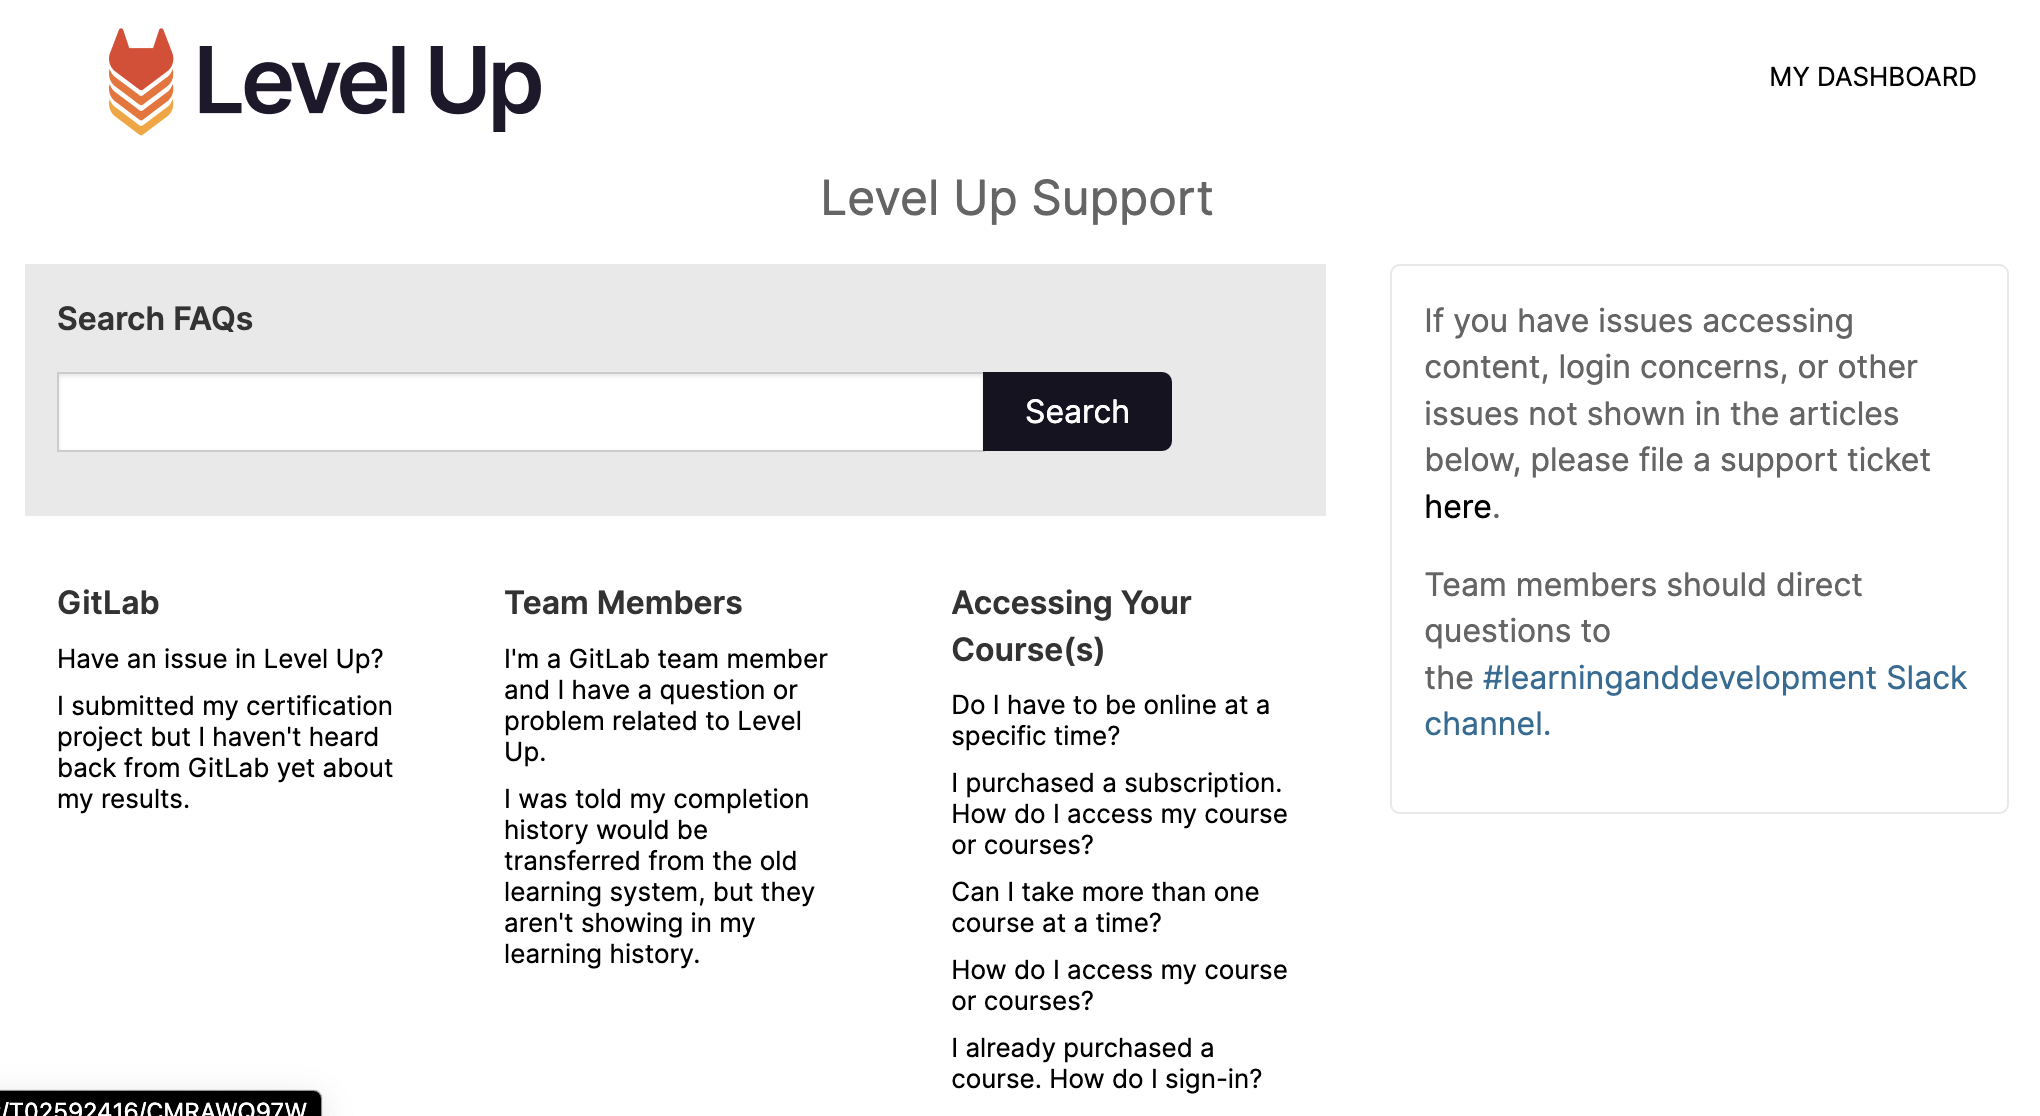
Training
- If you have questions about Level Up functionality or capabilities, the Thought Industries Academy includes self-paced training and support articles. Access the academy by clicking the
Need Help button on the left side bar when logged into Thought Industries and scroll down to Learn More in the Academy
- Admin in Level Up can use the
Help Center to report technical problems with platform directly to Thought Industries.
- Platform Settings PDF Guide
- You can also review the Level Up Administration Guide for more information on platform capabilities.
This training is designed for team members who would like to create their own learning content in Level Up. Once you’ve completed the course, let the Learning & Development team know and we’ll uplift your permissions and allocate you a number of content items to give you access to the system.
This handbook page is used to document the Level Up Learning Evangelist Training. The Learning & Development team use a handbook first approach to interactive learning, so the content in this page can also be found in the Level Up course, but is preserved here as a Single Source of Truth (SSOT).
This page is intended to be a guide for the administration of our Learning System, Level Up. Level Up is built on a learning system called Thought Industries, a vendor external to GitLab. Throughout this guide Level Up and Thought Industries are used interchangeably.
This page documents both process for admins, as well as best practice and FAQs.
Learning System Stakeholders Management of the Learning System is a collaborative effort between Education Services, Learning & Development, Field Enablement, and Partner Teams.
