Container Host Security in GitLab provides intrusion detection and prevention capabilities that can monitor and (optionally) block activity inside the containers themselves.
In this blog post, we will go over the basic concepts of Container Host Security. We will then use GitLab-Managed Apps to deploy Falco into our Kubernetes Cluster using the GitLab CI/CD pipeline.
After that, we will set up Falco rules, examining when those rules have been broken, and create alerts. Falco Logs and Alerts will provide us an insight to potential malious behavior occuring in our infrastructure.
I created the Initech Infrastrucute project to showcase all the different integrations with Kubernetes. Feel free to clone it for this guide.
What is Container Host Security?
Container Host Security refers to the ability to detect, report, and respond to attacks on containerized infrastructure and workloads. For Container Host Security, GitLab relies on Falco. Falco is a cloud native, easy-to-use security tool for detecting runtime threats within Kubernetes containers.
Falco uses system calls to monitor the system by:
- parsing the Linux system calls from the kernel at runtime
- asserting the stream against a powerful rules engine
- alerting when a rule is violated
Falco has a whole set of built-in rules that check the kernel for unusual behaviors. New rules can be added to further secure our infrastructure as needed. Whenever these rules are asserted, Falco can send alerts in many different ways and be integrated with different tools, such as email and Slack.
Installing Falco on GitLab
Installing Falco as a GitLab-Managed application is quite simple. We first need to make sure that we integrate a Kubernetes cluster into our application. This is done via the Kubernetes Agent.
Before continuing, make sure you create a new project and integrate the Kubernetes Agent into your project. This blog provides information on installing the agent or you can check out the official documentation.
Once you've integrated a Kubernetes cluster to your project, you can install Falco with the following steps:
-
Create applications folder in root
-
Create falco directory in applications folder
-
Create a helmfile.yaml in the falco folder and add the following contents:
repositories:
- name: falcosecurity-charts
  url: https://falcosecurity.github.io/charts/

releases:
- name: falco
  namespace: gitlab-managed-apps
  chart: falcosecurity-charts/falco
  version: 1.1.8
  installed: true
  values:
    - values.yaml
- Create a values.yaml in the falco folder and add the following contents:
falco:
  file_output:
    enabled: true
    keep_alive: false
Here is some sample code.
- Create helmfile.yaml in the root directory, adding the following:
helmDefaults:
  atomic: true
  wait: true

helmfiles:
    - path: applications/falco/helmfile.yaml
Here is some sample code.
- In .gitlab-ci.yaml, add the following:
apply:
  stage: deploy
  image: "registry.gitlab.com/gitlab-org/cluster-integration/cluster-applications:v1.1.0"
  environment:
    name: staging
  script:
    - gl-ensure-namespace gitlab-managed-apps
    - gl-helmfile --file $CI_PROJECT_DIR/helmfile.yaml apply --suppress-secrets
Here is some sample code.
-
Commit to master
-
Go back to the main project page
-
Verify Pipeline is running and click on the pipeline icon
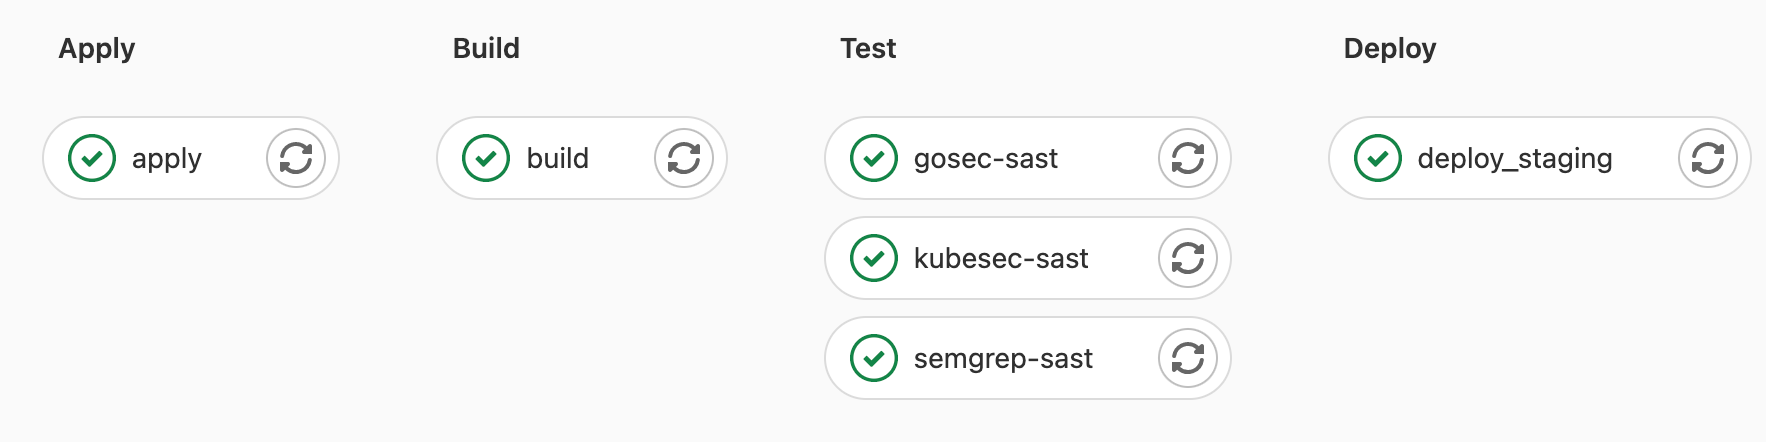
-
Click on the apply job and wait for it to complete
-
Verify the job was successful
Once these steps are complete, you will have Falco running on the gitlab-managed-apps namespace, monitoring the whole cluster for malicious behavior.
Adding a custom rule
Falco can be configured to log/report on custom system actions. For example, we may want to know when a new file or directory is created within our container host, since this may not be something our application does.
To add a custom rule, we add a directory and file in /applications/falco/values.yaml where we can add rules within the customRules key as follows:
customRules:
  file-integrity.yaml: |-
    - rule: Detect New File
      desc: detect new file created
      condition: >
        evt.type = chmod or evt.type = fchmod
      output: >
        File below a known directory opened for writing (user=%user.name
        command=%proc.cmdline file=%fd.name parent=%proc.pname pcmdline=%proc.pcmdline gparent=%proc.aname[2])
      priority: ERROR
      tags: [filesystem]
    - rule: Detect New Directory
      desc: detect new directory created
      condition: >
        mkdir
      output: >
        File below a known directory opened for writing (user=%user.name
        command=%proc.cmdline file=%fd.name parent=%proc.pname pcmdline=%proc.pcmdline gparent=%proc.aname[2])
      priority: ERROR
      tags: [filesystem]
Note: Multiple Yamls can be added with multiple custom rules.
For more information on creating custom Falco rules, see the rules documentation.
Testing a rule
To verify the rule works, we can look at the Falco logs within the falco pods in our cluster. This can be done by running the following command on your cluster.
$ kubectl -n gitlab-managed-apps logs -l app=falco
This command will spit out logs of all the custom rules that were broken as well as the default rules.
Creating alerts
Alerts will send a message anytime a rule is broken.
Falco can send alerts to one or more channels:
- Standard Output
- A file
- Syslog
- A spawned program
- An HTTP[S] end point
- A client via the gRPC API
To create an alert, we can apply a new key to the falco values.yaml:
falco:
  jsonOutput: true
This prints an alert line for each violated rule to syslog (in json) as follows:
{
  "output": "2022-01-06T22:26:10.067069449+0000: Warning Shell history had been deleted or renamed (user=root user_loginuid=-1 type=open command=bash fd.name=/root/.bash_history name=/root/.bash_history path=<NA> oldpath=<NA> k8s.ns=default k8s.pod=yeet container=b736fee4fe8d) k8s.ns=default k8s.pod=yeet container=b736fee4fe8d k8s.ns=default k8s.pod=yeet container=b736fee4fe8d k8s.ns=default k8s.pod=yeet container=b736fee4fe8d",
  "priority": "Warning",
  "rule": "Delete or rename shell history",
  "source": "syscall",
  "tags": [
    "mitre_defense_evasion",
    "process"
  ],
  "time": "2022-01-06T22:26:10.067069449Z",
  "output_fields": {
    "container.id": "b736fee4fe8d",
    "evt.arg.name": "/root/.bash_history",
    "evt.arg.oldpath": null,
    "evt.arg.path": null,
    "evt.time.iso8601": 1641507970067069400,
    "evt.type": "open",
    "fd.name": "/root/.bash_history",
    "k8s.ns.name": "default",
    "k8s.pod.name": "yeet",
    "proc.cmdline": "bash",
    "user.loginuid": -1,
    "user.name": "root"
  }
}
Which shows that I opened a terminal on a pod running within my cluster and closed it.
Falco Alerts Documentation contains more information on the types of alerts you can configure and how. This includes:
- File Output
- Standard Output
- Program Output
- HTTP[S] Output
- SysLog Output
- gRPC Output
Roadmap
Within the Protect Roadmap, we can see the plans for the future of Container Host Security. The image below contains our high-level 12-month roadmap:

The roadmap contains the following Container Host Security enhancements within the next 12 months:
- Falco Statistics
- Export logs to SIEM
- Policy management via UI
- Default policy set