As part of GitLab Ultimate, you have access to the Vulnerability Report, which provides information about vulnerabilities from scans of the default branch. It is available for projects, groups, and the Security Center. From the Vulnerability Report you can:
- filter the list of vulnerabilities
- view more details about a vulnerability
- view vulnerable source location (if available)
- view an issue raised for a vulnerability
- change the status of vulnerabilities
- export details of vulnerabilities
You also get to perform functions (create/read/update/delete) on vulnerabilities using the GitLab GraphQL API.
In this blog post, I'll go over some of the GitLab GraphQL API and show how vulnerabilities can be managed with the API. Then I'll go over how to create a custom page where a user can report a vulnerability.
GitLab GraphQL API
GraphQL is a query language for APIs that allows clients to request exactly the data they need, making it possible to get all required data in a limited number of requests.
With the GitLab GraphQL API, you can perform many different functions on vulnerabilities which can be seen in the Vulnerability Reports. You can perform queries for data retrieval or mutations for creating, updating, and deleting data.
There are many other functions that can be performed on vulnerabilities using the GraphQL API, such as querying for vulnerability data, changing a vulnerability's status, and much more. You can see the rest of the GraphQL API functions by viewing the graphql reference page.
Running a GraphQL query to create a vulnerability
You can run GraphQL queries in a curl request on the command line on your local
computer. A GraphQL request can be made as a POST request to /api/graphql with
the query as the payload. You can authorize your request by generating a
personal access token to use as a bearer token.
We will be using Mutation.vulnerabilityCreate in order to create a vulnerability.
1. Create a new project or use an existing project.
2. Create a Personal Access Token.
Note: Make sure it is api scoped.
3. Set the Personal Access Token in the environment variables.
```
$ export ACCESS_TOKEN=<your-personal-access-token>
```
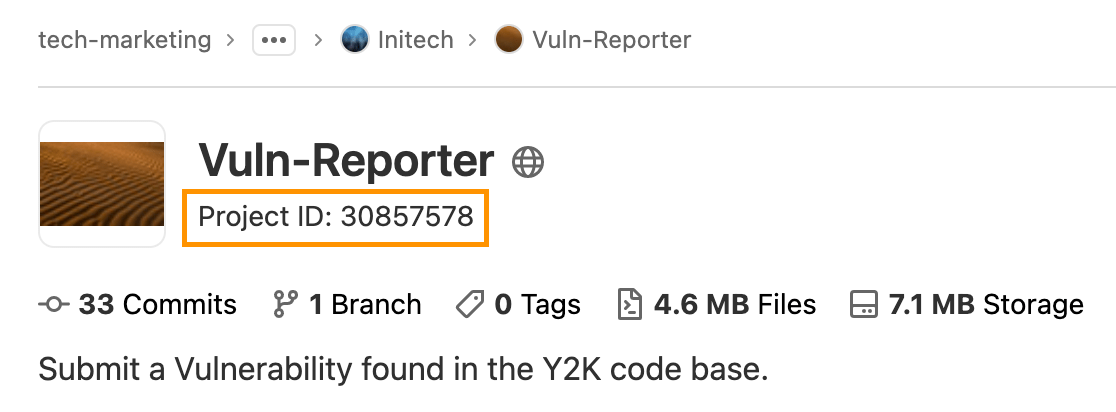
4. Get your Project ID to use in the curl request.
Note: Project ID can be found in your project page
5. Send a curl request to graphql api.
```
$ curl -g --header "Authorization: Bearer $ACCESS_TOKEN" --header "Content-Type: application/json" --request POST --data '{"query": "mutation { vulnerabilityCreate(input: {clientMutationId: \"Ferns-Vuln-Reporter-Xtreme\", name: \"YEETTT\", project: \"gid://gitlab/Project/30857578\", description: \"ax\", scanner: {name: \"dude-scanner2\", id: \"123456\", url: \"localhost\", version: \"1.0\"}, identifiers: [{name: \"dont worry about its ok\", url: \"localhost\"}]}) { clientMutationId \n vulnerability {  id  } \n errors } }" }' https://gitlab.com/api/graphql

{"data":{"vulnerabilityCreate":{"clientMutationId":"Ferns-Vuln-Reporter-Xtreme","vulnerability":{"id":"gid://gitlab/Vulnerability/29086674"},"errors":[]}}}
```
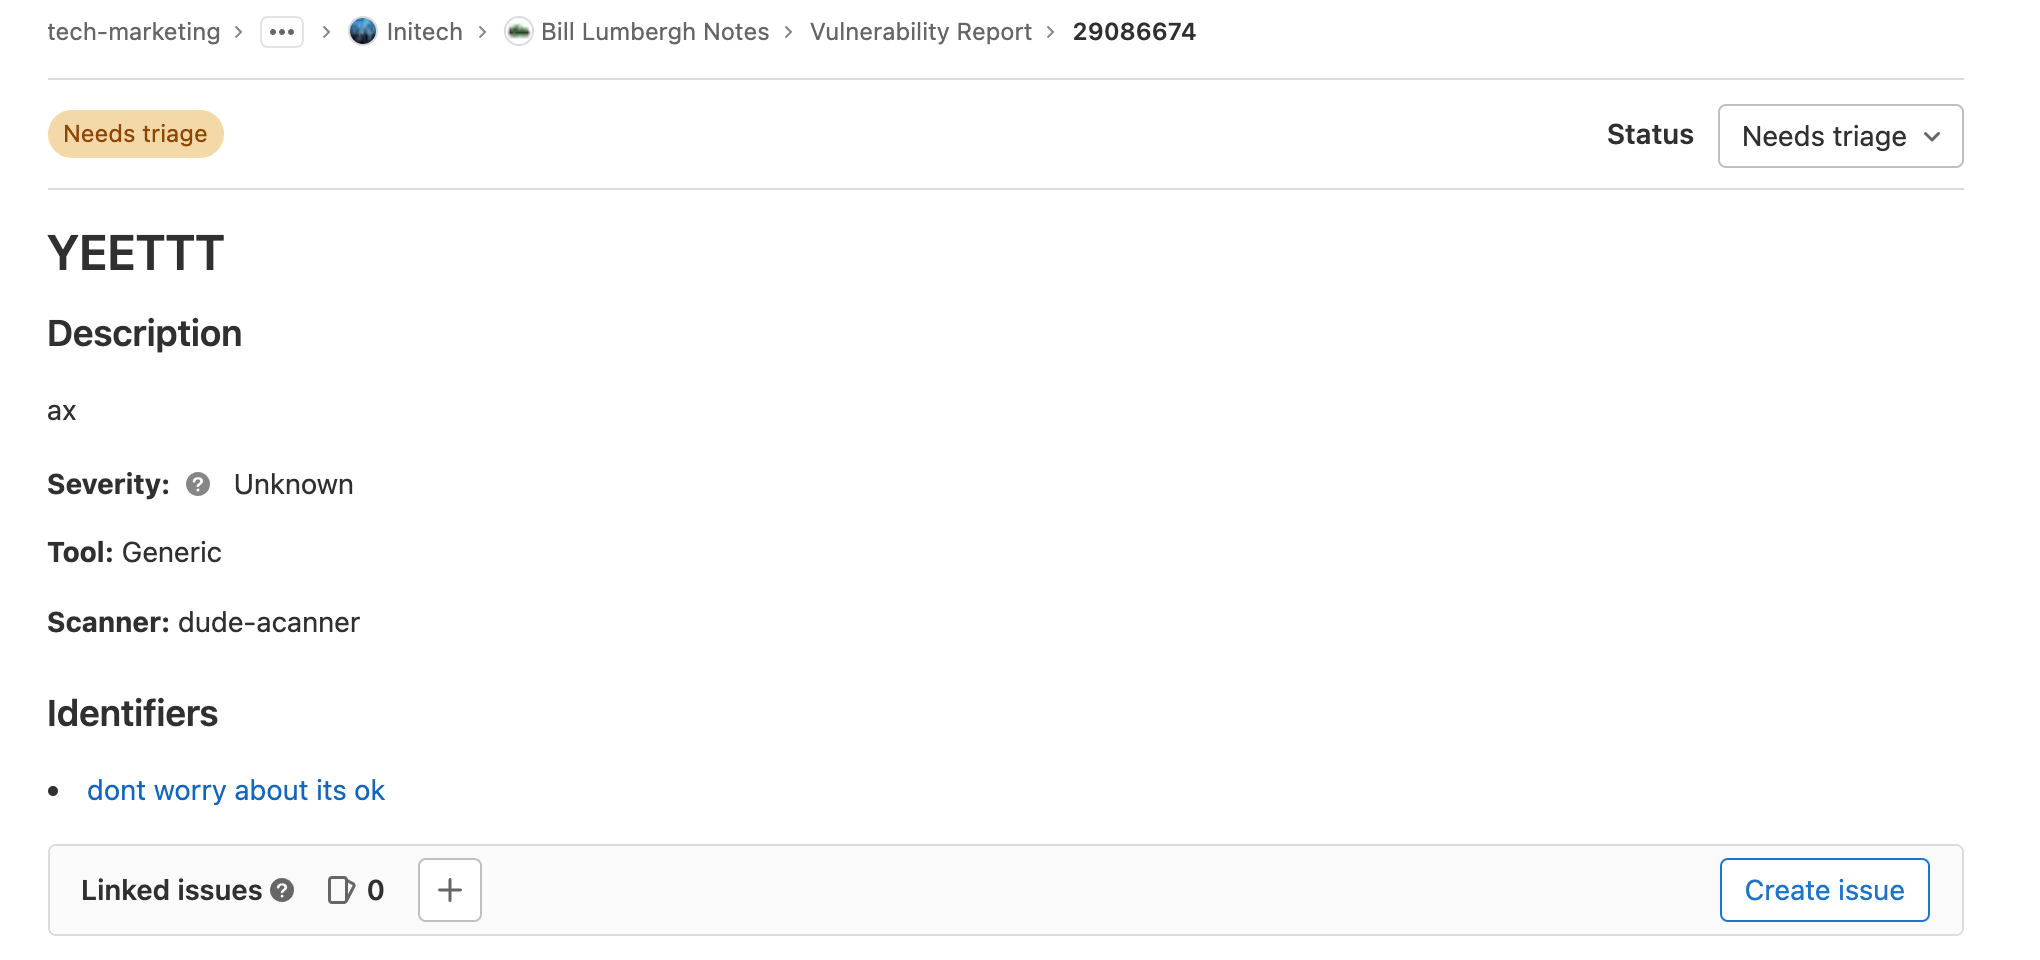
You can see that the resonse will provide some data. Let's save the provided vulnerability id, 29086674.
Note: You can see where I used the Project ID in the query above, by searching for "30857578". Also feel free to customize the strings in the request.
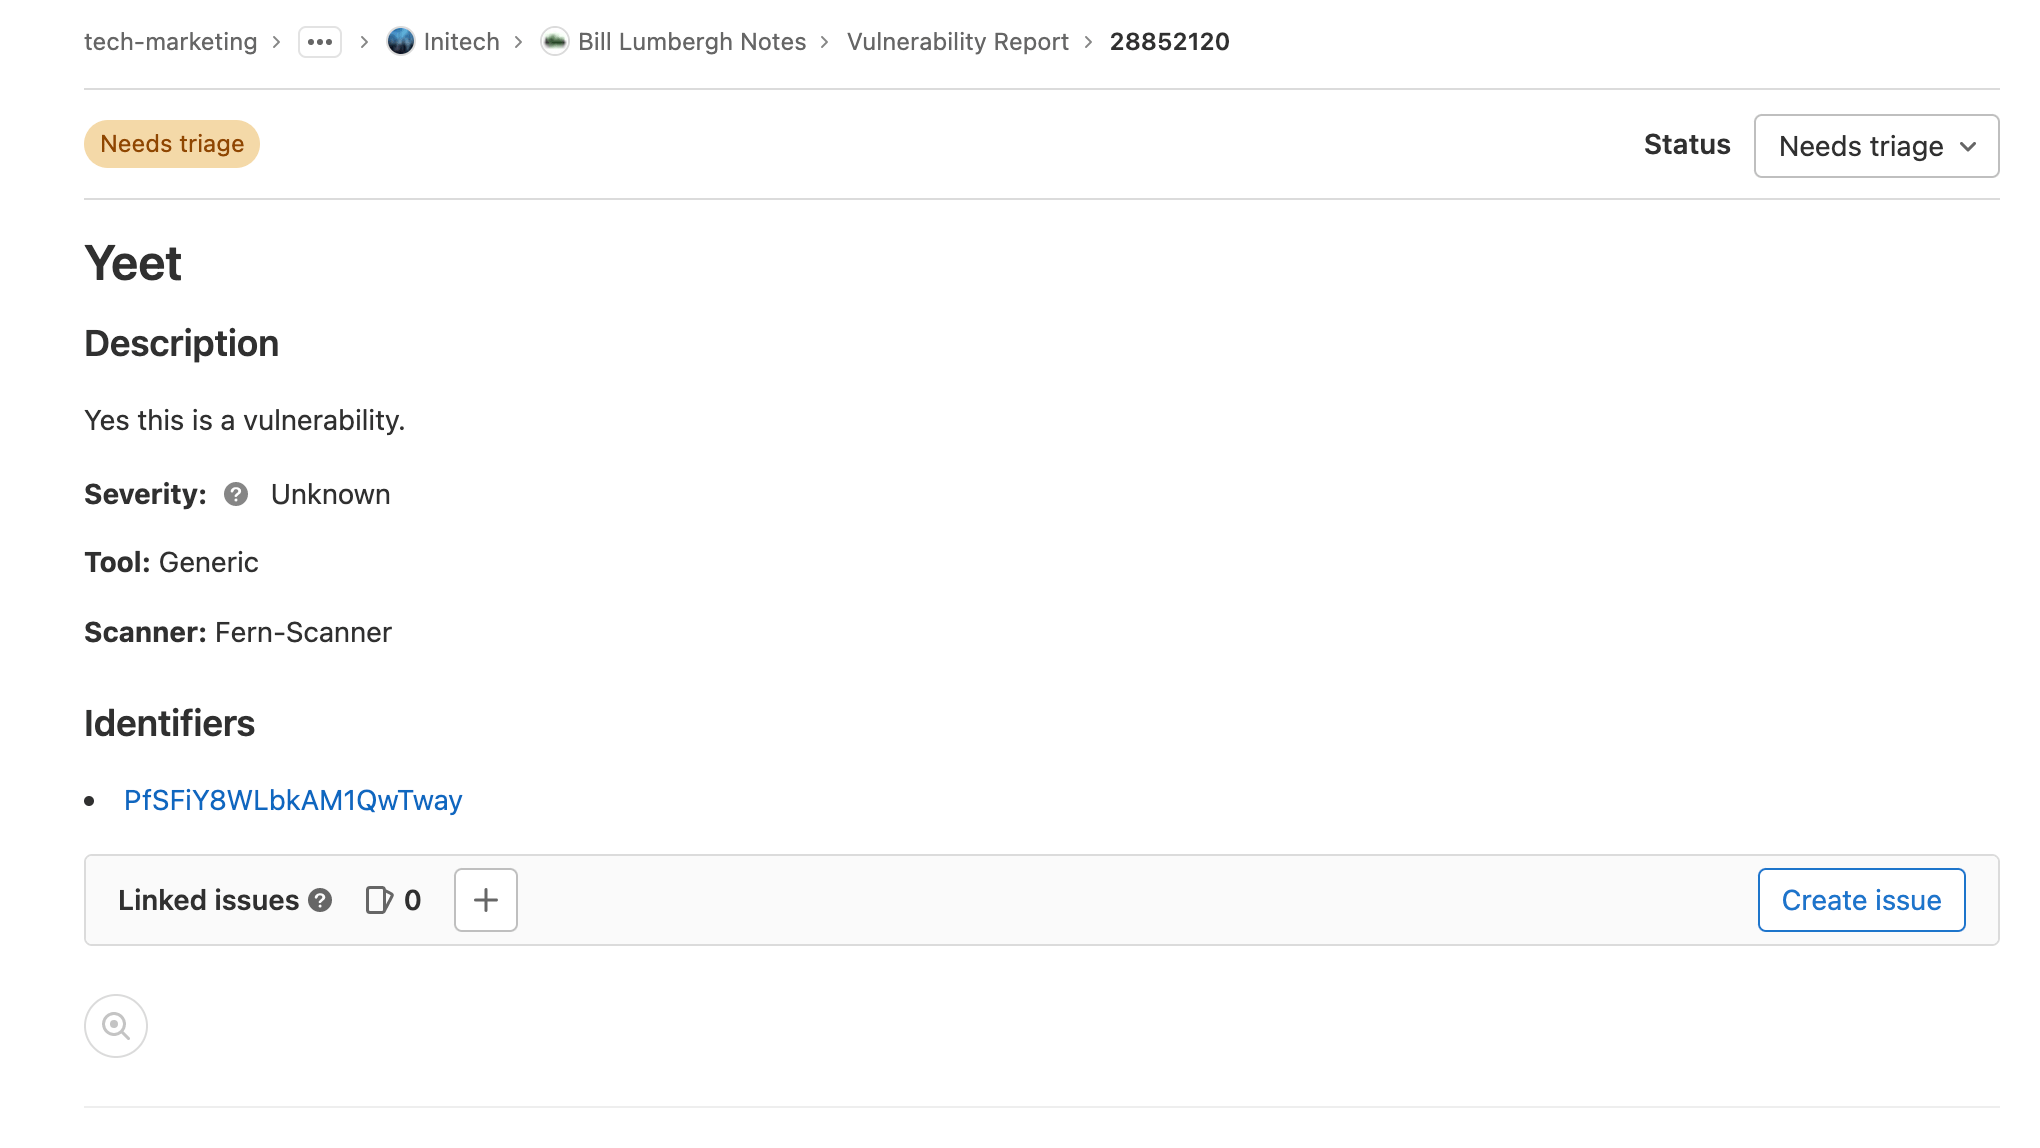
6. Go to your project and click on the Security & Compliance > Vulnerability Report.
7. Replace vulnerability_report in the url with /vulnerabilities/29086674, and you should
see detailed information on the vulnerability you submitted.
Creating a Vulnerability Report site
Now let's put what we learned about the Vulnerability API into creating an application we can use for others to report vulnerabilities.
I created a basic application that uses the GraphQL API to create vulnerabilities for a given project. It's a little GoLang web-application that deploys to Kubernetes and contains a basic web-form.
Note: To continue with this section, you need a Kubernetes Cluster, GitLab Account, and knowledge of the GitLab Kubernetes-Agent.
1. Create a Personal Access Token.
Note: Make sure it is api scoped.
2. Create a new project and select import.
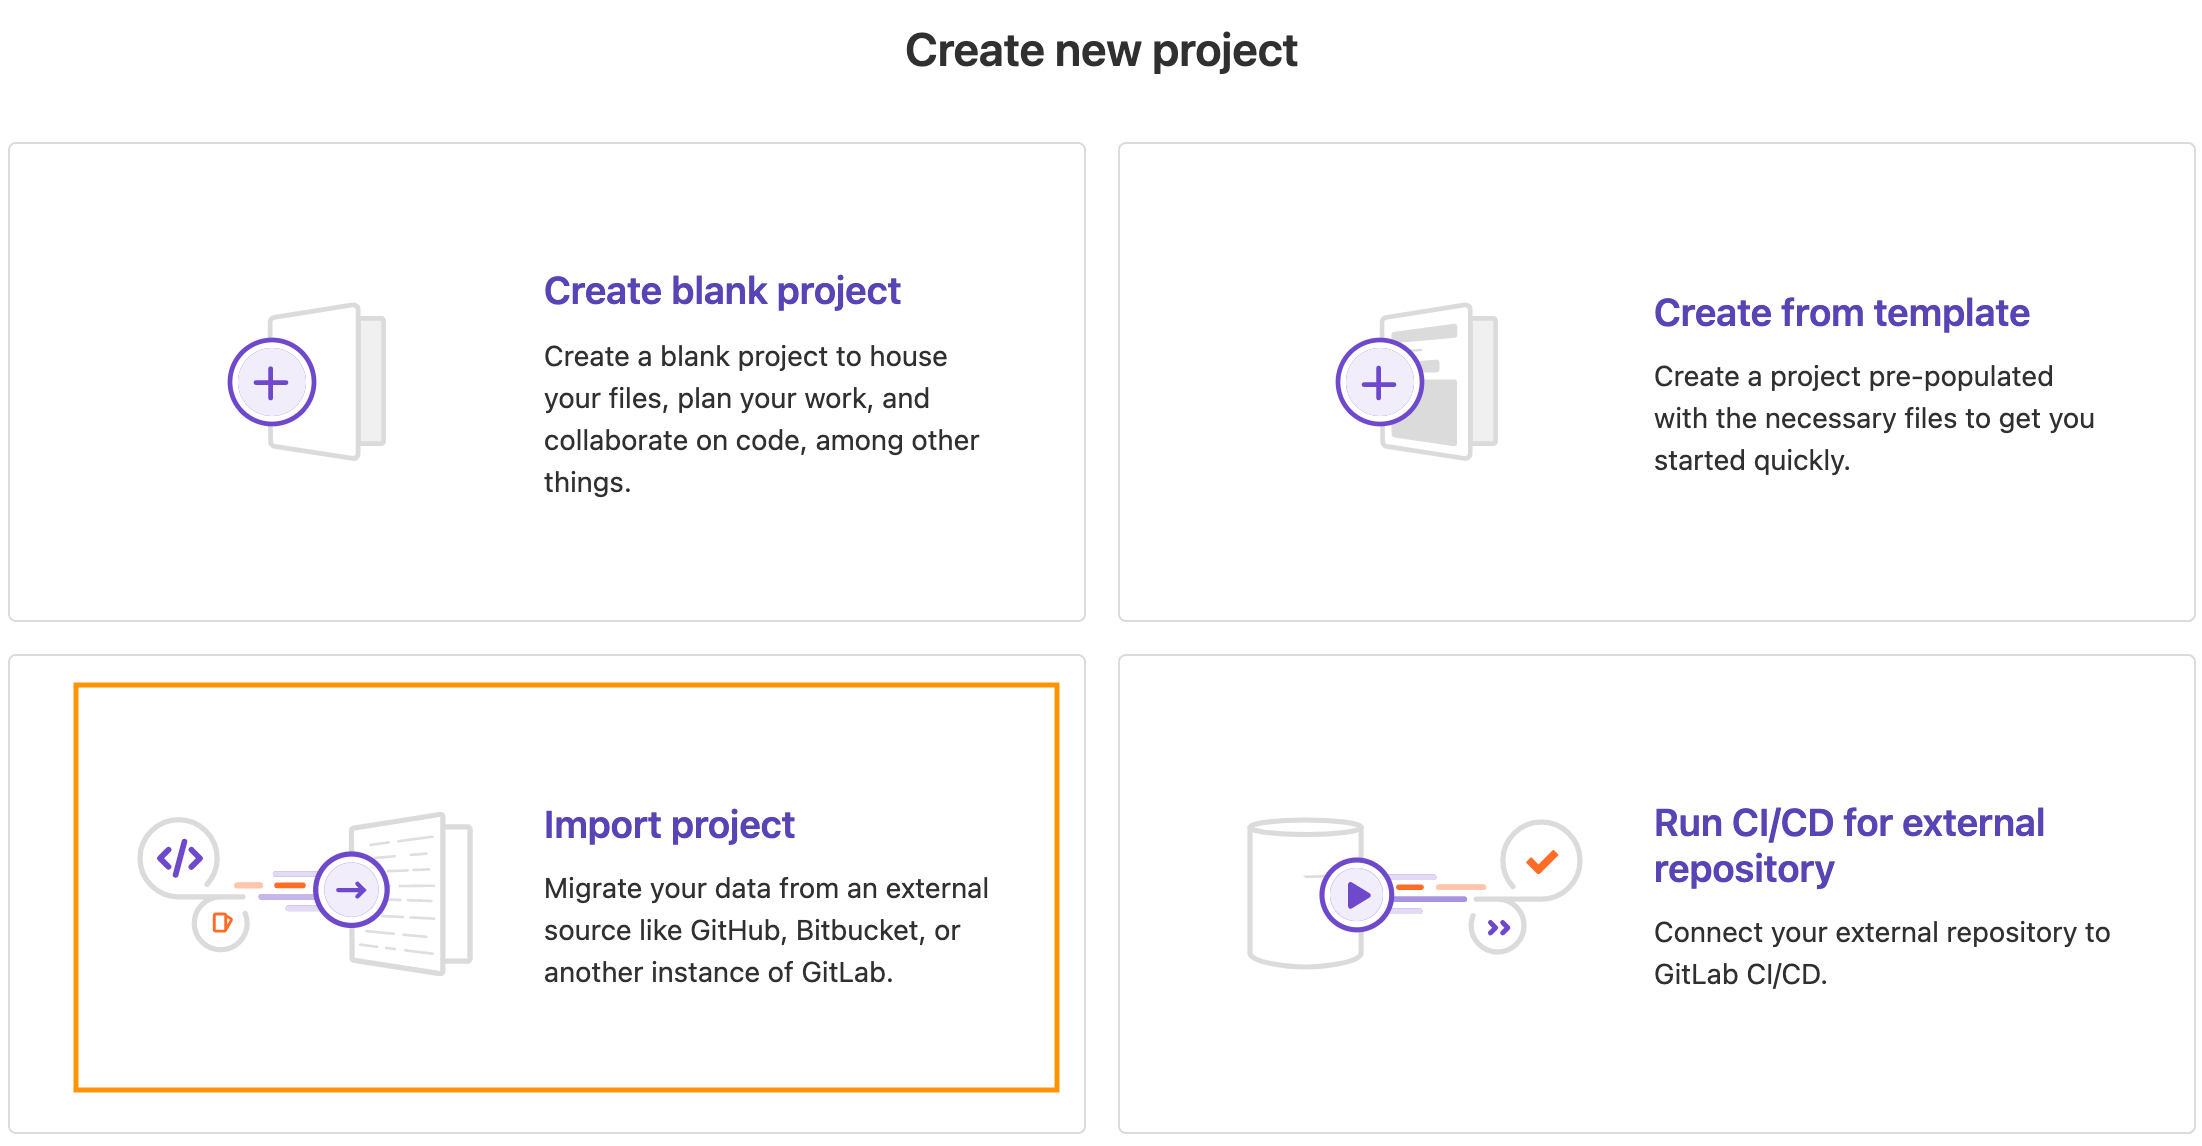
3. Import the Vuln-Reporter.

4. Connect to a Kubernetes Cluster using the Kubernetes-Agent.
5. Add the Ingress Controller as a Cluster Management Application.
Note: Once the Kubernetes Agent is installed, this can be done by simply adding
the applications folder, helmfile.yaml, and apply job present in this Infrastrucuture project.
6. Add the following variables under Settings > CICD > Variables:
- PROJECT_ID: The id of the project you want to report on.
- ACCESS_TOKEN: Your personal access token created earlier.
7. Run the pipeline.
8. Connect to Kubernetes Cluster and find the Load Balancer IP.
```
$ kubectl get svc -n gitlab-managed-apps | grep ingress

ingress-ingress-nginx-controller             LoadBalancer   10.28.13.2    104.198.204.142   80:31853/TCP,443:31835/TCP   19d
ingress-ingress-nginx-controller-admission   ClusterIP      10.28.6.20    <none>            443/TCP                      19d
```
Note: It's the 104.198.204.142 address, but it may be different for you. Just make sure it's
an external address.
9. Go to http://<Load-Balancer-IP>/reporter in your browser.
10. Add info and submit a Vulnerability.
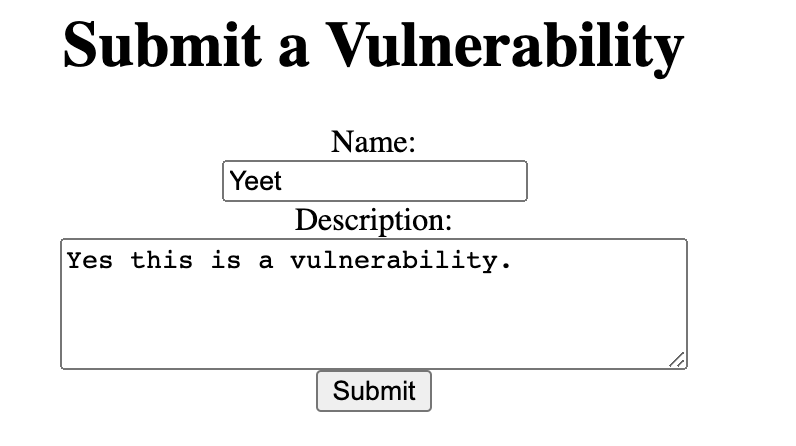
After submitting you should get a link. Copy that link into your browser.
11. View the Vulnerability Report.
