
React is a popular JavaScript library for building user interfaces. In this tutorial, I'll show you how to create a new React application, run unit tests as part of the CI process in GitLab, and output the test results and code coverage into the pipeline.
Prerequisites
For this tutorial you will need the following:
- Node.js >= 14.0.0 and npm >= 5.6 installed on your system
- Git installed on your system
- A GitLab account
Getting started
To get started, create a new project in GitLab.
When you are on the "Create new project" screen, select "Create blank project." Fill out the project information with your project name and details. After you create the project, you will be taken to the project with an empty repository.
Next, we will clone the repository to your local machine. Copy the SSH or HTTPS URL from the "Clone" button and run the following command in the terminal for your working directory:
git clone <your copied URL here>
Create the React app
You will create a new React application by using Create React App.
From the terminal cd into your newly cloned project directory and run this command:
npx create-react-app .
The npx CLI tool will create a new React application inside of your current directory.
To run the application, run the following command in your terminal:
npm run start
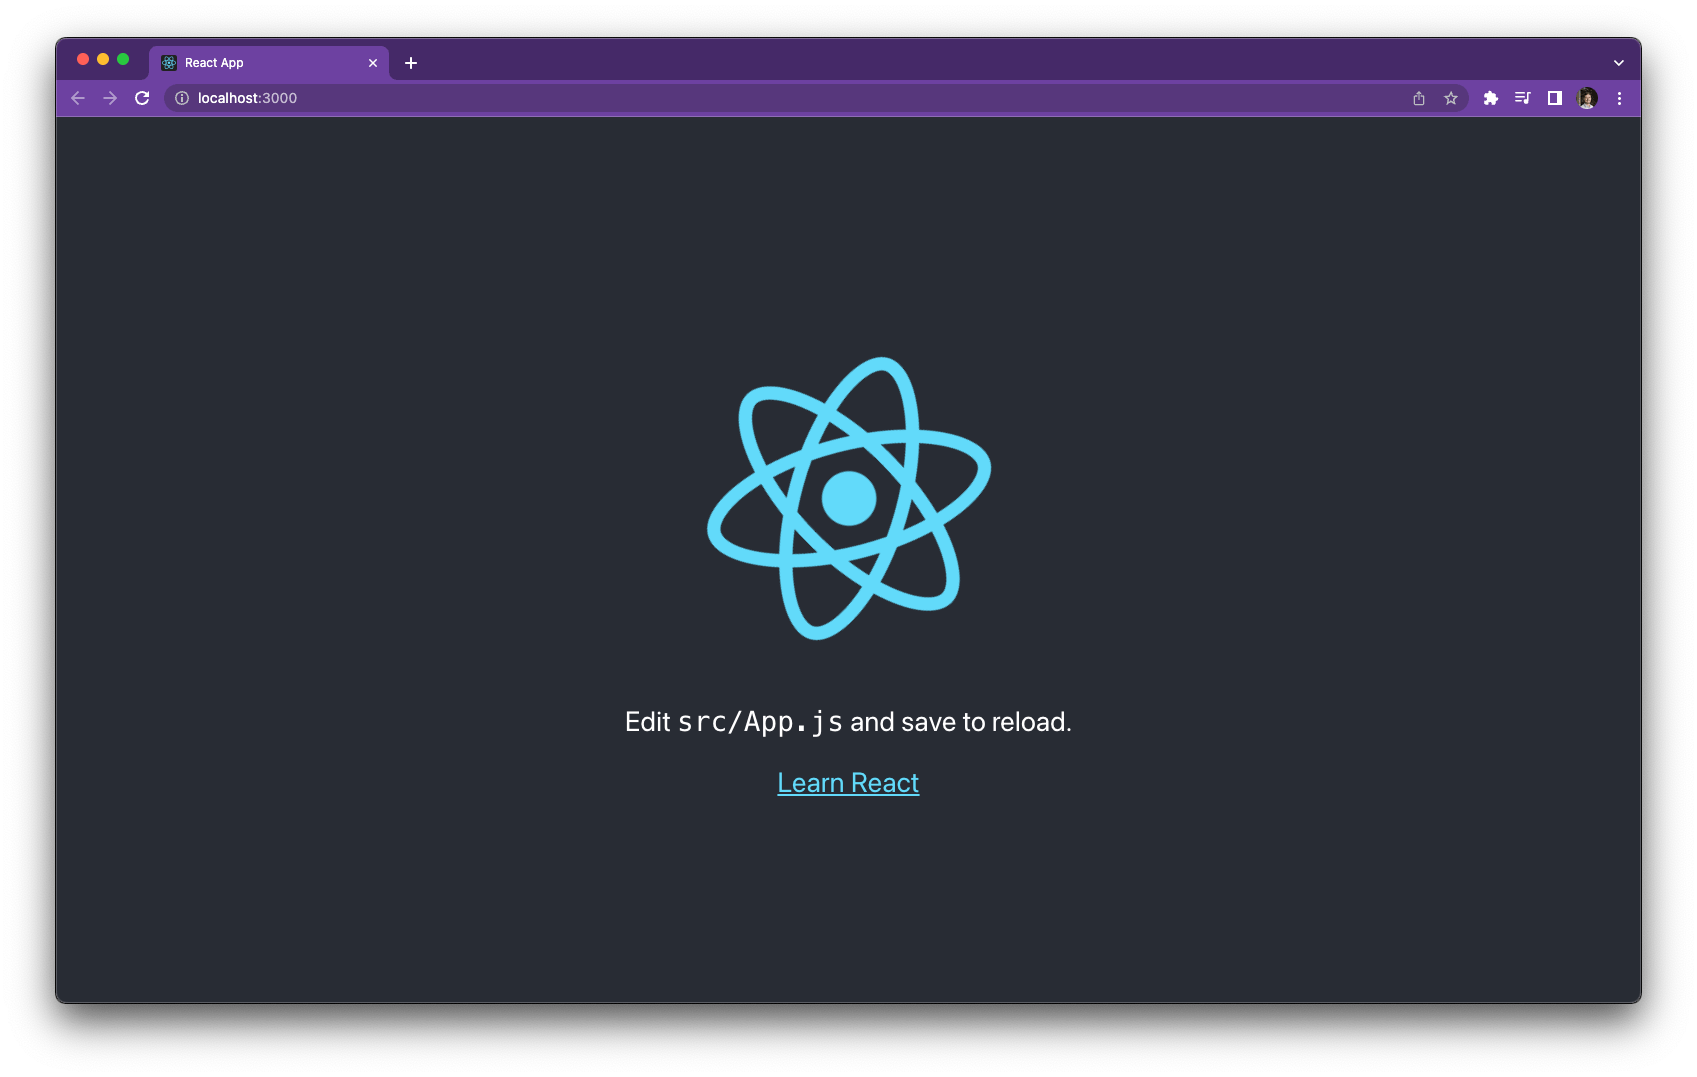
You can view the application you created in your browser window at https://localhost:3000.
Stop your application by pressing CTRL + c in your terminal.
Push your new application to GitLab by running the following commands:
git add -A
git commit -m "Initial creation of React application"
git push
Testing your application
By default, Create React App uses jest as the test runner and one unit test to run.
import { render, screen } from '@testing-library/react';
import App from './App';

test('renders learn react link', () => {
  render(<App />);
  const linkElement = screen.getByText(/learn react/i);
  expect(linkElement).toBeInTheDocument();
});
Inside your package.json, you should see that it comes with several scripts.
"scripts": {
    "start": "react-scripts start",
    "build": "react-scripts build",
    "test": "react-scripts test",
    "eject": "react-scripts eject",
  }
Use the test script to run the tests in your application by running the following command:
npm run test
When prompted for "Watch Usage," press a to run all of the tests. You will see that the existing test passes and it continues to watch for changes.

For local development, watching for changes to run the tests is great; however, for our CI pipeline we would like to run the tests once, create a report so that we can see the results inside of our pipeline, and also determine the code coverage.
Exit the jest test watcher by pressing CTRL + c in your terminal.
Add unit test reporting and coverage
To view the unit test report, GitLab requires the runner to upload a JUnit report format XML file.
We will use jest-junit to generate this file. This is a unit test report for jest and will create an XML
file in the right format.
To install jest-junit, run the following command in your terminal:
npm install --save-dev jest-junit
Now, add a new script to run the unit tests inside of your CI pipeline.
Add a test:ci script to your package.json that looks like this:
"scripts": {
    "start": "react-scripts start",
    "build": "react-scripts build",
    "test": "react-scripts test",
    "eject": "react-scripts eject",
    "test:ci": "npm run test -- --testResultsProcessor=\"jest-junit\" --watchAll=false --ci --coverage"
  },
--testResultsProcessor=\"jest-junit\" tells jest to use the jest-junit library to create a unit test
report. --watchAll=false disables watch mode so that the tests will not rerun when something changes. --ci tells
Jest that it is running in a CI environment. --coverage tells Jest that test coverage information should be collected
and reported in the output. For more information on these options, visit the jest CLI options documentation.
If you run the new test:ci script, it will run the tests and create an XML file named junit.xml and print coverage statistics to the CLI.

Add unit tests to your CI pipeline
In the root of your application, create a file named .gitlab-ci.yml.
Define a test stage for your pipeline by adding the following code to your .gitlab-ci.yml file:
stages:
  - test
Next, add a job named unit-test that will be responsible for running the unit tests in the test stage. Add the following code below the
defined stages:
unit-test:
  image: node:latest
  stage: test
  before_script:
    - npm install
  script:
    - npm run test:ci
  coverage: /All files[^|]*\|[^|]*\s+([\d\.]+)/
  artifacts:
    paths:
      - coverage/
    when: always
    reports:
      junit:
        - junit.xml
Your complete .gitlab-ci.yml file should look like this:
stages:
  - test

unit-test:
  image: node:latest
  stage: test
  before_script:
    - npm install
  script:
    - npm run test:ci
  coverage: /All files[^|]*\|[^|]*\s+([\d\.]+)/
  artifacts:
    paths:
      - coverage/
    when: always
    reports:
      junit:
        - junit.xml
Before we push these changes to GitLab, add the following line to your .gitignore:
junit.xml
Add your changes to GitLab by running these commands in your terminal:
git add -a
git commit -m "Adds .gitlab-ci.yml with unit testing"
git push
When this command finishes, your code will be pushed to your project in GitLab and a pipeline will start
automatically running the unit-test job we defined earlier.

When the pipeline completes, click the pipeline ID (#680073569 in this case).
Inside the pipeline, click the Jobs tab and you should see the coverage for the unit-test job is 8.33%.

Click the Tests tab and you can see the testing results for the unit-test job.

Click the name of the job unit-test and you will see the status for each of the test suites run.

Congratulations! You just added automated tests for your React application to your CI pipeline inside of GitLab and output the results to the pipeline.
All code for this tutorial can be found in this project.
Cover image by Lautaro Andreani on Unsplash


