
Git offers a range of branching strategies and workflows that can be utilized to enhance organization, efficiency, and code quality. Employing a well-defined workflow helps foster a successful and streamlined development process. By implementing the release branches using GitLab Flow, you can effectively handle multiple product releases. However, when it comes to fixing bugs, it often becomes necessary to apply the fix across various stable branches such as main, stable-1.0, stable-1.1, and stable-2.0. The process of applying the fix to multiple locations can be time-consuming, as it involves the manual creation of multiple merge requests.
By consolidating updates in a single branch and propagating them to other branches, the cascading merge approach establishes a central source of truth, reducing confusion and maintaining consistency. In this blogpost, we will guide you through setting up this approach for your GitLab project using ucascade bot.
Getting started
To get started, you'll need the following prerequisites:
Environment
- a GitLab project that implemented Release Branches Strategy
- a Kubernetes cluster
CLI
- git
- kubectl
- docker
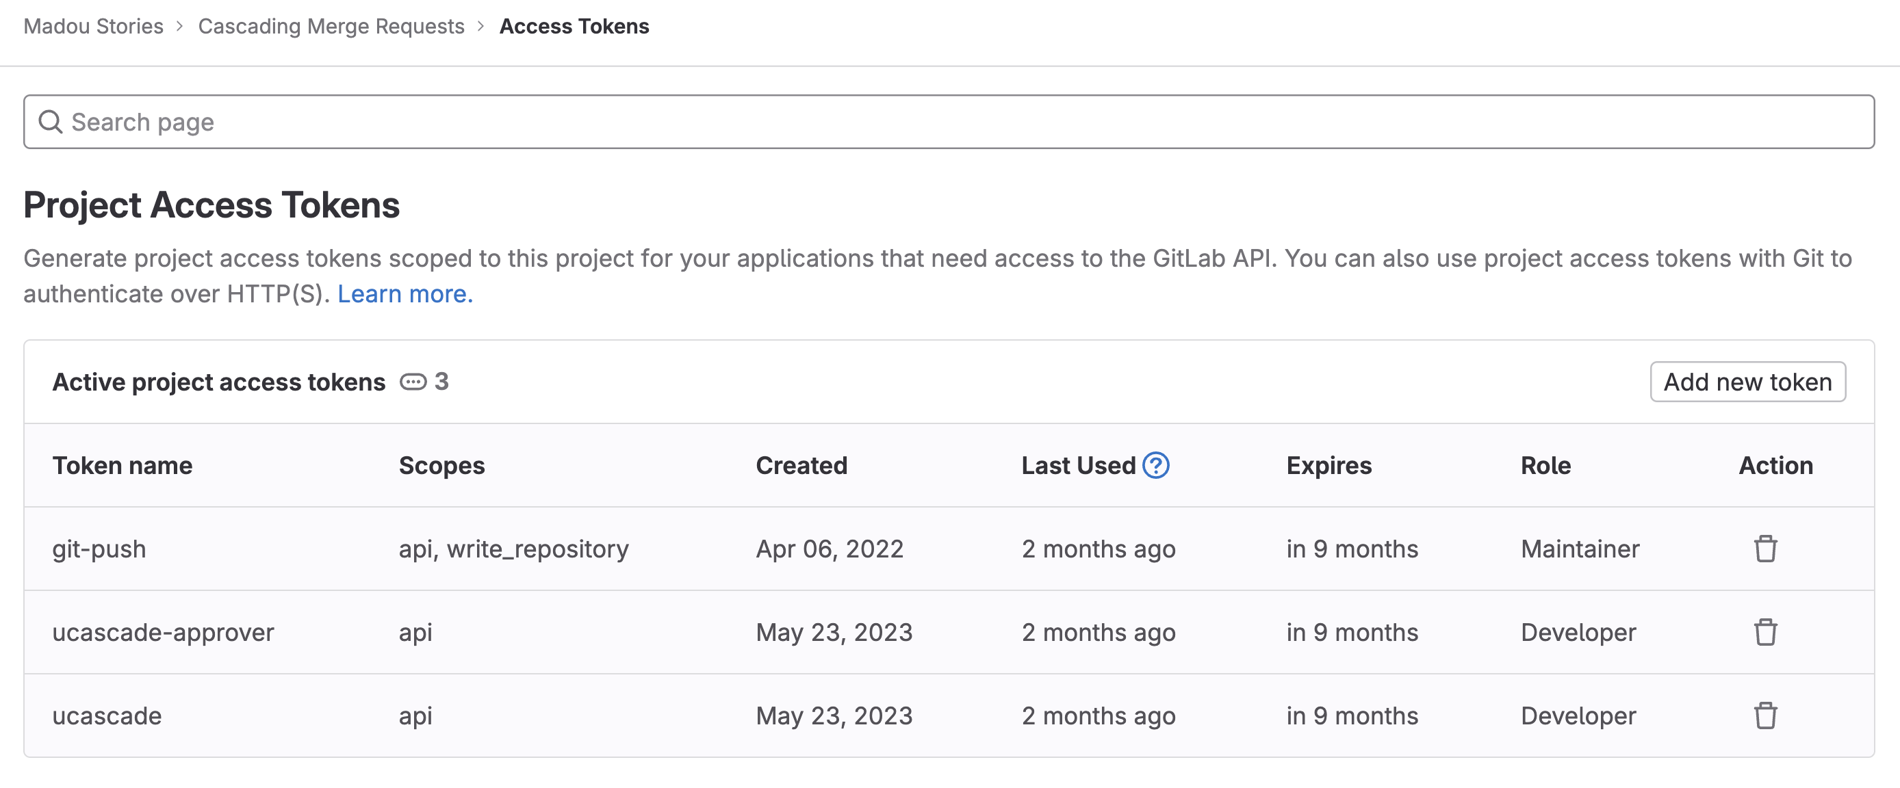
Project access tokens
Follow the instructions on the Project access tokens page to create two project access tokens –ucascade and ucascade-approver – with the API scope in your GitLab project.
Deploy ucascade bot on Kubernetes
First, create the bots-fleet namespace on Kubernetes.
kubectl create namespace bots-fleet
Then, create the cascading-merge-secret secret that contains the GitLab project access tokens created previously.
kubectl create secret generic cascading-merge-secret -n bots-fleet \
--from-literal=gitlab-host=https://gitlab.com \
--from-literal=gitlab-api-token=<UCASCADE_PROJECT_ACCESS_TOKEN> \
--from-literal=gitlab-api-token-approver=<APPROVER_BOT_PROJECT_ACCESS_TOKEN>
Once done, (fork and) clone the Cascading Merge repository that contains the Kubernetes manifests for the bot and replace the host field in the kube/ingress.yaml file according to your Kubernetes domain.
apiVersion: networking.k8s.io/v1
kind: Ingress
metadata:
  annotations:
    kubernetes.io/ingress.class: nginx
  name: ucascade
  namespace: bots-fleet
spec:
  rules:
  - host: ucascade.<KUBERNETES_BASED_DOMAIN>
    http:
      paths:
      - backend:
          service:
            name: ucascade
            port:
              number: 80
        path: /
        pathType: Prefix
Now, you are ready to deploy the ucascade bot.
kubectl apply -f kube/
You should see the following resources deployed on Kubernetes:
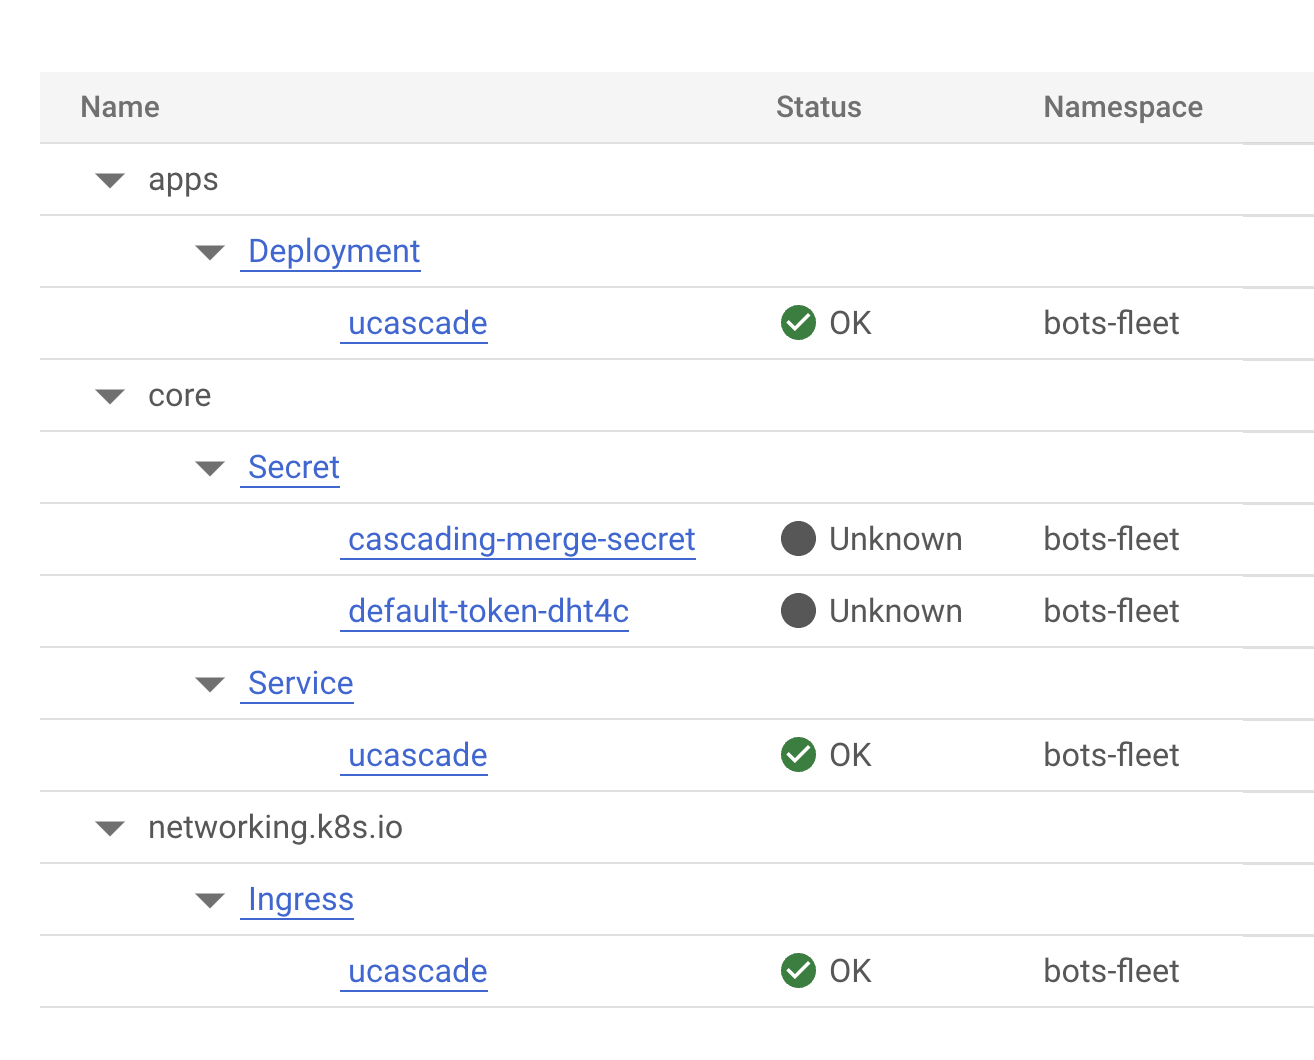
Note: The ucascade image is based on the ucascade-bot and is located in the Container Registry of the Cascading Merge repository.
Create a GitLab webhook
Follow the instructions on the Webhooks page to create a webhook with the following variables:
- URL:
<UCASCADE_INGRESS_URL>/ucascade/merge-request - Trigger:
Merge request events

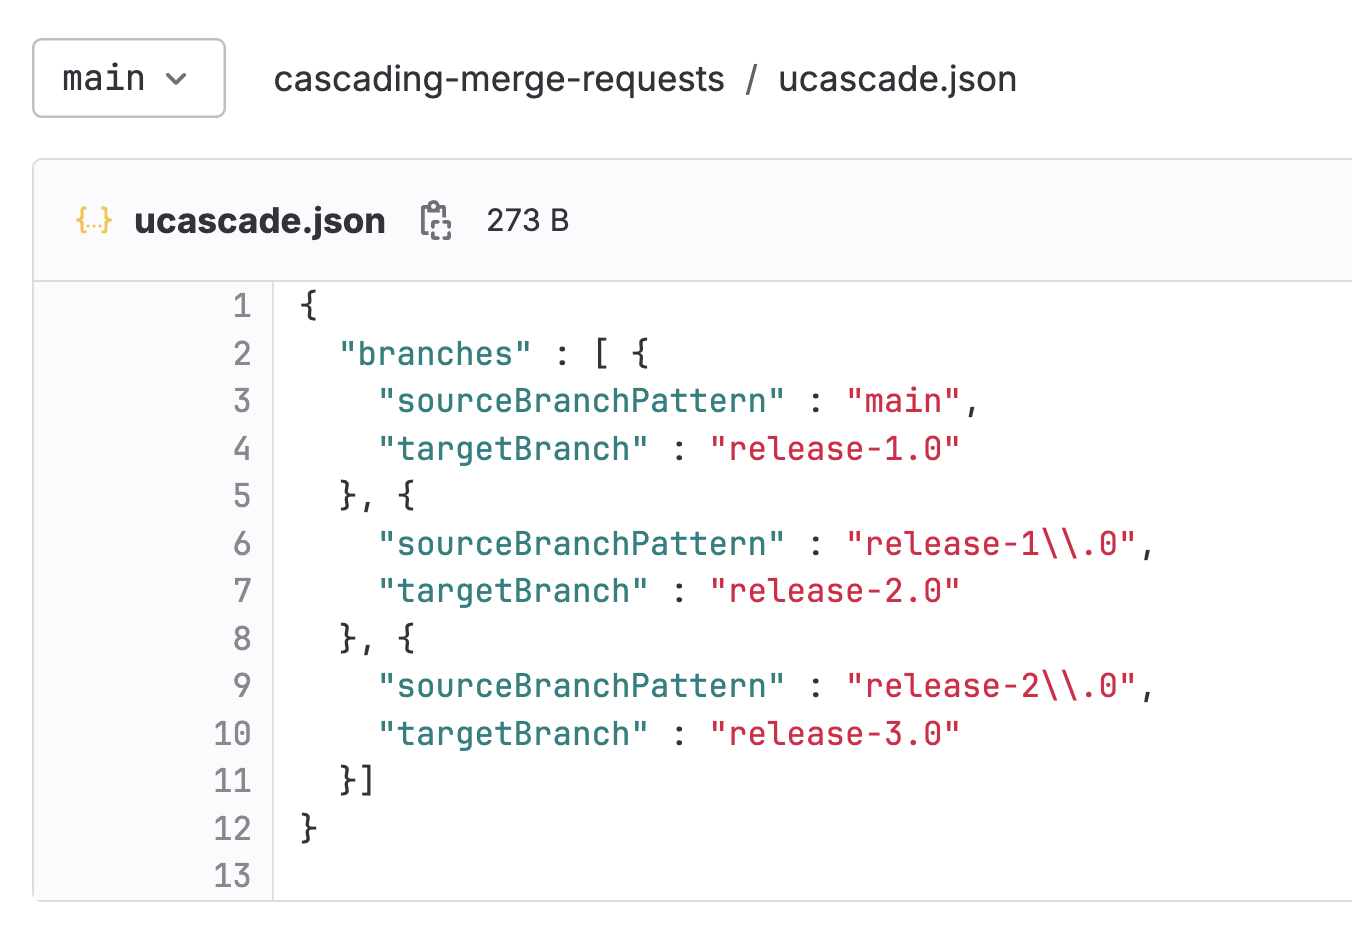
Configure your Cascading Merge rule
Create a file called ucascade.json at the root level of your GitLab project as defined in configuration file and matched with your release definition.
Testing the Cascading Merge
Now create a branch and an MR from your default branch, make a change, and merge it. The ucascade bot will propagate the change to all other release branches by automatically creating cascading MRs. The following video demonstrates the process:
Additional resources
Find more information about the ucascade bot in the ucascade documentation.
Special thank you to Jérémie Bresson for authoring and open sourcing this amazing bot!


