
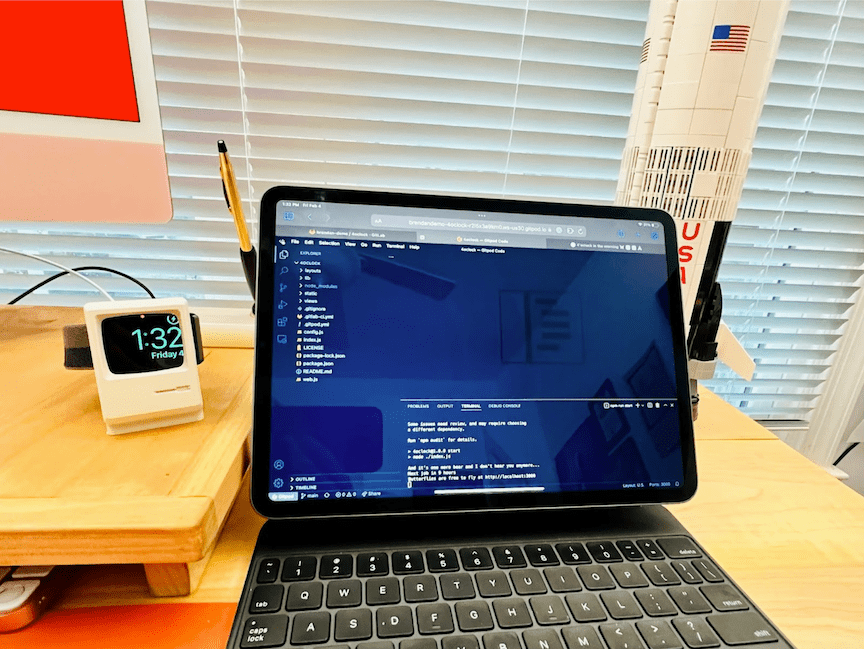
As a software engineer, it can be tough to go all-in on just using an iPad for your daily driver. So when Apple announced the M1 chip-based iPads, I, along with many techies, got excited to see if we'd finally get things like a proper terminal on the iPad. But that still isn't the use case that the iPad solves. I remained determined to be able to code from mine. So I hooked up my magic keyboard and fired up Gitpod to code and GitLab to build and deploy an app from scratch... all from my iPad.
Getting started
Like any of my projects, the first thing I needed was inspiration. I had promised my colleague Pj for some time that I would review his blog on how to make a Twitter bot like all of the fantastic ones he built while breaking into tech. Combine the need to learn the Twitter API to provide an excellent review with my love of Elton John's music, and I had it: I'd make a Twitter bot that tweeted every morning at 4:00 am (as an homage to the line in “Someone Saved My Life Tonight”).
Armed with my newfound inspiration, I ran to gitlab.com in Safari (on my iPad, obviously) and created a new, blank GitLab project.
Coding on the iPad
Once I had the new project, getting started on Gitpod was as easy as clicking the "Gitpod" button on GitLab to open my repository in Gitpod.
Gitpod enables you to access an entire development environment from any browser. By default, you get a container with many development tools (Node, Ruby, OpenJDK, etc.). But you can also choose your own container as a starting point with a .gitpod.yml… but we'll talk about that later.
The environment is presented to you as a VS Code interface – where you can open, edit, and add files just as you'd expect. You can also access the terminal just like you would in VS Code and install anything you might need to get your project running.
In this example, I decided to build the Twitter bot in Node.js, so I initialized a new Node project and installed the packages I'd need with:
npm init -y
npm install express twit node-schedule dotenv
Running your app
Once I had some code running – just the Express sample app that says Hello World – running the app was just as easy as if I was going to run it on my laptop:
npm dev
Not only did that run my code to connect to the Twitter API, wait until 4:00 a.m. (UTC), and then tweet to let everyone know it was 4:00 a.m., but it also shows this relative to my Express app:
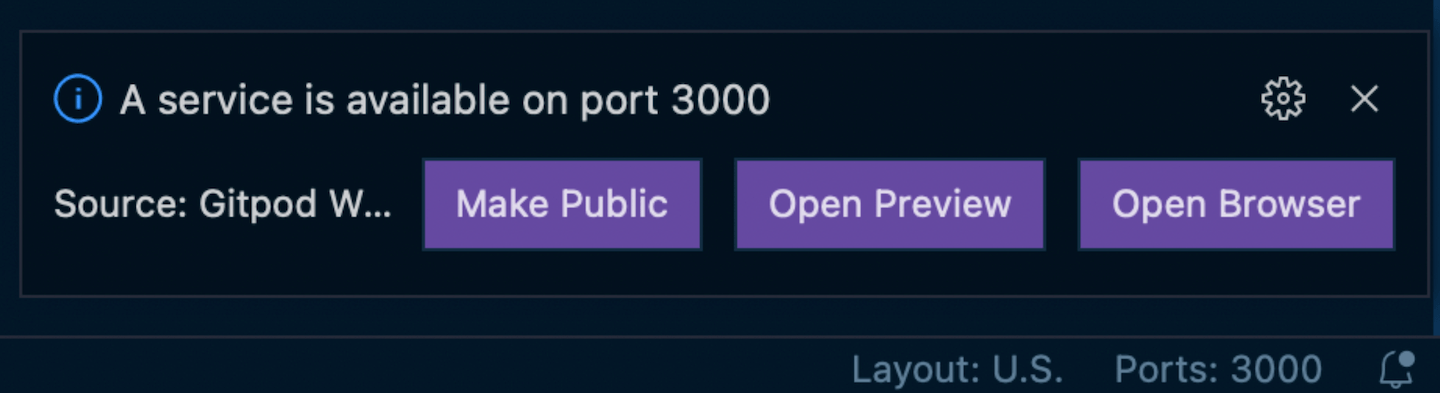
That allows me to preview my website for the app while I'm coding it. This is a massive benefit because it means I can have two tabs open on the iPad – one with Gitpod and my code and another with the website as I change it. Or I can even use split-screen on the iPad to have them side-by-side like I might if I was at my desk at my "normal" setup. And there's even a button to make the site available publically so I could share it with my team and show them what I'm working on (as long as my Gitpod workspace is running).
Now, when it comes to coding the rest of the Twitter bot, I used the previously mentioned tutorial from my colleague Pj. So I won't go into detail on the actual coding of the app – you can find the code, website, and Twitter bot if you want to learn more about the app itself. But to deploy the website and the bot, I needed something else: GitLab CI/CD.
Deploying the app
Combining GitLab CI/CD and GitLab.com's SaaS offering with Gitpod meant that I could not only code and preview the app from my iPad, but I could also get it deployed to Heroku (or any provider) from the couch.
I created a .gitlab-ci.yml file in my project to get started. For deploying to Heroku:
-
I like to use a Ruby package called dpl from Travis CI because it makes it a simple one-line command. Alternatively, I could install the Heroku CLI and deploy with that if I wanted to.
-
I added the
HEROKU_API_KEYvariable to my CI/CD variables so that I could authenticate with Heroku for the deployment. -
I then set the
rules:section to only deploy when commits are impacting the main (default) branch, and I was ready to go!
Now, every time I push code from Gitpod to GitLab, GitLab will start the build and deploy it to Heroku:
image: starefossen/ruby-node:2-10

variables:
 APP_NAME: four-oclock-in-the-morning

deploy:
 stage: deploy
 script:
 - gem install dpl -v 1.10.6
 - dpl --provider=heroku --app=$APP_NAME --api-key=$HEROKU_API_KEY
 rules:
 - if: $CI_COMMIT_REF_NAME == $CI_DEFAULT_BRANCH
Enabling collaboration
There are two other concepts that this pattern introduces that are worth discussion: the idea of one environment per change and enabling new collaborators to spin up a development environment in seconds.
Most developers are used to having our setup just the way we like it – precisely the correct number of monitors, keys on our keyboard, and all of our favorite tools installed. However, that can lead to issues. We already know we should treat our servers like cattle, not pets, so why do we still treat our laptops like pets? While I love my MacBook and the stickers on it as much as the next person, I can get frustrated when setting up a new one and getting it back to the way I like it.
In addition, on many projects I've been on in the past, onboarding a new developer can take a lot of effort, including getting the correct libraries installed and ensuring they have access to all the right resources and environments. These things may seem trivial, but I've seen it take up to three days from senior engineers just to get another engineer up and running. All of that time is time that could be much better spent on writing code for the actual business.
Gitpod solves both of these issues with a simple YAML file: .gitpod.yml. This file allows you to specify:
- What image to use as the base for the environment
- Which other tools to install
- What commands to run at startup, and even things like which VSCode extensions you should have in the environment
And lots of different settings that you can find in the Gitpod docs.
Specifying all of the tools needed lets you have short-lived environments that you can spin up for one task and then discard and get a fresh one for the next task. And it also saves time when onboarding new engineers by guaranteeing they have a running system within just a few seconds of opening the project. Best of all, it is all in a file that's in source control, so as things change or you make improvements to the development environment, all of your developers benefit from it immediately.
I added a simple .gitpod.yml to run npm run dev to get started when you create a new environment. That simple example is great for a simple Node app or similar, but what about something more complex? Gitpod works for that, too. GitLab itself has a gitpod.yml that lets you get an entire working GitLab development environment – and all that entails – up and running quickly, without the need to install Postgres and Redis and all of the other dependencies GitLab has.
This makes contributing to GitLab easier than ever. Just go to the GitLab repository and click on that Gitpod button to get started. I'd love to hear how it works for you!


