
GitLab's CI/CD pipelines are great for automating many things, like deployments to Google Kubernetes Engine and security scans. But did you know that you could use GitLab CI/CD pipelines to run a set-and-forget Twitter bot?
Many organizations today are leveraging Twitter's API to understand customer sentiment, track public health data, perform financial analysis, and more. While these bots may be running on self-managed infrastrucuture or external services, you can simplify and consolidate your tooling by leveraging GitLab instead, making your bot easier to manage.
With GitLab's Free tier, you can leverage 400 minutes of CI/CD run time per month to automatically analyze and post tweets. With GitLab Premium and Ultimate, you'll get even more pipeline minutes to tweet more, run longer natural language processing analyses, or for other projects.
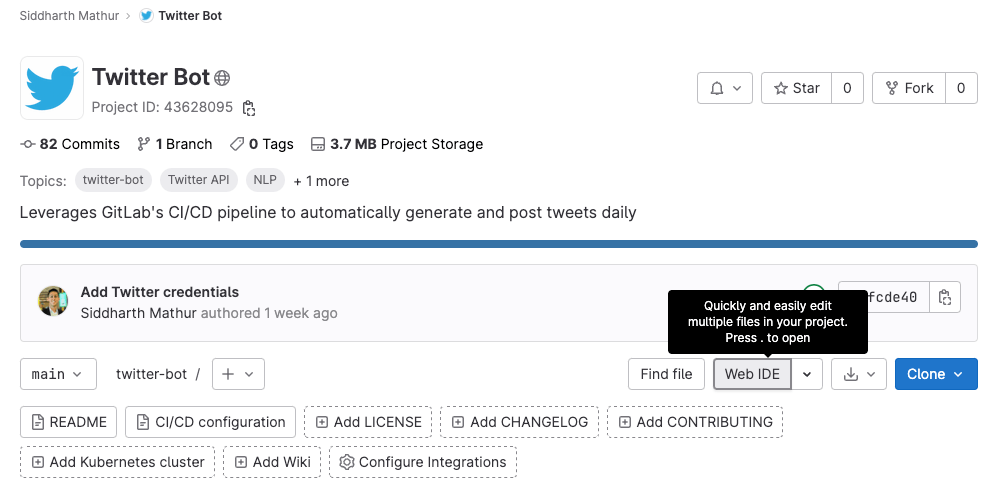
Setting up a Twitter bot using GitLab is pretty simple. At the end of this blog, you'll have a project that looks like this, and a Twitter account that automatically posts a simple tweet.
To get started, you'll need these prerequisites:
- GitLab account (self-hosted with GitLab Runner(s) set up or on GitLab.com)
- Twitter API credentials
Once you've generated your Twitter API credentials, we can start building out our bot in GitLab. In this blog, we'll leverage GitLab's Web IDE based on Visual Studio Code, but feel free to use a code editor of your choice.
Step 1: Write a Python script to post tweets
Create a new blank project in GitLab, and click the "Web IDE" button to start writing some code. In the Web IDE, create a new file called run_bot.py, and paste the following code (this is where you interact with the Twitter API):
import tweepy
import config

def set_up():
	auth = tweepy.OAuthHandler(config.consumer_key, config.consumer_secret_key)
	auth.set_access_token(config.access_token, config.access_token_secret)
	api = tweepy.API(auth)
	return api

def run(tweet):
	api = set_up()
	api.update_status(tweet)

run('It\'s Tanuki time')
Note: If you're familiar with Python, you'll notice that we're importing a file called config with some variables that we're using. This config file doesn't exist yet, but we'll create it from within a GitLab pipeline, leveraging CI/CD variables to securely store and use our Twitter API credentials.
Create another file called requirements.txt, and paste the following line:
tweepy
Changes to files in the Web IDE will be automatically saved, so switch to the Git tab and commit your changes.
Step 2: Create a CI/CD pipeline to run your Python script
Next, we'll create a CI/CD pipeline script to run our Twitter bot and post a tweet every time the pipeline is run. To do this, you can:
- Create a new file using the Web IDE called
.gitlab-ci.yml, or - Head to your GitLab project, and from the sidebar, click CI/CD > Editor.
If you see some default text in the pipeline configuration, delete everything to start with a clean slate.
In the pipeline YAML file, we'll first specify the Docker image we want to run the bot on:
image: python:latest
Note: Normally in a pipeline, we would define stages first and then write jobs that are each assigned to a specific stage. Since we're only running one job in this pipeline, we don't need to specify stages at the top of our pipeline configuration file.
Next, we'll add a job called run that runs the Python script we created in the previous step. Inside this job, we'll add a script section to run some commands that will execute our Python script.
run:
  script:
    - echo "consumer_key = '$CONSUMER_KEY'" >> config.py
    - echo "consumer_secret_key = '$CONSUMER_SECRET'" >> config.py
    - echo "access_token = '$ACCESS_TOKEN'" >> config.py
    - echo "access_token_secret = '$ACCESS_SECRET'" >> config.py
    - pip install -r requirements.txt
    - python3 run_bot.py
Commit your changes. The pipeline will automatically run, since you just made a change to the project files, but it will fail. This is because we are calling some CI/CD variables in the pipeline, which we haven't set yet. Let's go ahead and do that!
Step 3: Set CI/CD variables to store API tokens
Head to your GitLab project and from the sidebar, go to Settings > CI/CD.
Expand the "Variables" section and add the ACCESS_SECRET, ACCESS_TOKEN, CONSUMER_KEY, and CONSUMER_SECRET variables as shown below (these are your Twitter API credentials):
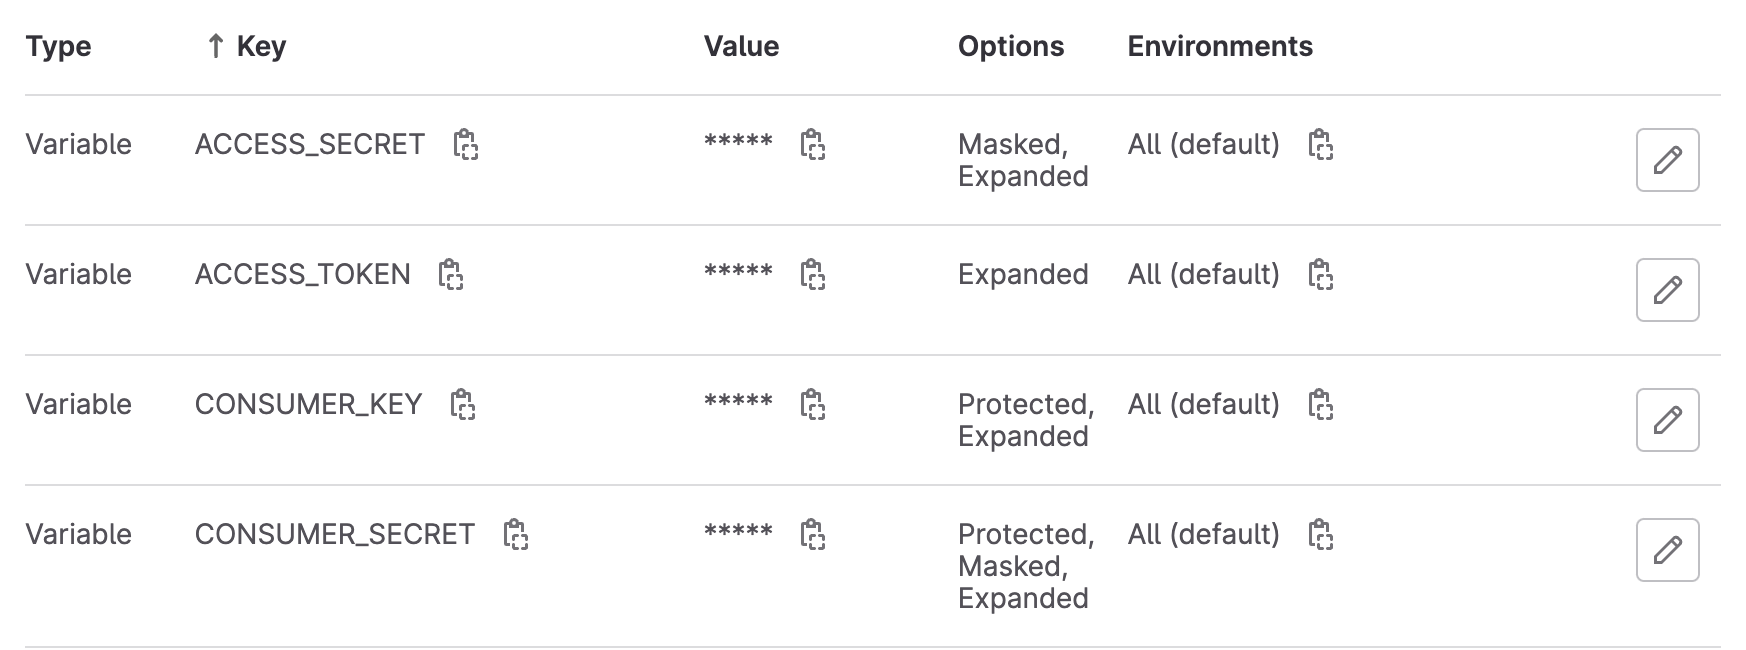
Note that the secrets are masked to prevent them from showing up in job logs (check the "Mask variable" box when creating/editing the variable).
Step 4: Test and schedule your Twitter bot
Now that we've got everything set up, all we need to do is run the bot. Go to CI/CD > Pipelines, and click "Run pipeline". Click "Run pipeline" again, and wait for the run job to finish. If you've set up your Twitter credentials correctly, you should see that the pipeline successfully ran, and a tweet was posted on your bot account!
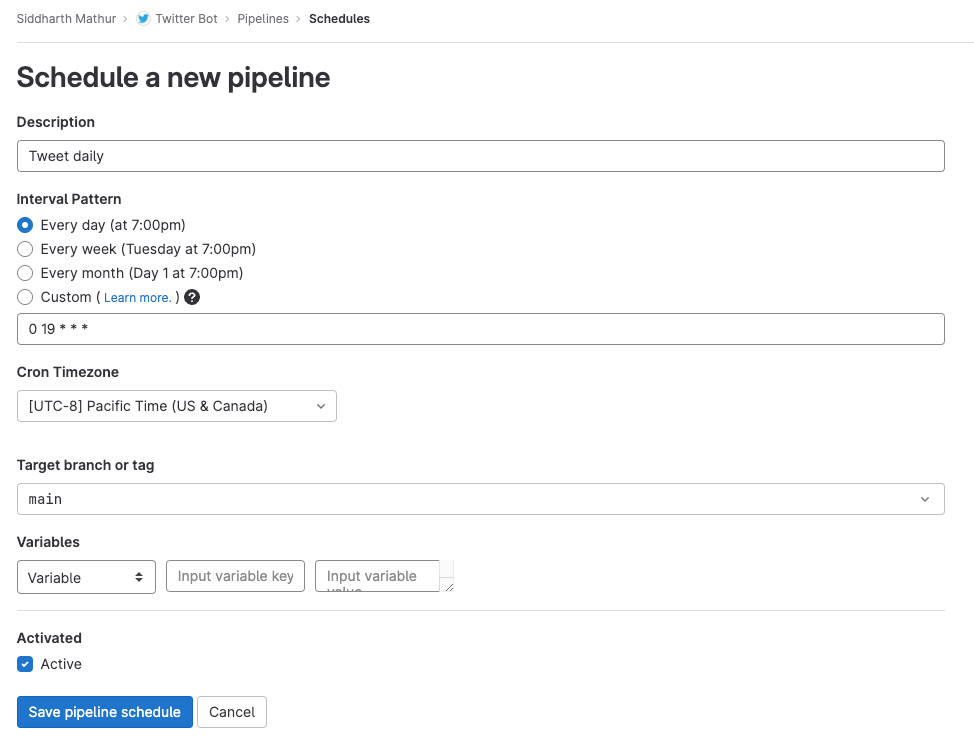
Once you've verified that your pipeline runs successfully, schedule your pipeline to automatically run at a regular interval. Go to CI/CD > Schedules, and click "New schedule". Feel free to use one of the default provided intervals, or use cron to set a custom schedule. Specify a timezone, and ensure that the "Active" checkbox is checked. Finally, click "Save pipeline schedule". You'll see that your pipeline has been scheduled to run, and when it will run next.
And that's it! You now have a fully-functional Twitter bot running on GitLab, using CI/CD pipelines to automatically post tweets. While this demo Twitter bot simply posts a specified text message, you can add your own logic to generate sentences using AI, perform sentiment analysis on other users' tweets, and more. Running a Twitter bot is just one of the many ways you can leverage pipelines in GitLab, and you can also check out some other interesting use cases.


