
This blog post was originally published on the GitLab Unfiltered blog. It was reviewed and republished on 2021-03-02.
In GitLab 13.8, we introduced the first iteration of the Pipeline Editor: a dedicated editor designed for authoring your CI/CD. It is your one-stop shop for everything you need to configure your CI/CD pipelines.
Why do we need a dedicated editor for pipelines?
GitLab's advanced syntax provides a high degree of customization for sophisticated and demanding CI/CD use cases. However, all of this power and flexibility comes with a fair bit of complexity. The Pipeline Editor helps you mitigate this challenge and serves as a single solution that groups all existing CI authoring features in a single location. It is our foundation, and we plan to build on it with enhancements in future iterations.
Getting started
In order for the pipeline editor to work, you'll first need to create a .gitlab-ci.yml file in your project. The .gitlab-ci.yml is a YAML file where you configure specific GitLab CI/CD instructions. Check out how we are working on improving the first-time experience of creating a .gilab-ci.yml file directly from the Pipeline Editor.
Continuous validation
Once you have created the .gitlab-ci.yml file and navigated to it in the Pipeline Editor, you can begin editing your configuration. Writing YAML can be error prone. No matter how technical or skilled you are, programming mistakes happen. Sometimes an indentation will be missed, the incorrect syntax is used, or the wrong keyword is selected, and that's OK! As you start authoring your pipeline, GitLab will inspect the pipeline configuration using our linting APIs and provide you with an indicator of whether your pipeline configuration is valid or not. We will continuously validate your pipeline without making any changes to your pipeline configuration, so you can have confidence in hitting "merge" and running your pipeline without any surprises.
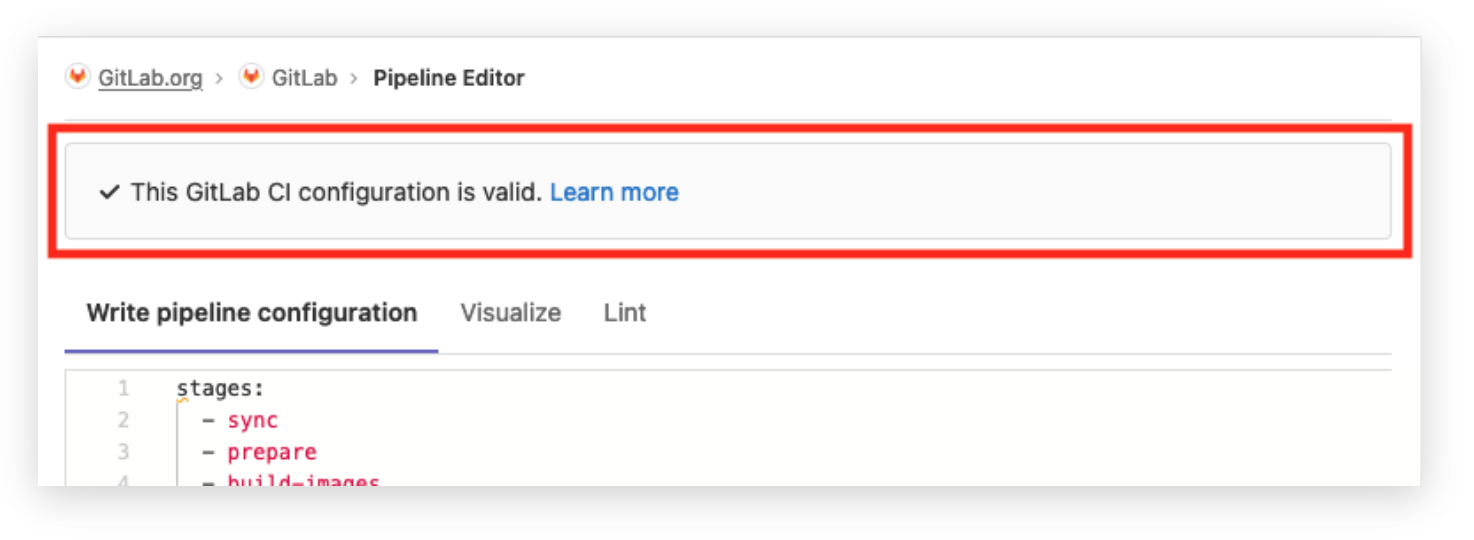 Continuous validation of your pipelines
Pipeline visualizer: Seeing is believing
It's practically impossible to envision what a pipeline should look like when you start writing from a blank YAML file. Luckily, GitLab provides you with a full pipeline view for every running pipeline. But, what if you want to visualize your pipeline before they begin to run? Well, you can do that now by navigating to the "Visualize" tab in the Pipeline Editor. You'll find an illustration that shows how your pipeline should look as you write it, similar to the linter, and GitLab will display the visual before making any commits, before running, or before altering your pipeline in any way.
In the visualization, we will group all your defined pipeline jobs by stages and add links between the jobs based on the needs relationships you've configured.
If we take a look at the example below, you can easily see that I've configured a three-stage pipeline, where the build stage has three jobs (step 1-3), and that step 4 needs steps 1 and 3.
 Pipeline visualizer
Here is what the YAML looks like:
image: alpine:latest

stages:
  - test
  - build
  - deploy

prepare:
  script: exit 0
  stage: test

step1:
  script: echo testo
  stage: build
step2:
  script: echo testo
  stage: build
step3:
  script: echo testo
  stage: build

step4:
  needs: ['step1', 'step3']
  script: exit 0
  stage: deploy
View an expanded version of the CI/CD configuration
When configuring pipelines, you use keywords like 'include' and 'extends' often. These keywords help break down one long pipeline configuration file into multiple files, which increases readability and reduces duplication. Unfortunately, those keywords can make a pipeline configuration hard to follow. In some configurations, a pipeline configuration file can be mostly composed of a list of other included configuration files.
To make the configuration easier to follow, we've added the ability to view a version of your pipeline configuration with all of the 'includes' and 'extends' configurations merged together as a fourth tab in the Pipeline Editor. Now it's much easier to understand more complex pipeline flows and this simplifies the debugging process.
Pipeline configuration example:
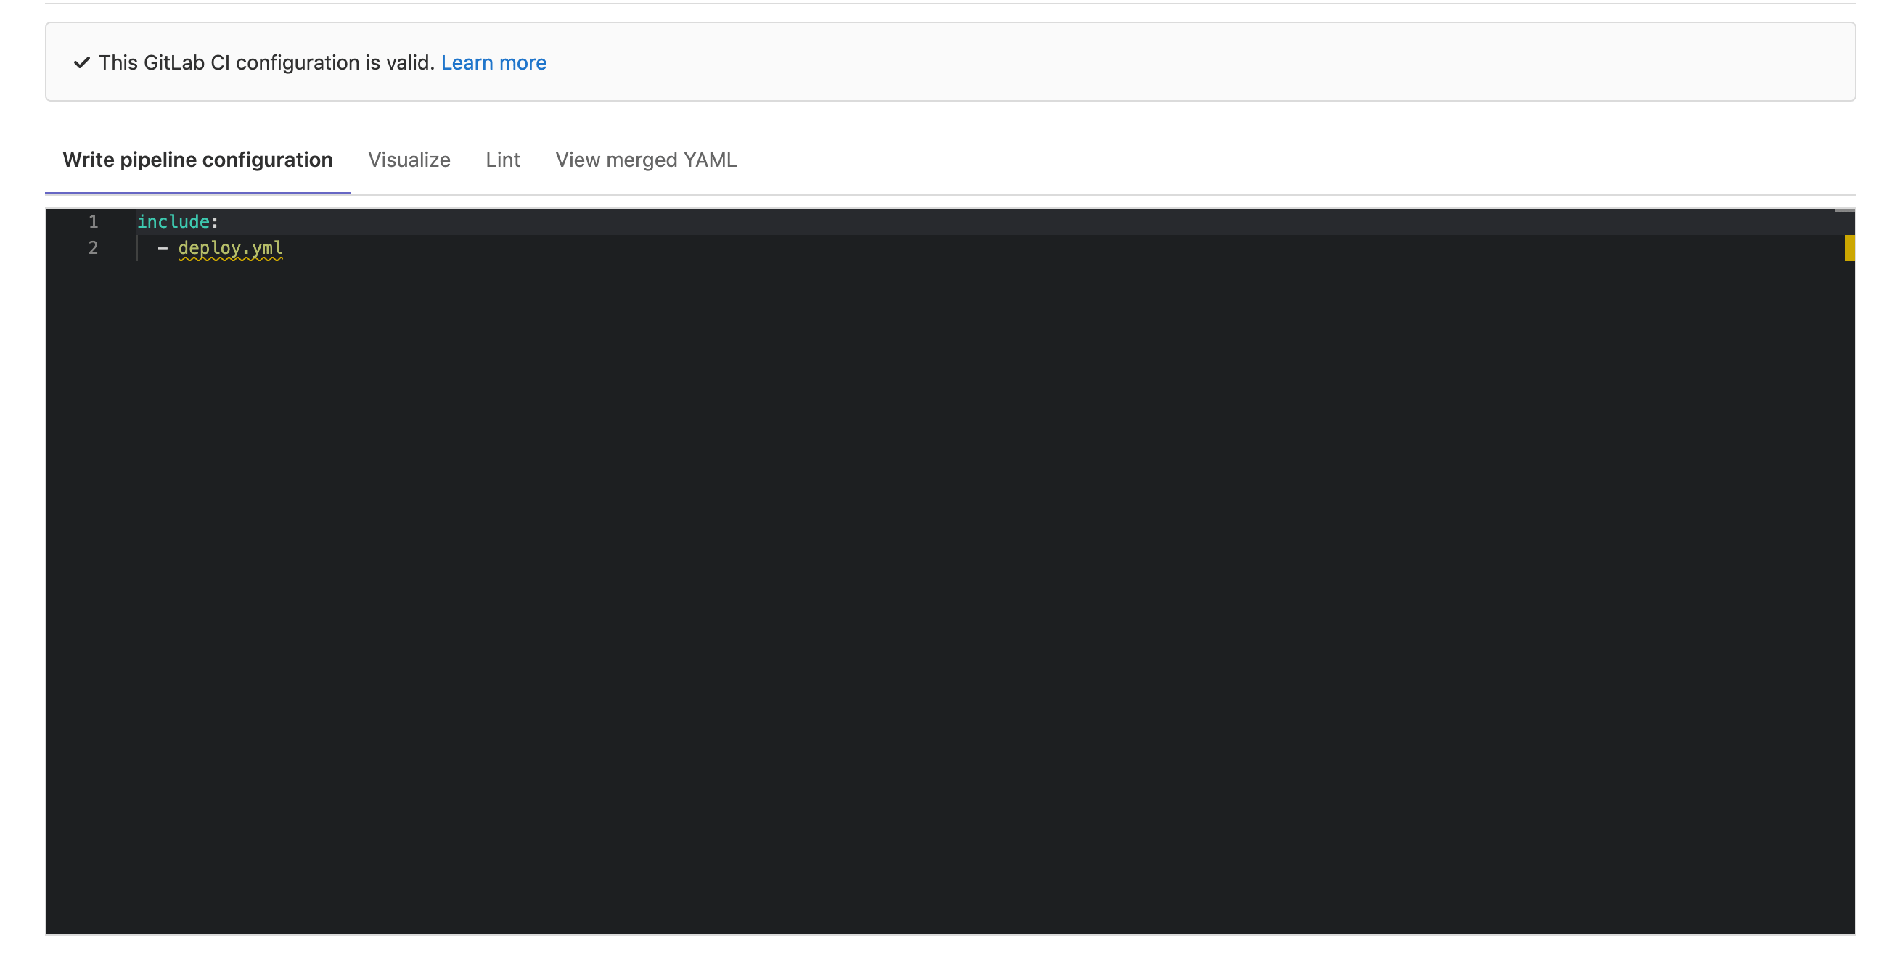
The expanded version of the pipeline configuration:

Lint
The CI lint helps you validate your pipeline configuration and provides you with additional information about it. That's why we've copied the existing CI linter (which was well hidden in our jobs page) to the Pipeline Editor as a third tab.
The linter provides you with detailed information about every job you've configured in your pipeline. For each job, it provides the before_script, after_script, and script fields, tags, environment names, branches it should run, and more…
If you look at the following example, just by looking at the linter tab you'll know that the prepare job:
- Runs in the
preparestage - Contains
before_script,script, andafter_scriptsfields - Runs only on master
- Runs upon failure
- Tag as production
- Has the environment set to production

In this second example, you can see that the build job is a manual job that runs on all branches and is allowed to fail:

How the Pipeline Editor came about
Earlier this year, we decided to split continuous integration into two separate teams: Continuous Integration, which is responsible for improving the experience of running a CI/CD pipeline, and Pipeline Authoring, responsible for helping you author your pipeline. We've defined the Pipeline Authoring team goal as, "Making the authoring experience as easy as possible for both advanced and novice users."
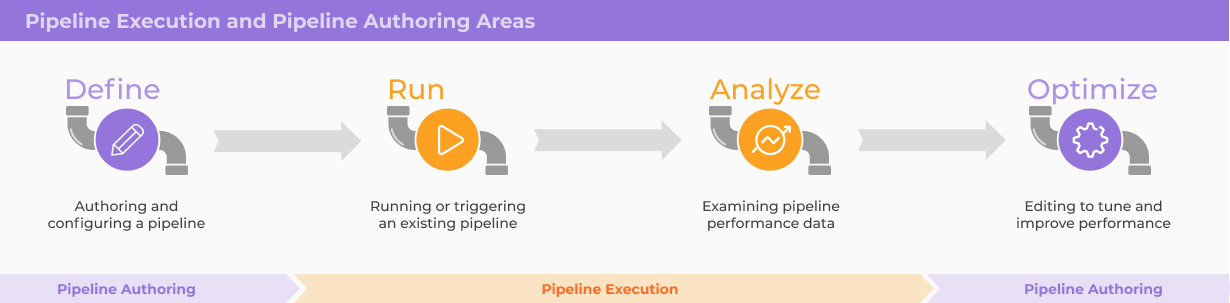
As a team, we realized that a dedicated authoring area is needed to achieve our ambitious roadmap – this is when the Pipeline Editor idea was formed.
Try out Pipeline Editor yourself
That's it! I hope you found this overview useful. To get started with GitLab CI, you can try out our hosted GitLab.com solution, or you can download GitLab Self-Managed and read its documentation for more in-depth coverage of the functionality.
If you are using our Pipeline Editor, we would love it if you leave us a note on our feedback issue! If you'd like to learn more about the upcoming features, feel free to read through the Pipeline Editor second iteration epic, and tag @dhershkovitch if you have any questions.


