
If you use GitLab Self-Managed, then getting started with GitLab CI using GitLab's integration with Google Kubernetes Engine (GKE) can be accomplished in a few simple steps. We have several blog posts and documentation that provide detailed setup instructions for working with Kubernetes clusters. In this post, we highlight the essential steps so that you can get going with GitLab CI/CD in less than 15 minutes.
By using the GitLab and GKE integration, with one click, you install GitLab Runners on GKE and immediately start running your CI pipelines. Runners are the lightweight agents that execute the CI jobs in your GitLab CI/CD pipeline.
Prerequisites:
The following pre-requisities will need to have been configured in order for you to use the built in GitLab GKE integration:
- GitLab instance installed and configured with user credentials
- Google OAuth2 OmniAuth Provider installed and configured on your GitLab instance
- A Google Cloud project with the following APIs enabled:
- Google Kubernetes Engine API
- Cloud Resource Manager API
- Cloud Billing API
Get started

Step 1
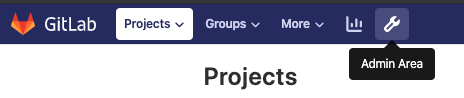
We’re going to add a shared runner at the instance level. First, as an administrator, click the “Admin Area” icon
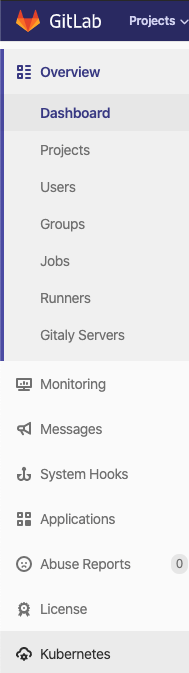
Then on the left menu, select “Kubernetes”
Step 2
Click the green “Add Kubernetes cluster” button.

Step 3
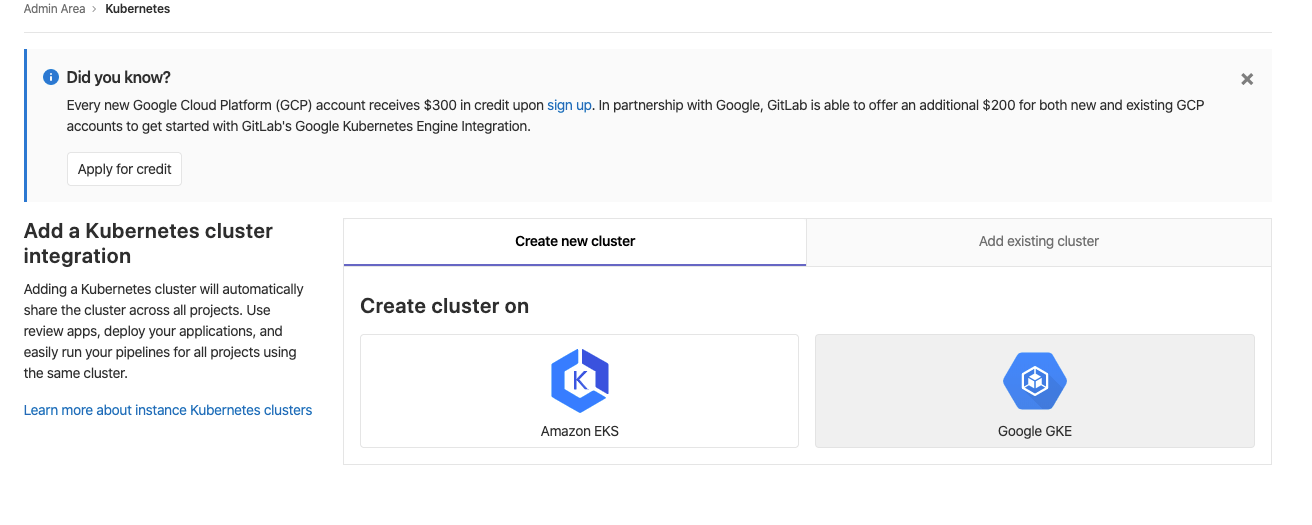
The screen to “Add a Kubernetes cluster integration” should come up. Click on the “Google GKE” icon on the right.
Step 4
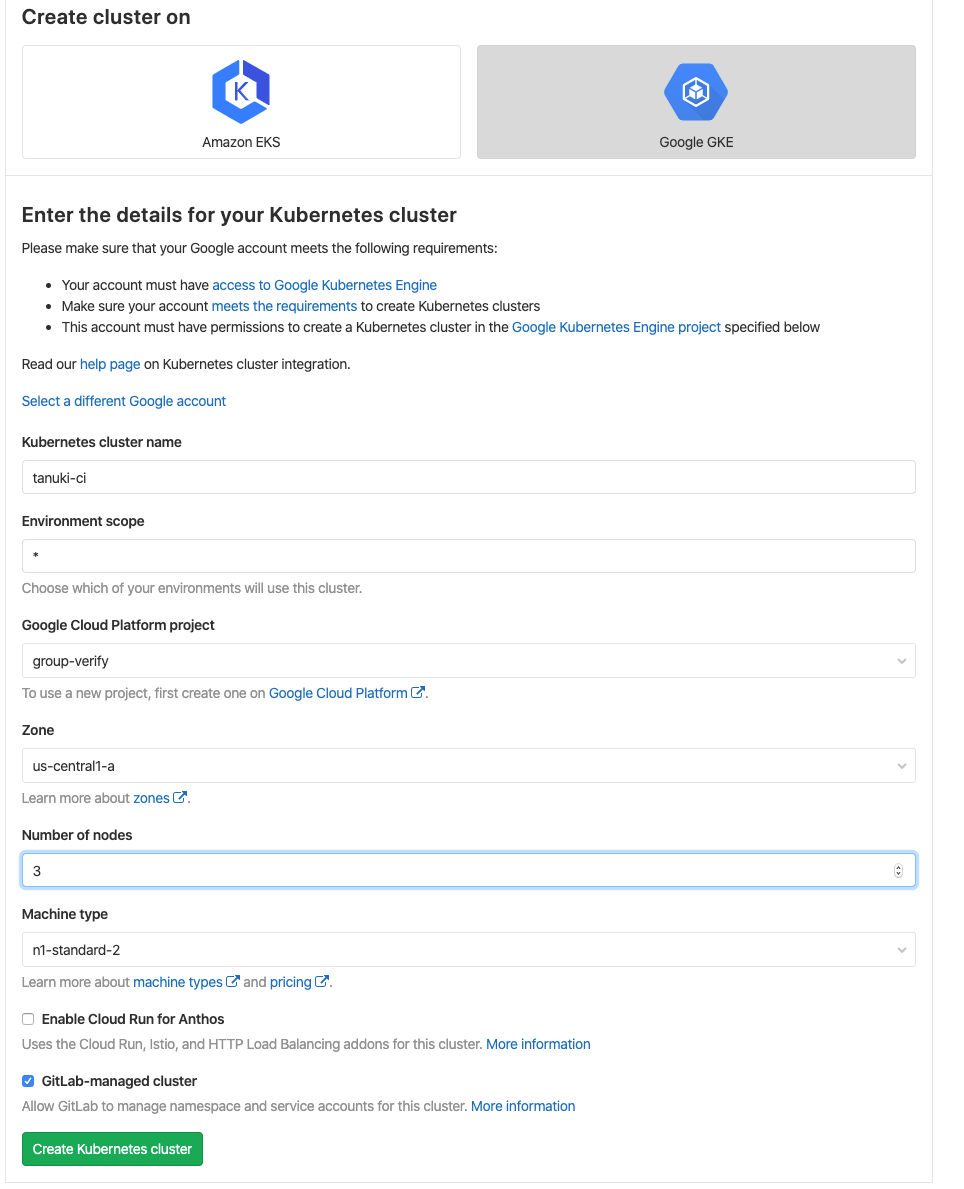
Give your cluster a name, and select a “Google Cloud Platform project” from your linked GCP account. If no projects are populated in the menu then either your Google OAUTH2 integration isn’t configured correctly or your project is missing the needed permissions. Check that these are set up and that the APIs mentioned in the prerequisites above are enabled.
Choose a zone in which to run your cluster. For the purposes of running CI, the number of nodes in your cluster is going to be how many simultaneous jobs you can run at given time. As we are using the built-in GitLab Google Kubernetes integration, you can set a maximum of four nodes. Here we set that to three.
Click “Create Kubernetes Cluster”
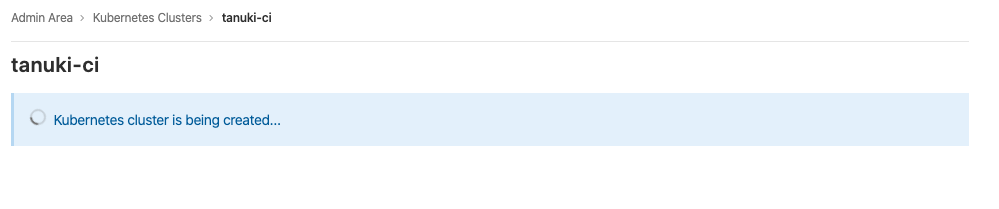
It takes a few minutes for the cluster to be created. While it’s happening you should see a screen like this. You can leave this screen and come back (by going to “Admin Area> Kubernetes > [your cluster name]”)
Step 5
Once the cluster has been created, we need to install two applications. First, install “Helm Tiller” by clicking on the “Install” button next to it.
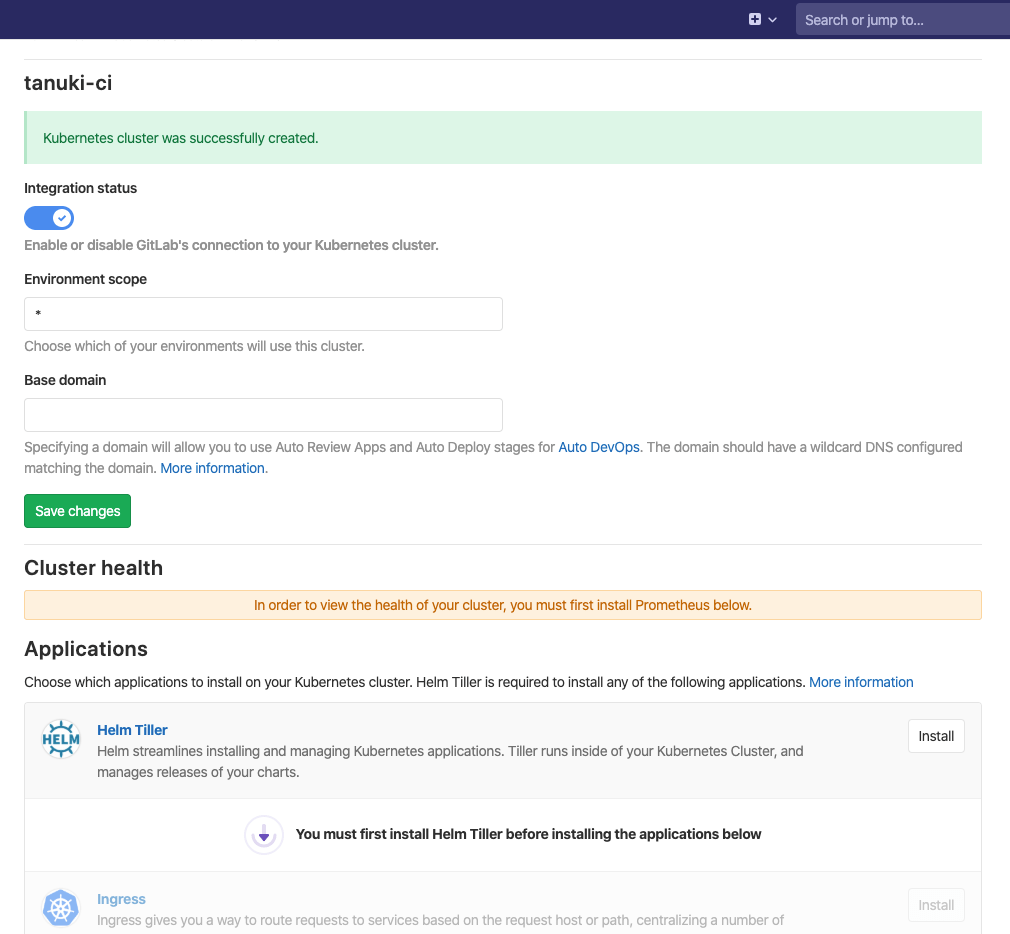
This takes a moment, but should be much quicker than creating the cluster initially was.

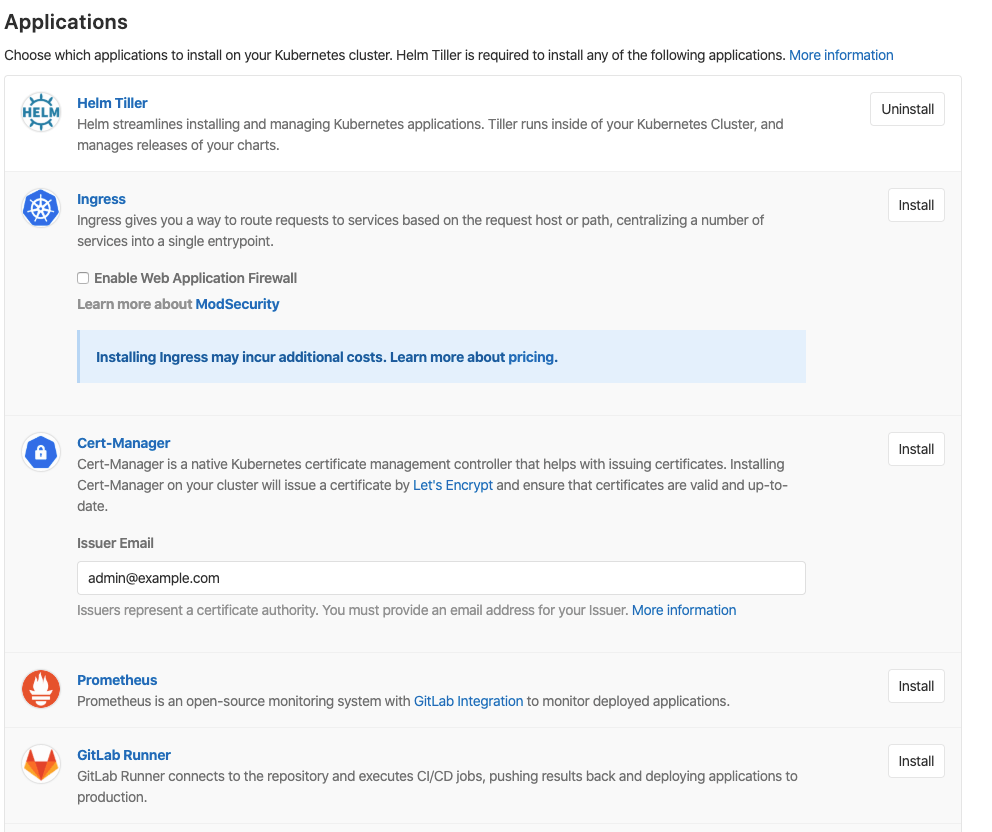
Step 6
Now that Helm Tiller is installed, more applications can be installed. For this tutorial we only need to install the “GitLab Runner” application. Click the install button next to GitLab Runner.
Again, this should go pretty quickly.

Once done, the button will change to an “Uninstall” button. You’re now set up with shared runners on your GitLab instance and can run your first CI pipeline!

Next steps
Now that you are up and running with GitLab CI/CD on GKE, you can build and run your first GitLab CI/CD pipeline. Here are links to a few resources to get you started.
- Getting Started with GitLab CI/CD
- How to build a CI/CD pipeline in 20 minutes or less
- Getting started with Auto DevOps
If you are planning to manage your own fleet of GitLab Runners, then you may also be thinking about how best to set up autoscaling of GitLab Runners. As we have just set up your first Runner on GKE, then you can review the GitLab Runner Kubernetes Executor docs for additional details as to how the GitLab Runner uses Kubernetes to run builds on a Kubernetes cluster.
Other resources
- Scalable app depoyment webcast
- Install GitLab on a cloud native environment
- Adding and removing Kubernetes clusters
- Deploy production-ready GitLab on Google Kubernetes Engine
Cover image by Agê Barros on Unsplash


