It’s not enough to say something is quick and easy. To have a better understanding of some of the benefits of using GitLab CI/CD, it’s much better to show you.
In a short video, Itzik Gan-Baruch technical marketing manager, demonstrates how to submit a code change using GitLab Web IDE. In three minutes, teams can submit a code change and commit it, trigger a CI pipeline to scan for any errors, and ship the updated application to users.
Getting started with GitLab Web IDE
All code that gets automatically tested and deployed to production has a human at its source. In GitLab 10.7, we released the first iteration of our Web Integrated Development Environment (IDE) after observing how non-developers struggled with editing multiple files and committing those changes. Since we believe that everyone can contribute, building an editor that was integrated with GitLab that made it easier for anyone to contribute seemed like a natural fit. To access the Web IDE, just click the button from any GitLab project.
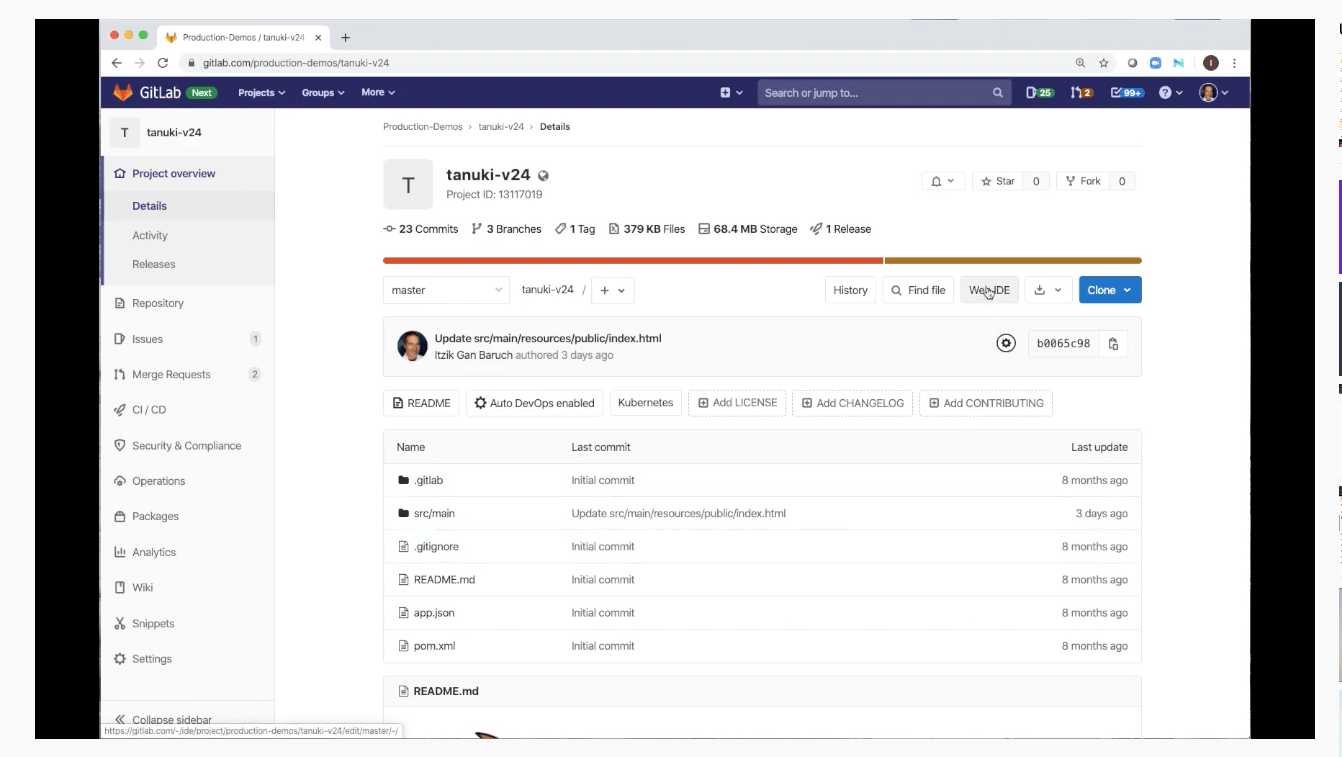
The Web IDE button
In this simple project with a job application, you can use the Web IDE to make a code change and push it to a feature branch. Select the file you would like to change from the menu on the left.
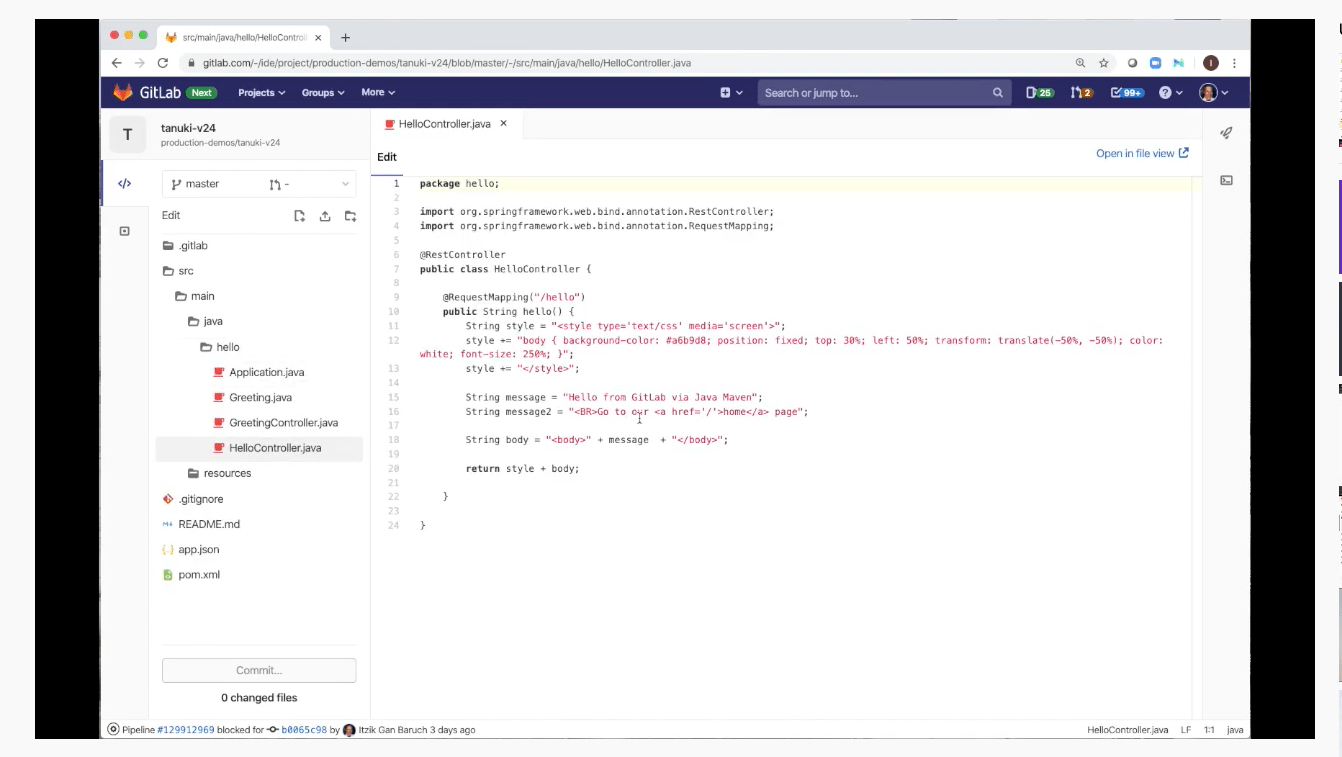
Selecting a file from the Wed IDE
Once you’ve modified the text in that file, add a commit message and create a new branch. Click Commit to create a merge request.
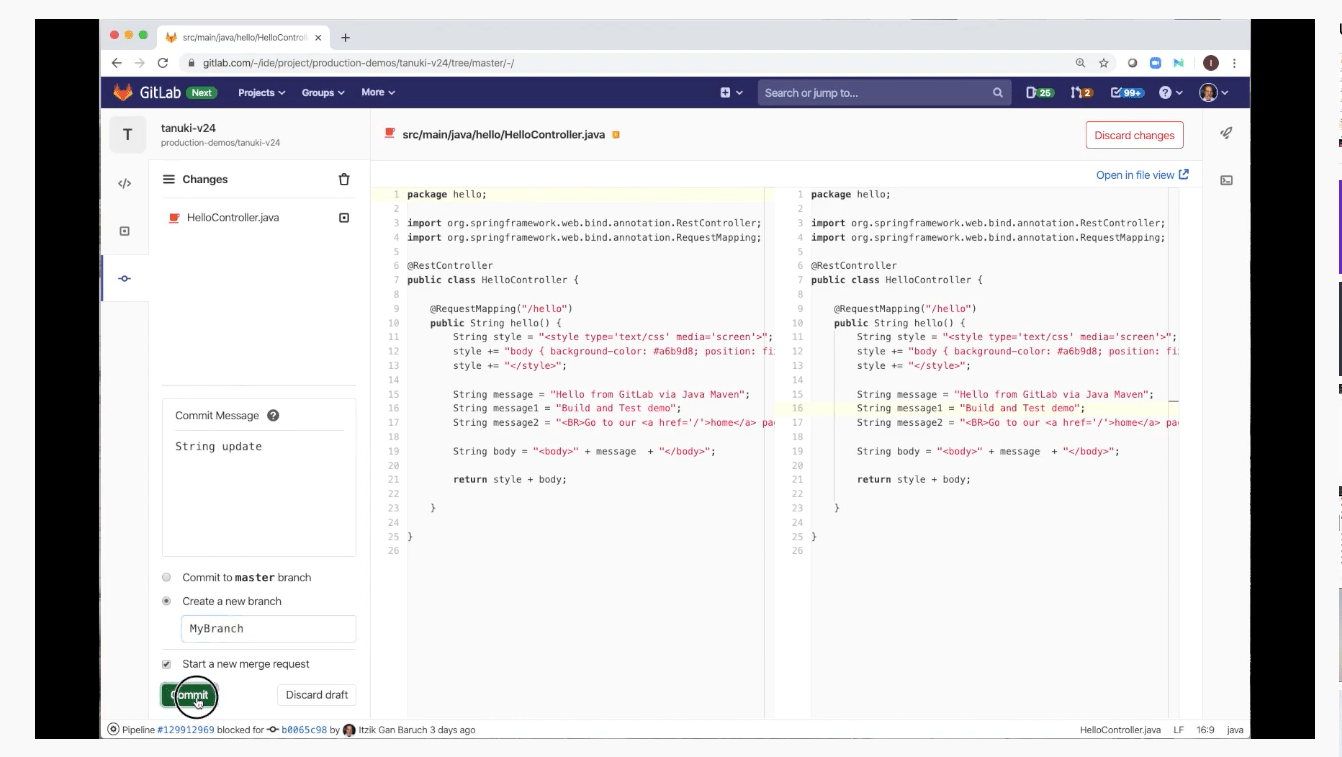
Commit to create a merge request
Your commit generates a merge request, and from here you can add an assignee, tie this code change to a specific milestone, add labels, or add any additional information regarding the change.
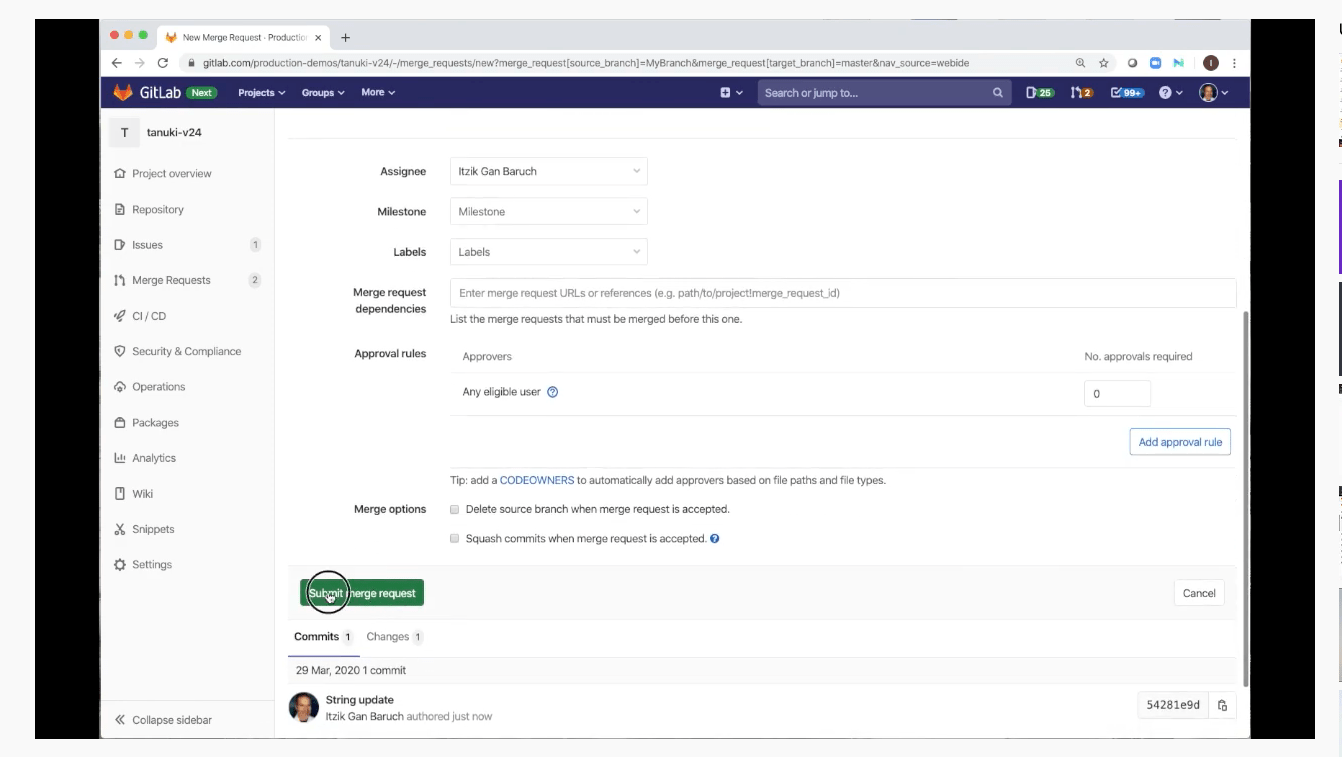
Submit merge request
A new continuous integration pipeline is triggered automatically. Click on the pipeline to see the stages.
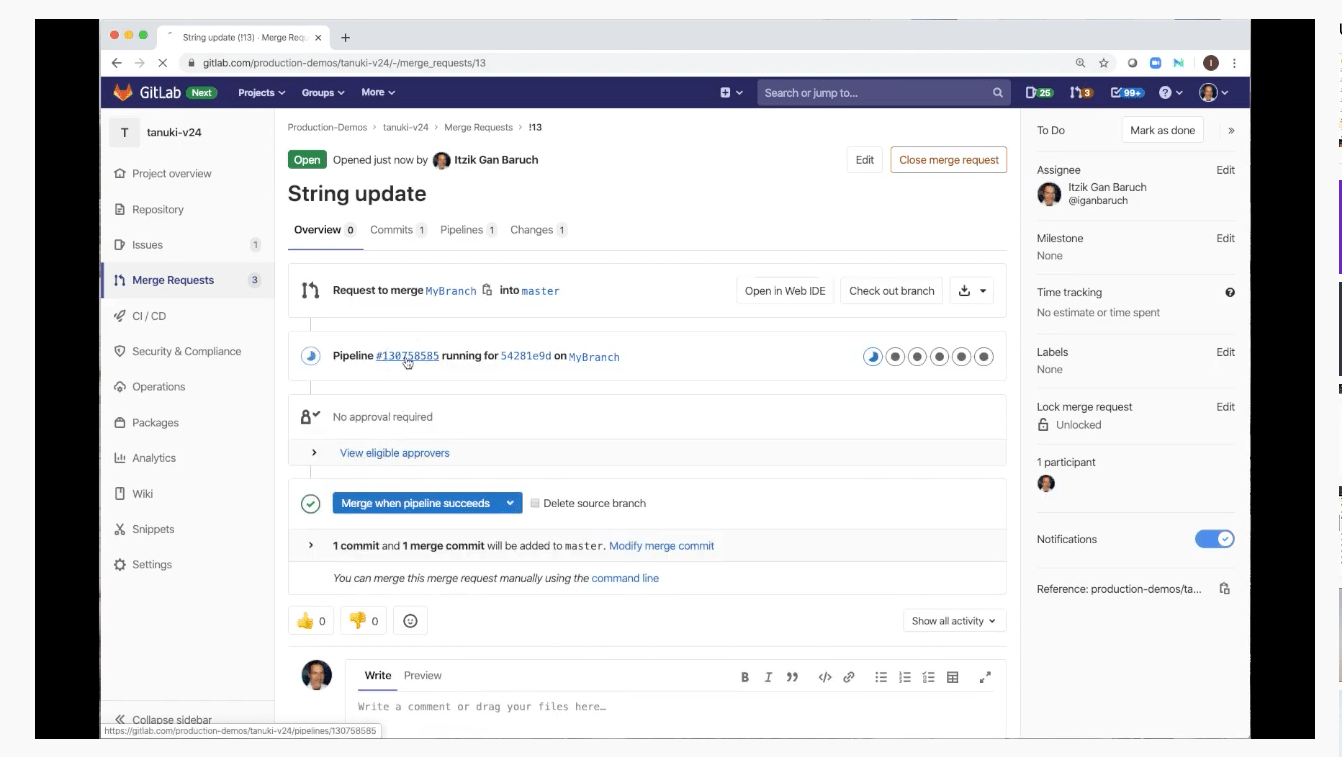
Click on the pipeline from the merge request
In this project, the pipeline needed zero-configuration because it was generated through GitLab's Auto DevOps capability. The pipeline has stages and a few jobs within each stage.
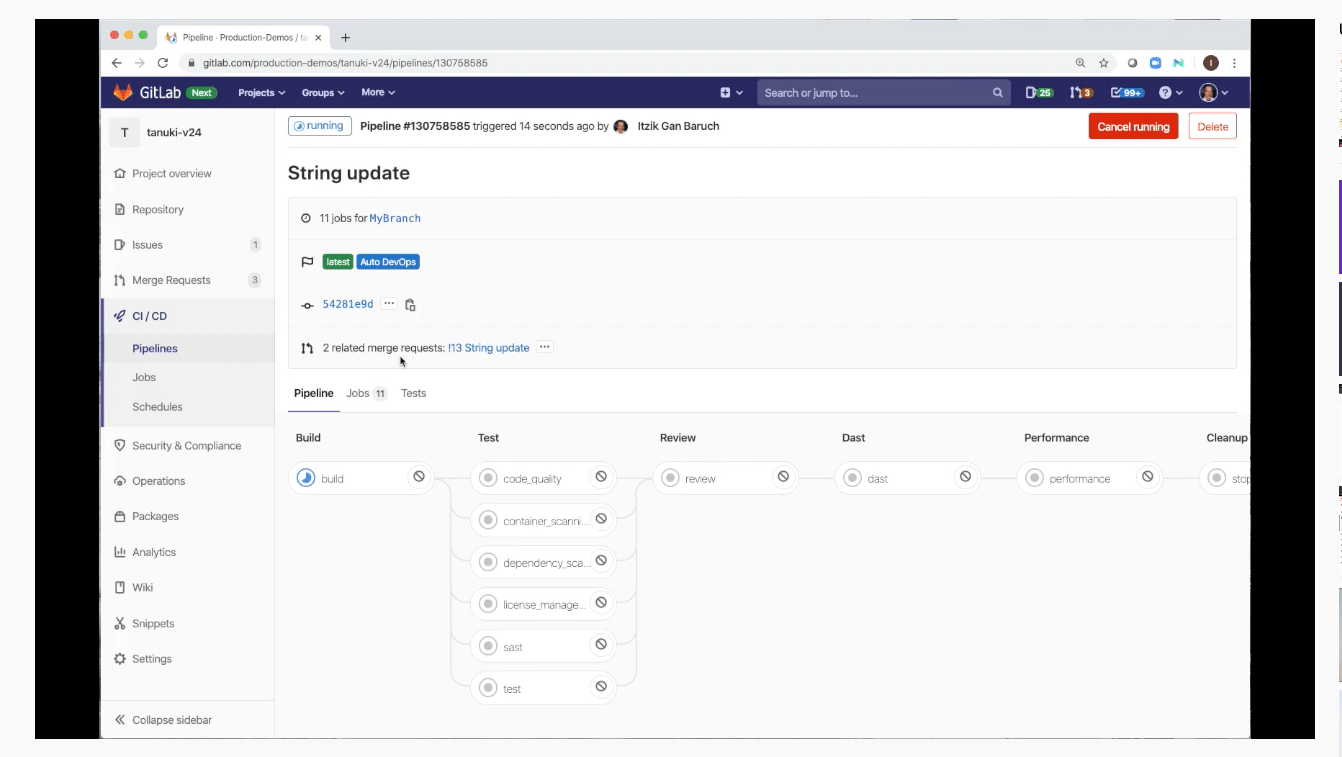
A CI pipeline automatically configured with GitLab Auto DevOps
First, it builds a Docker image for the code and pushes it to the container registry. From there, it begins tests and scans jobs that run in parallel to help speed up the pipeline.
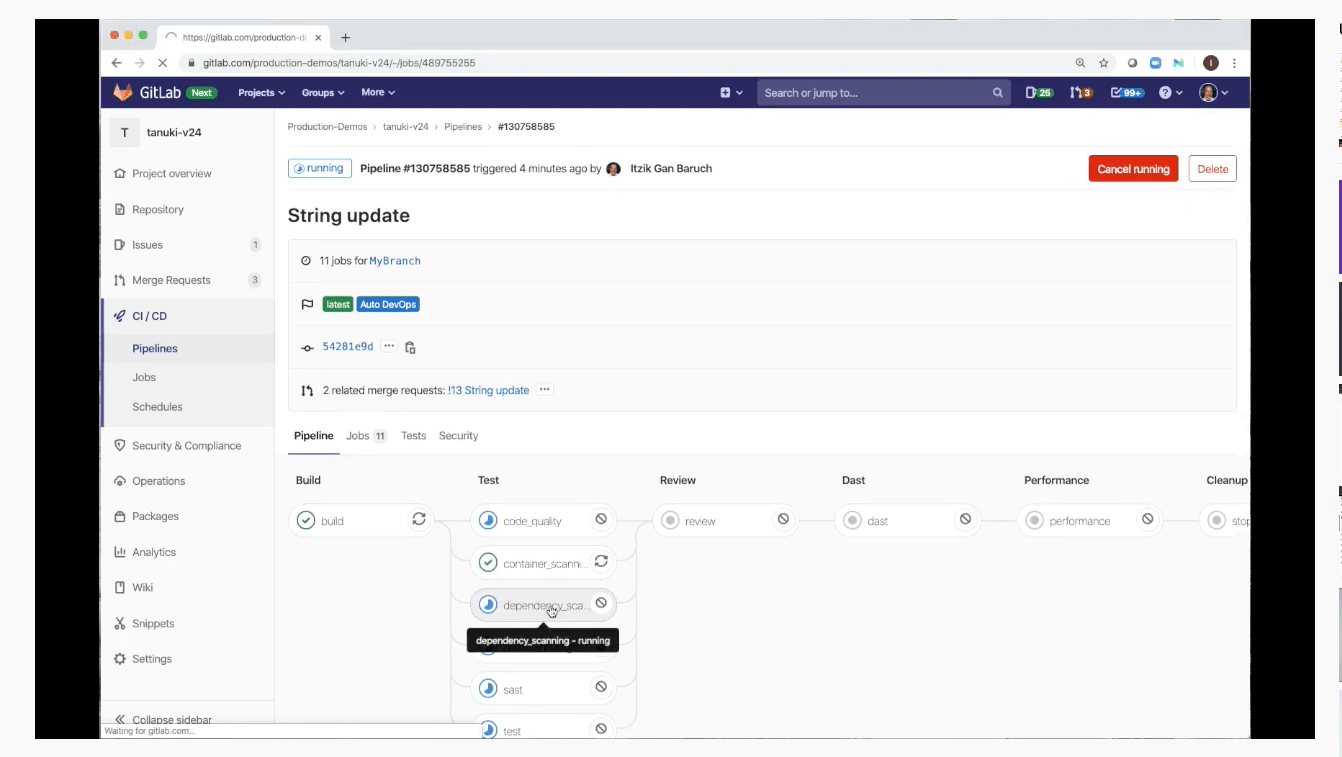
Click on a job within the pipeline stage to get more information
By clicking on a job within the stage, you can see what happens.
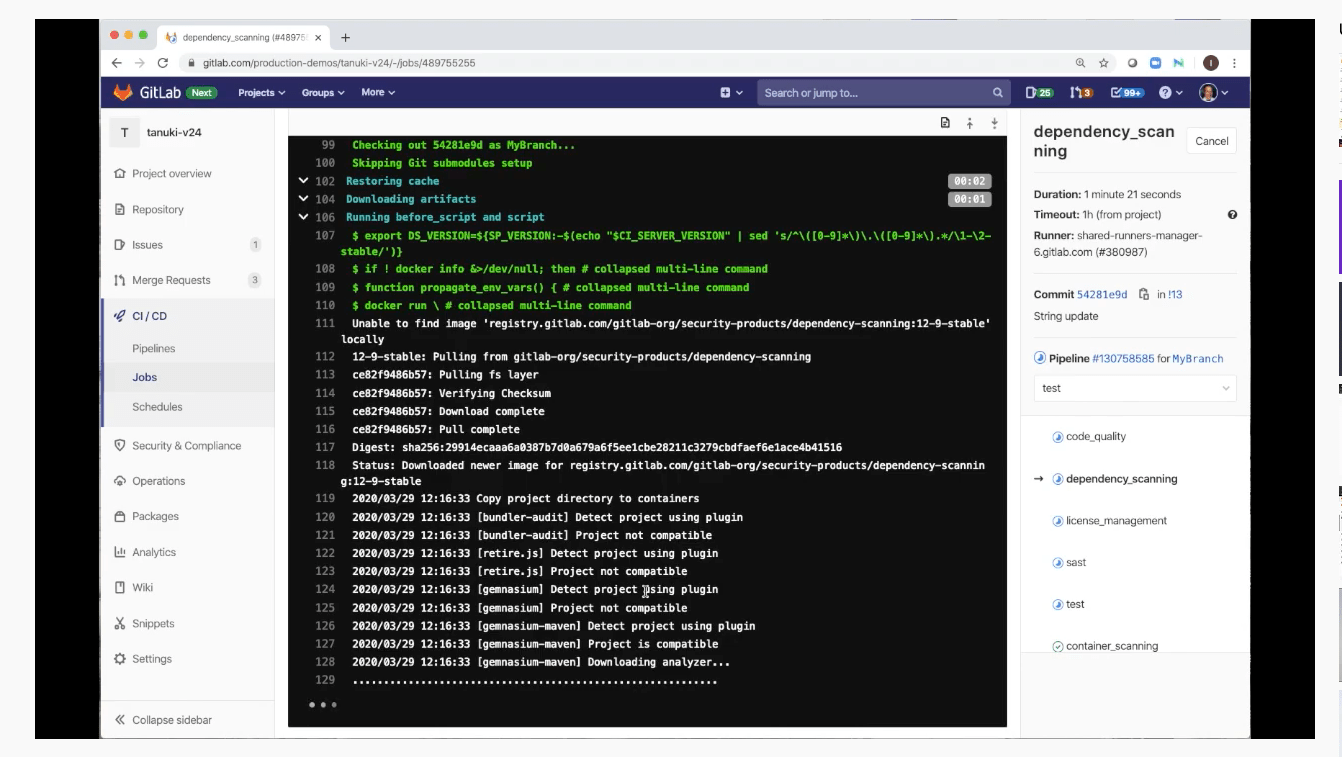
Dependency scanning details
Once all tests are completed, all test results will be added to the merge request that was created. The merge request is really the key to using GitLab as a code collaboration and version control platform. It’s simply a request to merge one branch into another.
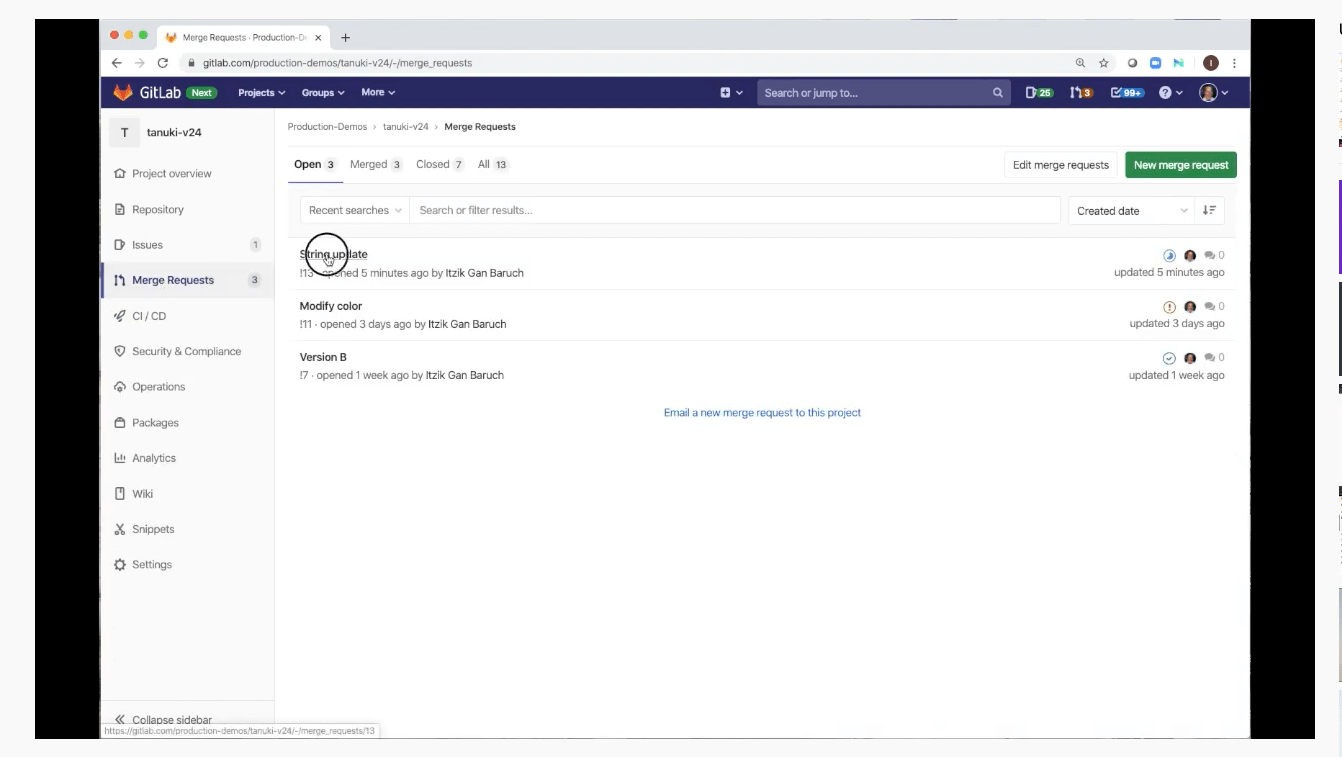
Merge requests for this project
Review Apps are a way to visualize the changes that were made. Click View app once the pipeline has completed to access the staging environment.
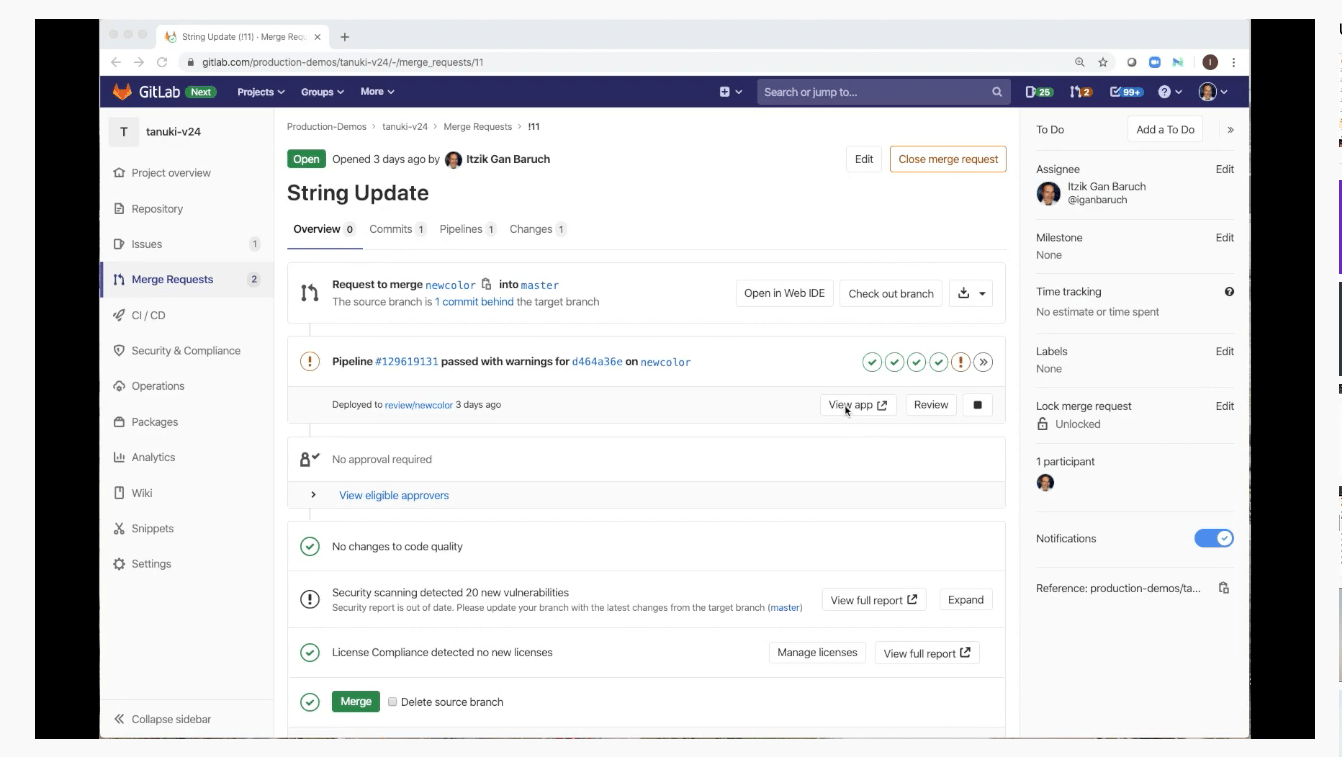
Select View app to access a staging environment once a pipeline completes.
In this environment, only changes that were made in the merge request will be displayed. This link can be sent to others so they can view the changes from a web browser.
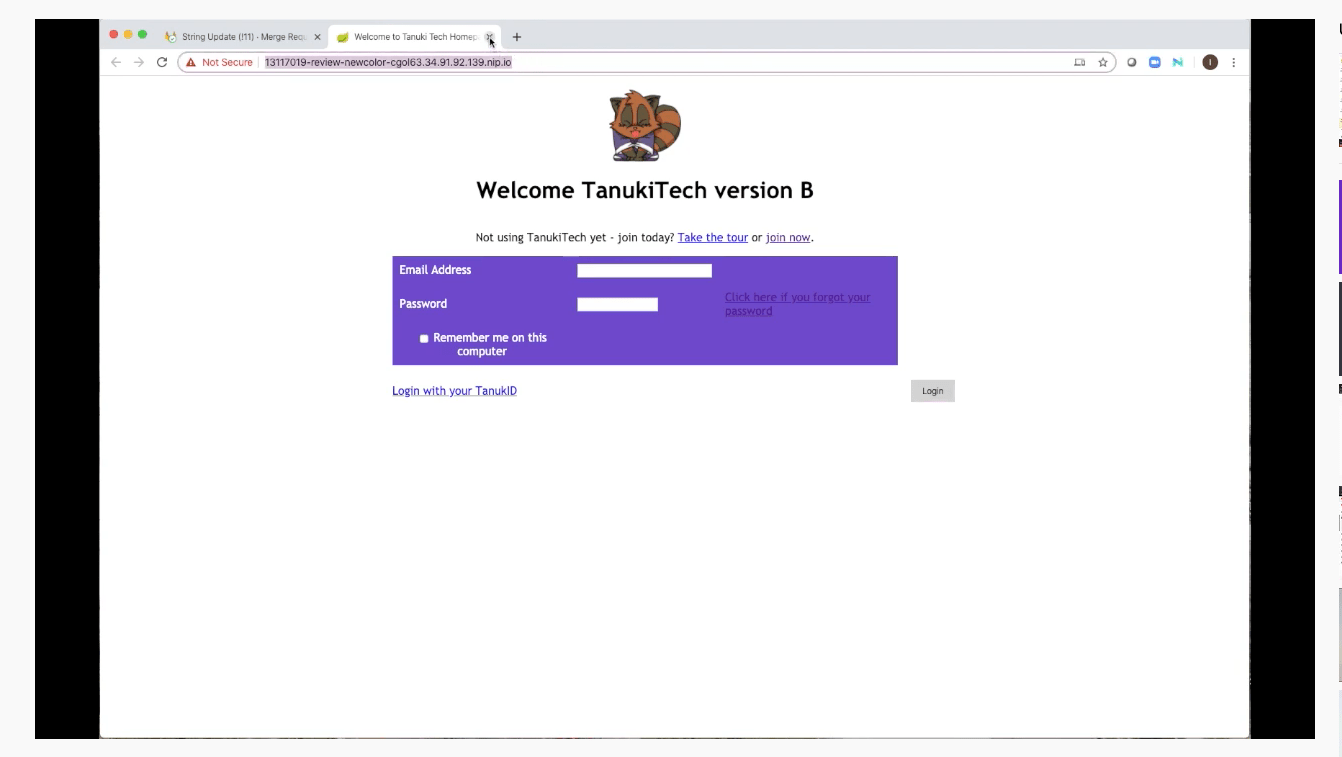
The Review App for this project
From the merge request, you can see the test results, including changes to code quality and the security scans. This scan detected 20 new vulnerabilities. If you’d like more information, just click Expand on the right.
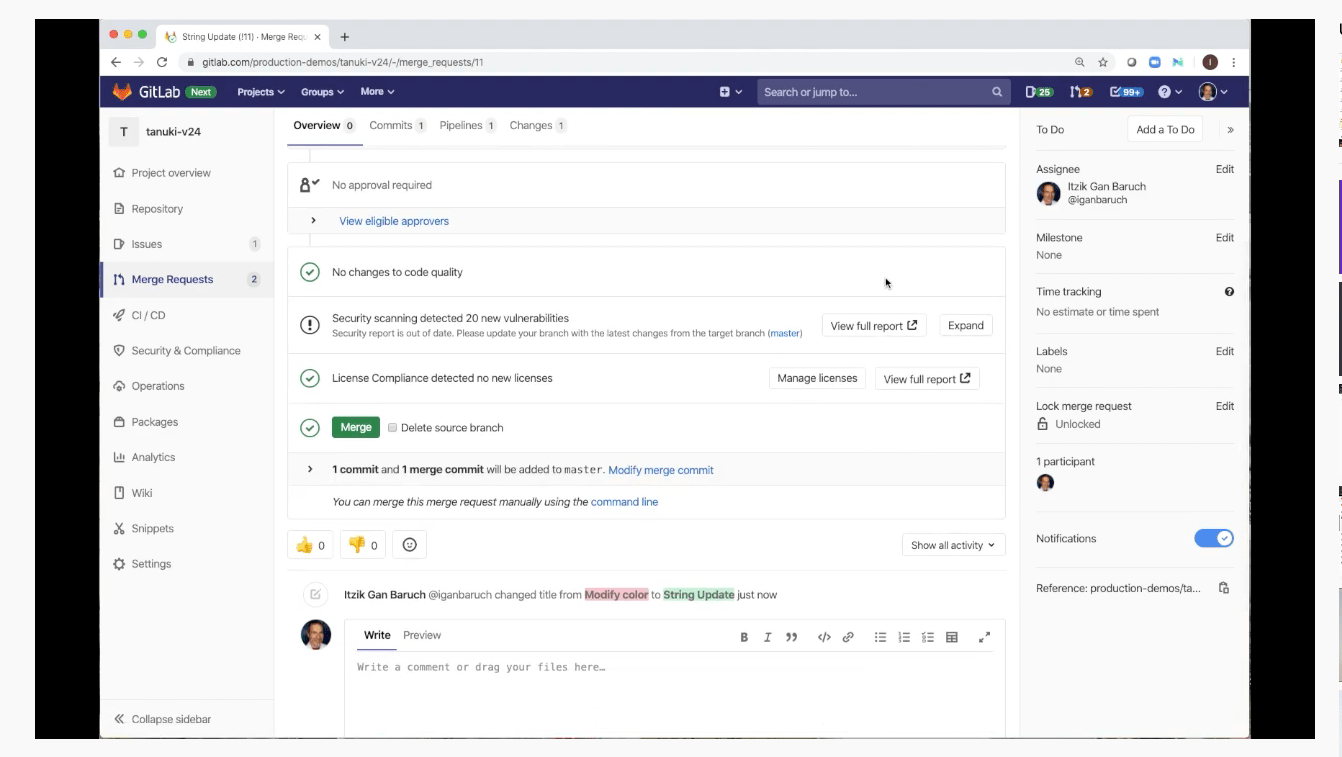
Pipeline test results
Once the results have been expanded, you can click on each one to get more details.
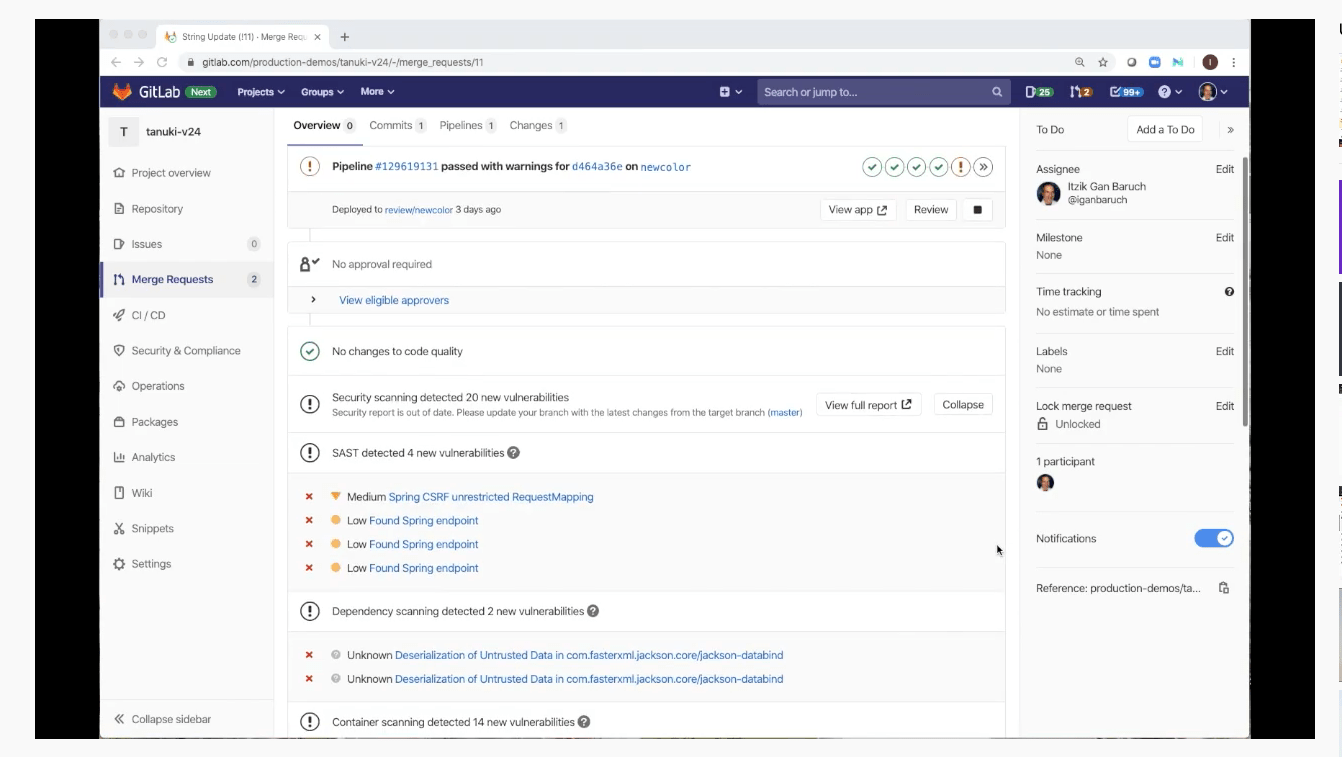
SAST vulnerabilities detected
By clicking on one of these results, you can see the file that caused the vulnerability as well as the problematic lines of code.
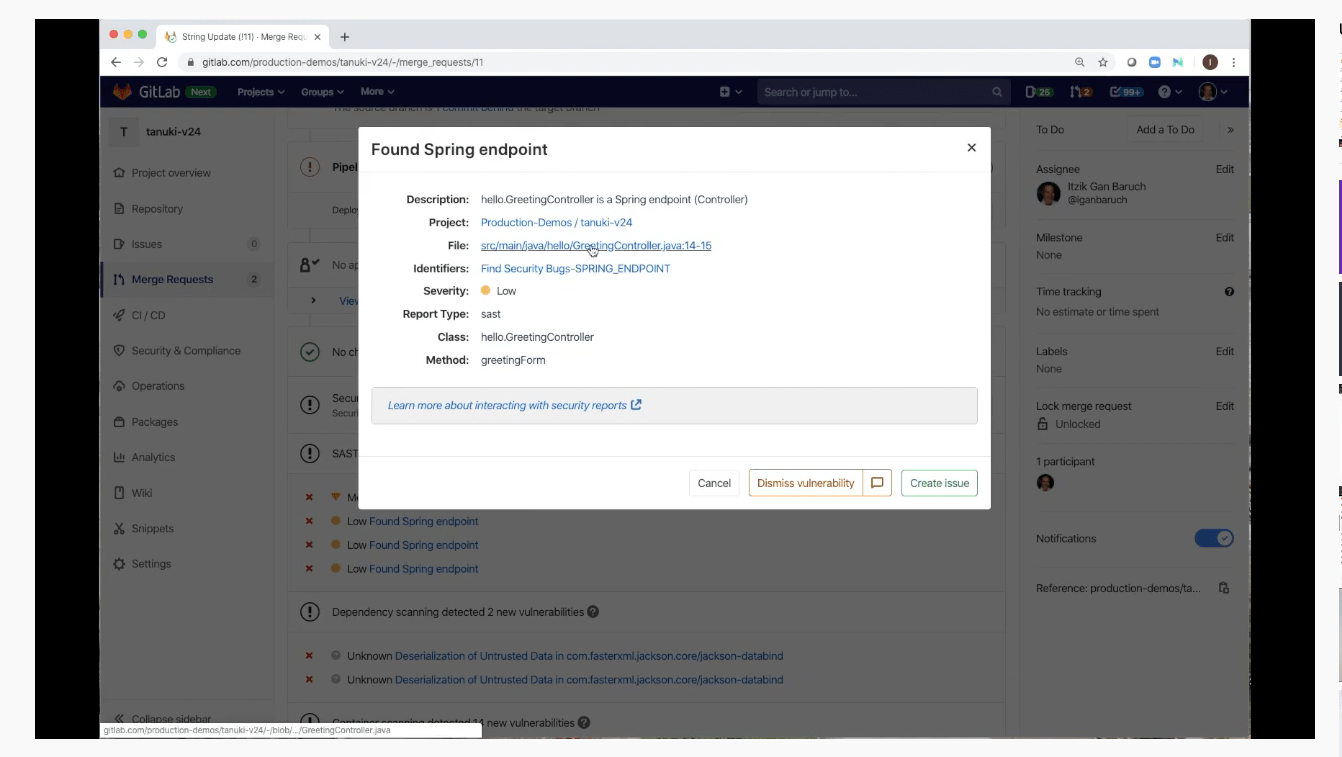
Security report
From this menu, you can choose to dismiss the vulnerability or create an issue so that someone can fix it. Details from the test will be added to the issue automatically.
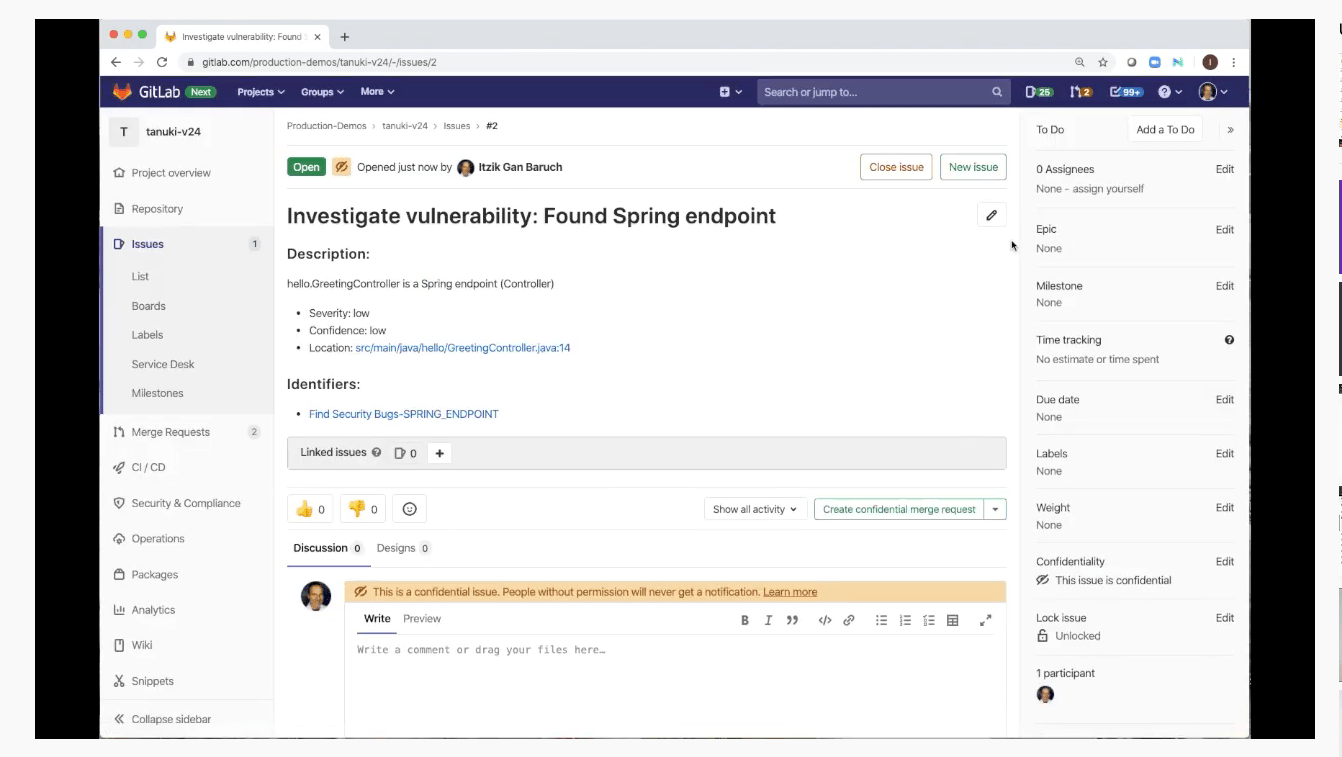
A new issue created to investigate a vulnerability
From your original merge request, you can collaborate with others and have them take a look at the proposed changes.
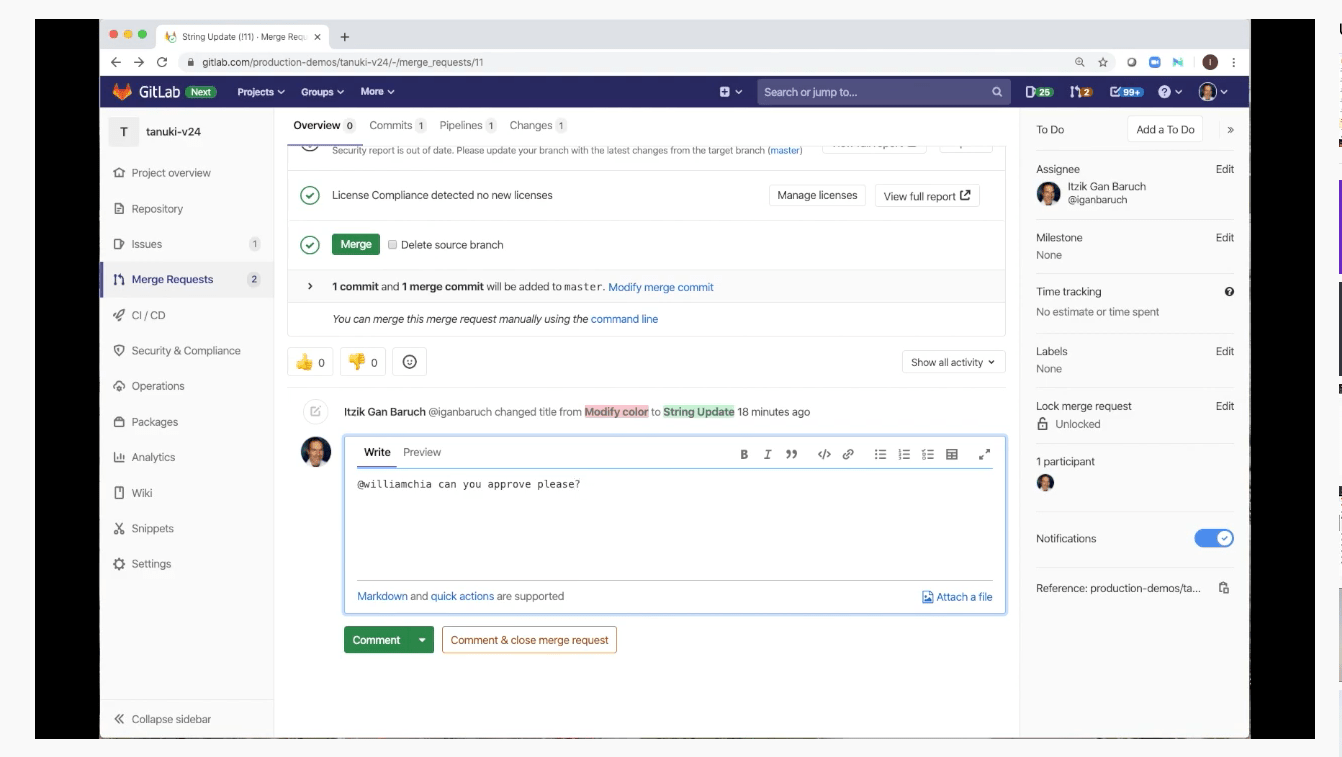
Tag someone in a merge request to have them see your changes
Once you’ve gathered feedback and all pipelines have passed, click the merge button to trigger a new pipeline to deploy your application to production
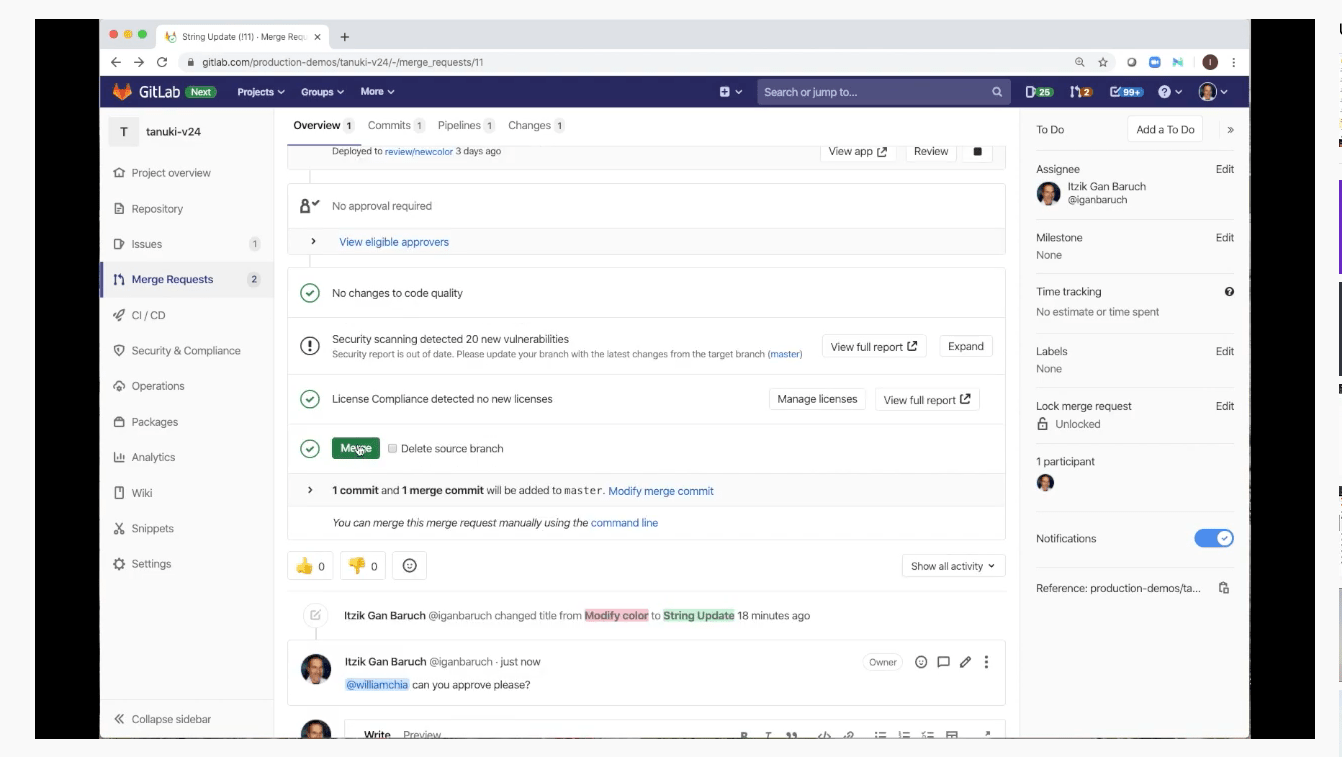
Click merge to trigger a deployment pipeline
This workflow shows how anyone can contribute code without using a command line. The Web IDE makes it easy for anyone to make changes without introducing additional risks or quality issues, all from the GitLab interface.
To see this three-minute demo in real-time, just watch the video below.