
is now in public beta!
Published on: July 13, 2016
8 min read
How to Set Up a GitLab Instance on Microsoft Azure
Learn how to set up a GitLab Instance on Microsoft Azure with this tutorial
Note: This article has been moved to our documentation so it can be more easily updated. We recommend using the Azure installation documentation.
GitLab is a scalable, self-managed Git repository "ecosystem". It is available as a free Community Edition and as a subscription-based Enterprise Edition. If you want to host your own full-featured source control system, under your control, then you should consider GitLab. Spinning up your own instance can be done in just a few hours using the Omnibus packages.
But what if you don't want to invest that much time to see if GitLab is for you? Does Linux scare you? Do you want to try GitLab quickly without a big up-front investment? Need someone else to handle your GitLab administration? Microsoft Azure may be the answer.
Note: we assume you are familiar with GitLab and you wish to have your own GitLab instance on-premises, working in a Virtual Machine.
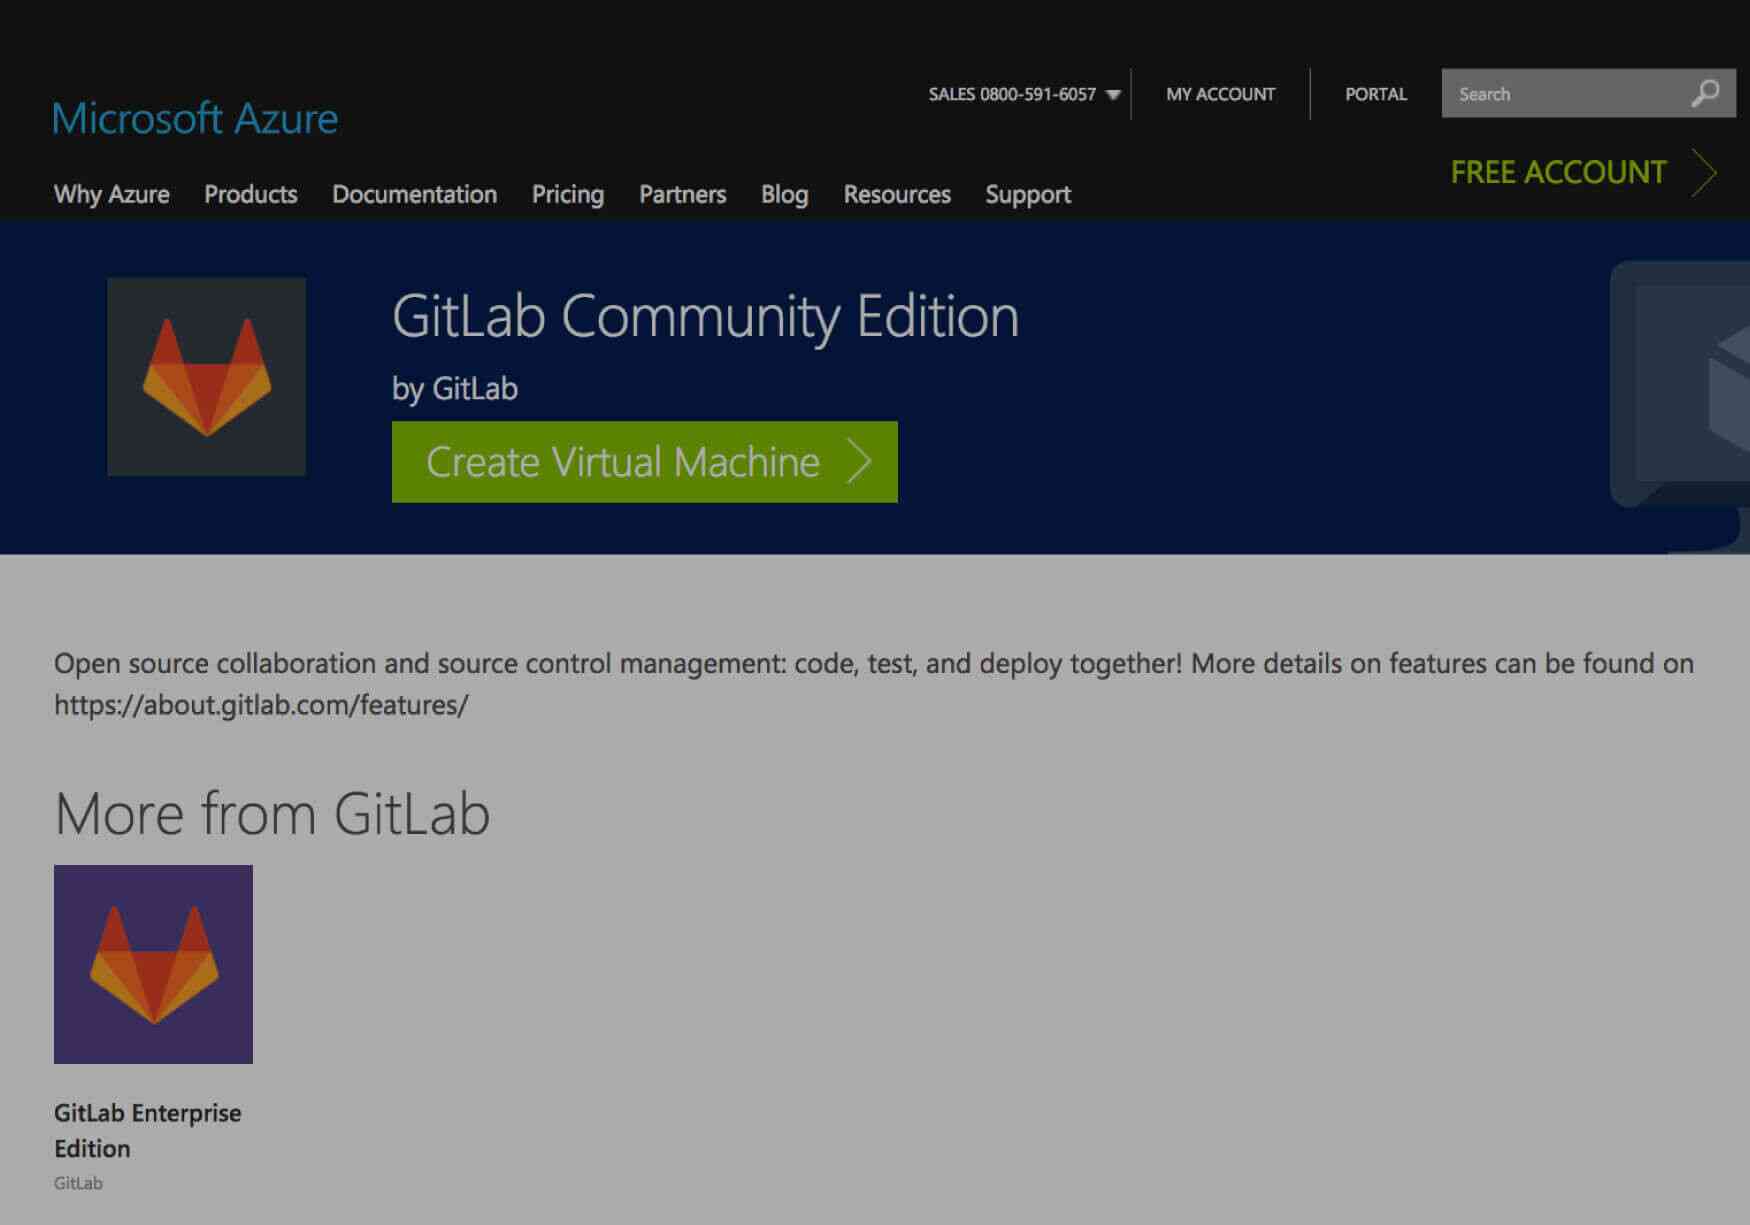
GitLab on Azure
Azure is Microsoft's business cloud and GitLab is a pre-configured offering on the Azure Marketplace. Hopefully you aren't surprised to hear that Microsoft and Azure have embraced open source software like Ubuntu, Red Hat Enterprise Linux, and GitLab. You can now spin up a pre-configured GitLab VM in just a few clicks. Let's get started.
Getting started
First you need an account on Azure. There are three ways to do this:
- If your company (or you) already has an account then you are ready to go!
- You can open an Azure account for free. You get credits you can use to try out paid Azure services, and even after you've used them you can still keep the account and use the free Azure services. Your credit card won't be charged, unless you decide to pay-as-you-go. This is a great way to try out Azure and cloud computing.
- If you have an MSDN subscription you can activate your Azure subscriber benefits. Your MSDN subscription gives you recurring Azure credits every month. Why not put those credits to use and try out GitLab!
Working with Azure
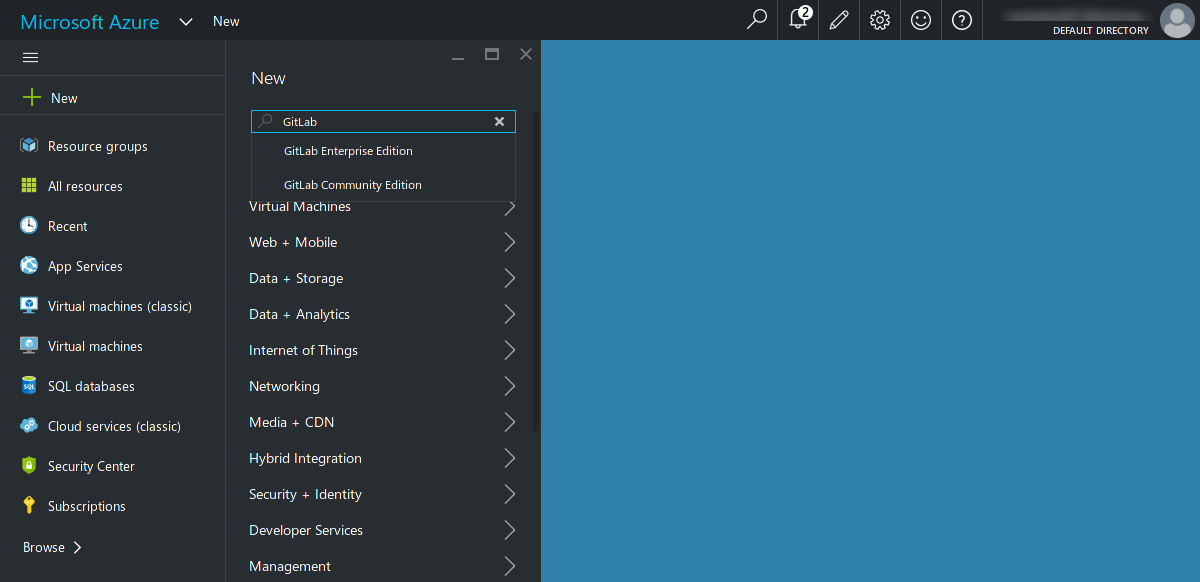
Now that you have an account we can get started. When you log in to Azure using portal.azure.com you will see the Dashboard which gives you a quick overview of Azure resources:

From the Dashboard you can build VMs, create SQL Databases, author websites, and perform lots of other cloud tasks. Today we want to try GitLab which is part of the Azure Marketplace. The Marketplace is an online store for pre-configured applications and services optimized for the cloud by software vendors like GitLab. Click on the + New icon and in the search box type "GitLab":
Create new VM
Azure Marketplace offerings are always changing but let's click "GitLab Community Edition". GitLab CE is freely available under the MIT Expat License. A new "blade" window will pop-out, where you can read about the offering.
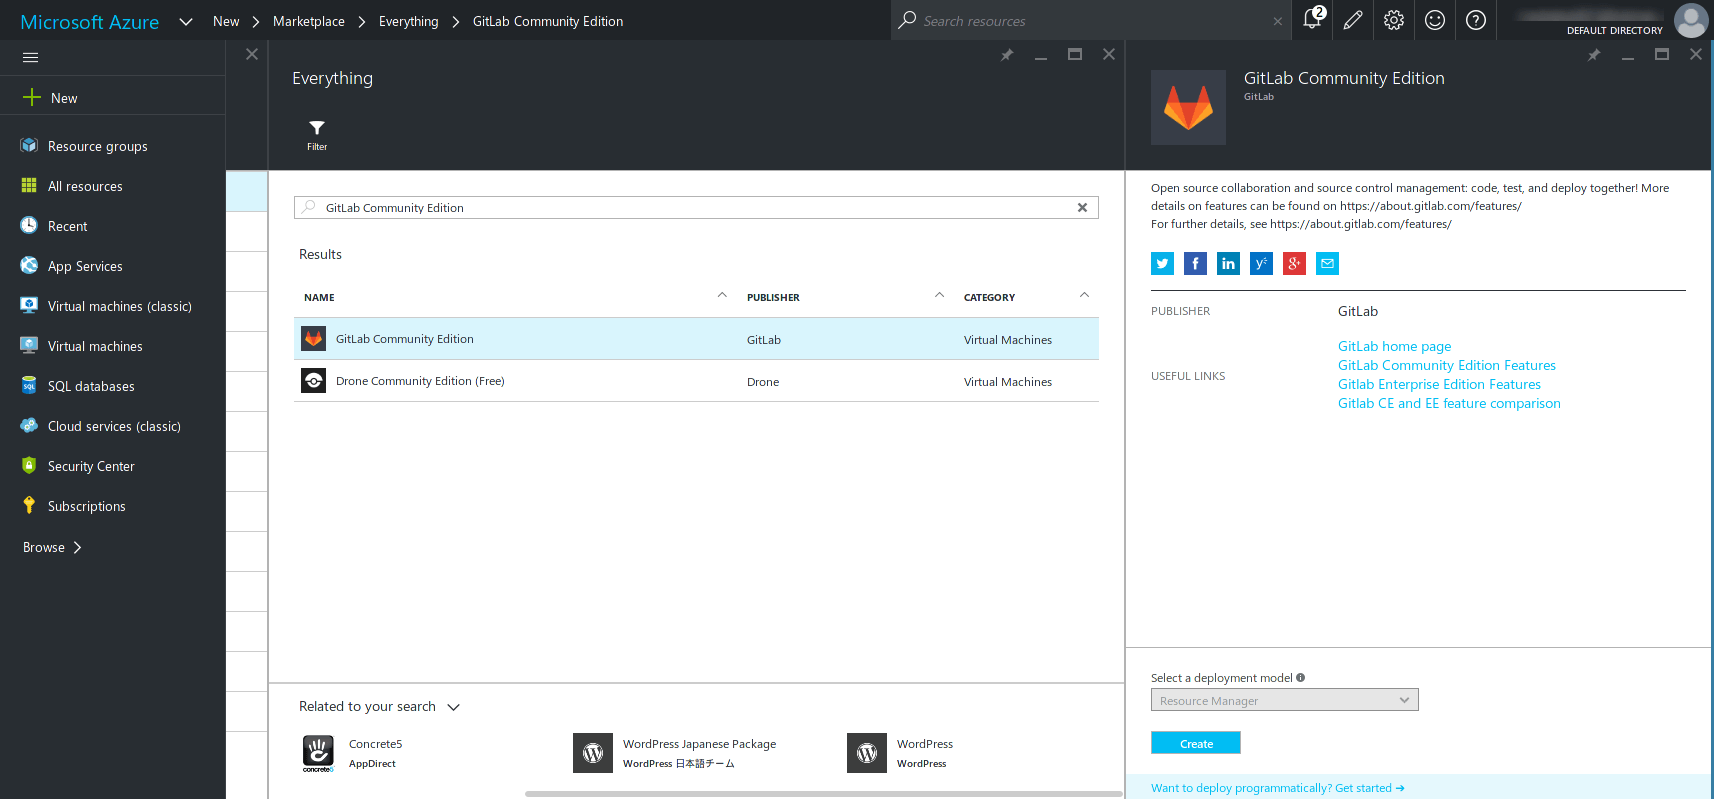
Click "Create" and you will be presented with the "Create virtual machine" blade.
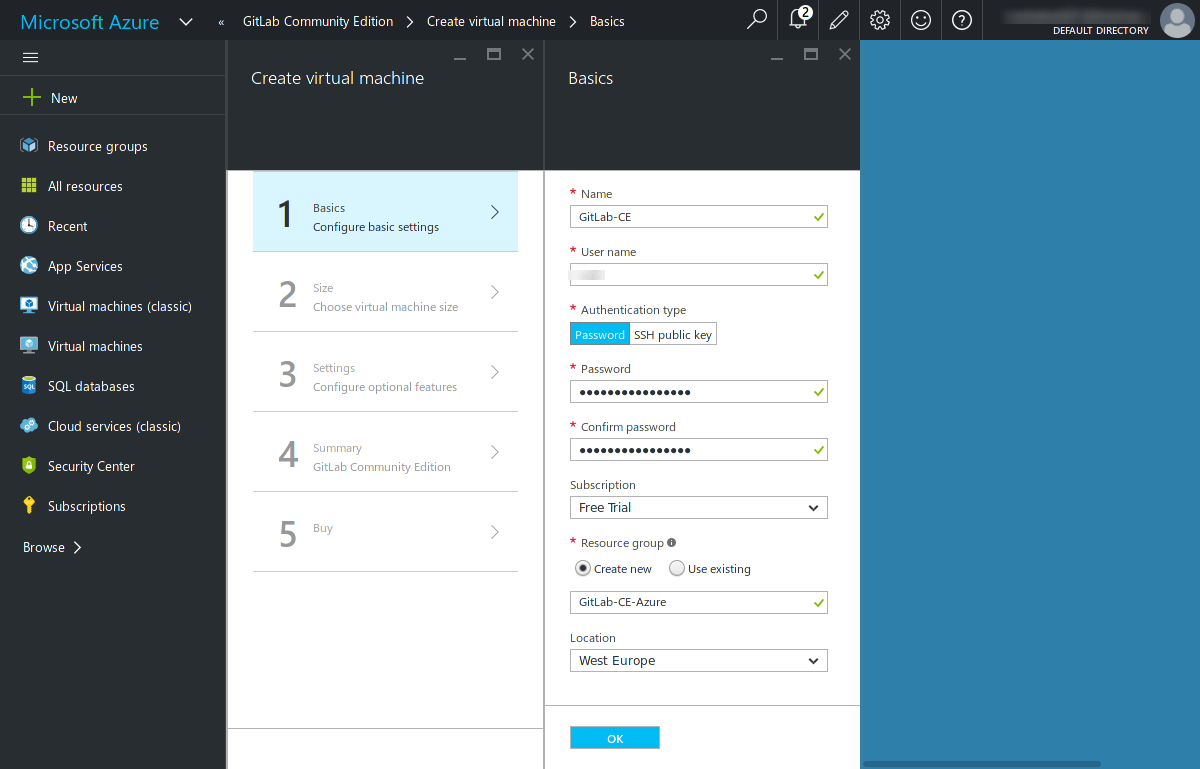
Basics
The first thing we need to configure are the basic settings of the underlying Ubuntu 14.04.4 VM. On the screenshot below, I set the hostname to "GitLab-CE" and I chose Password authentication to keep things simple. This is the password that we will use later to SSH into the VM, so make sure it's a strong password/passphrase. Alternatively you can choose to paste your SSH public key so that you don't type your password every time. A "Resource group" is a way to group related resources together for easier administration. I named mine "GitLab-CE-Azure", but your resource group can have the same name as your VM. Click OK when ready.
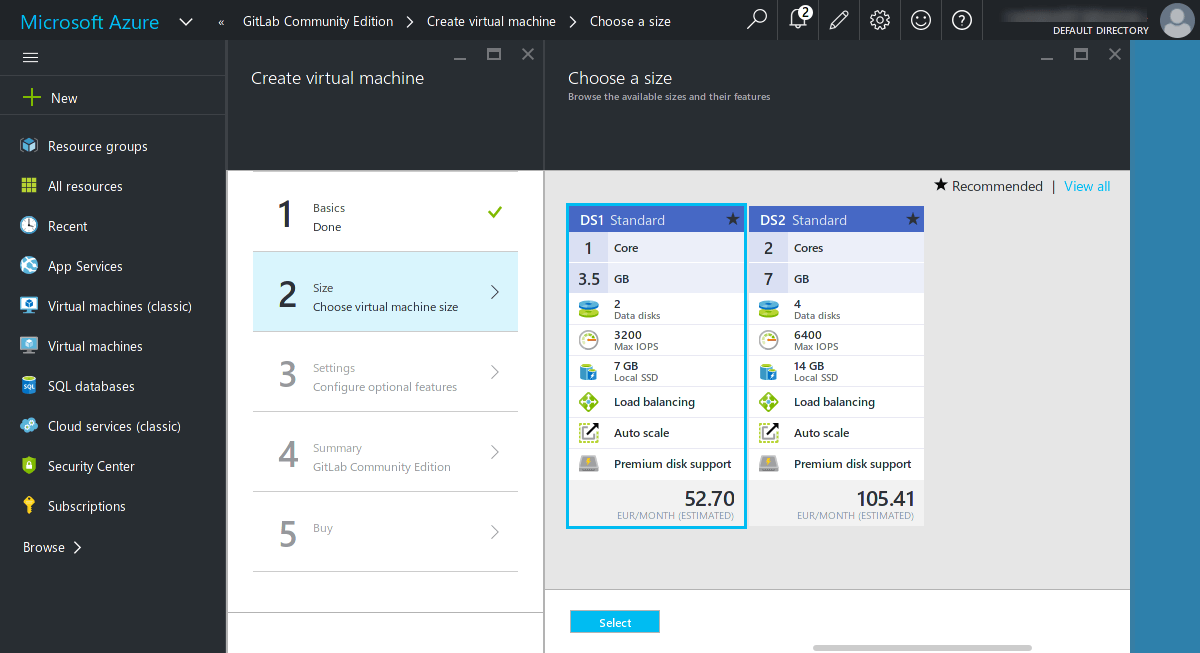
Size
The next screen reviews the Pricing Tiers, which are the VM sizes. I chose a "D1 Standard" VM, which meets the minimum system requirements to run a small GitLab environment. When ready click 'Select'.
By default, only the recommended tiers are shown. To choose a larger one click on 'View all'.
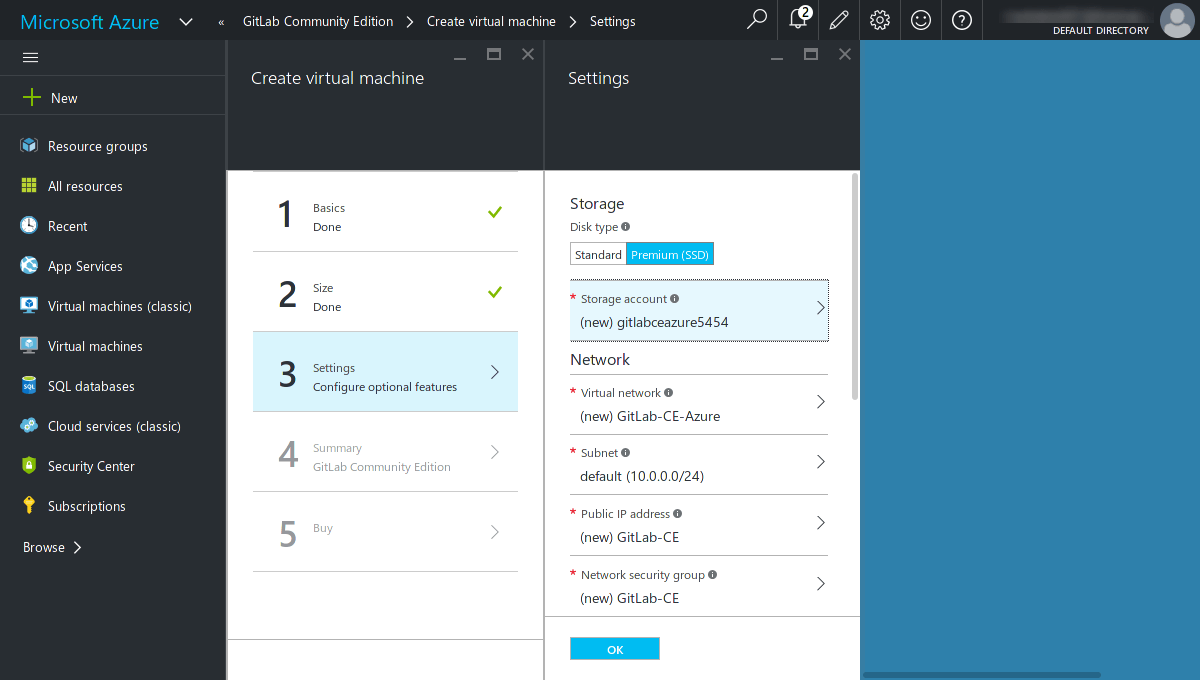
Settings
On the next blade, you are called to configure the Storage, Network and Availability settings. Just review them and take the defaults which are sufficient for test-driving GitLab. Hit OK when done.
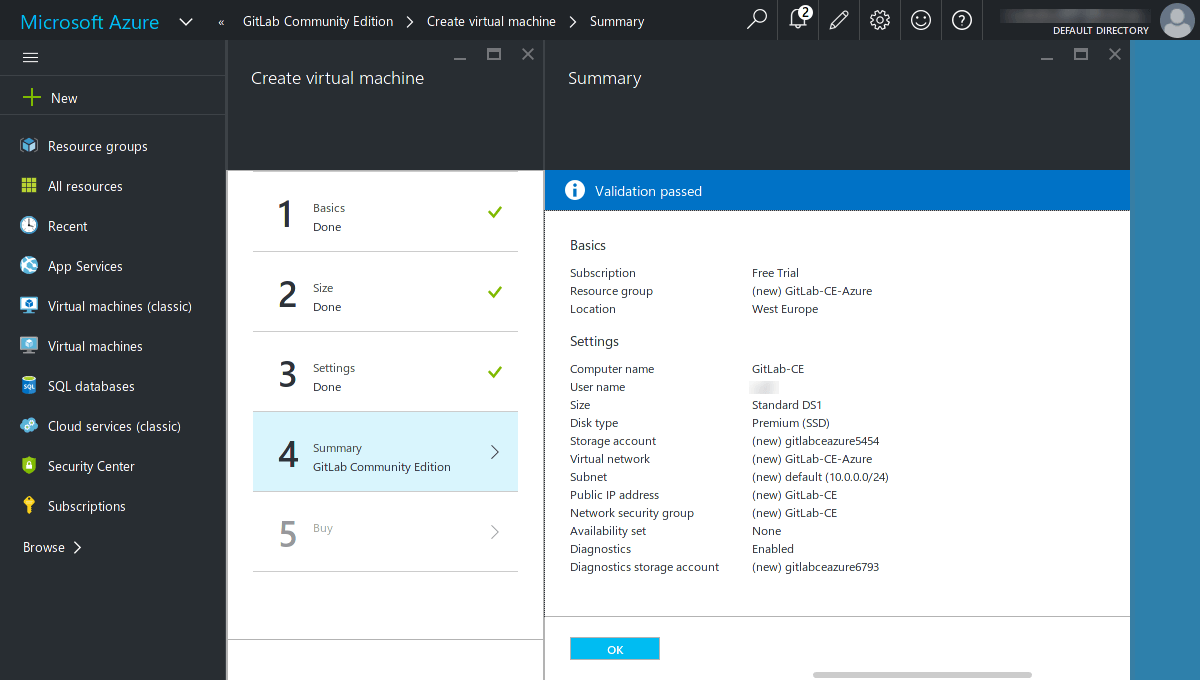
Summary
On the summary page you will have the chance to review your choices so far. If you change your mind about something, you can go back to the previous steps and amend your choice. Hit OK when ready.
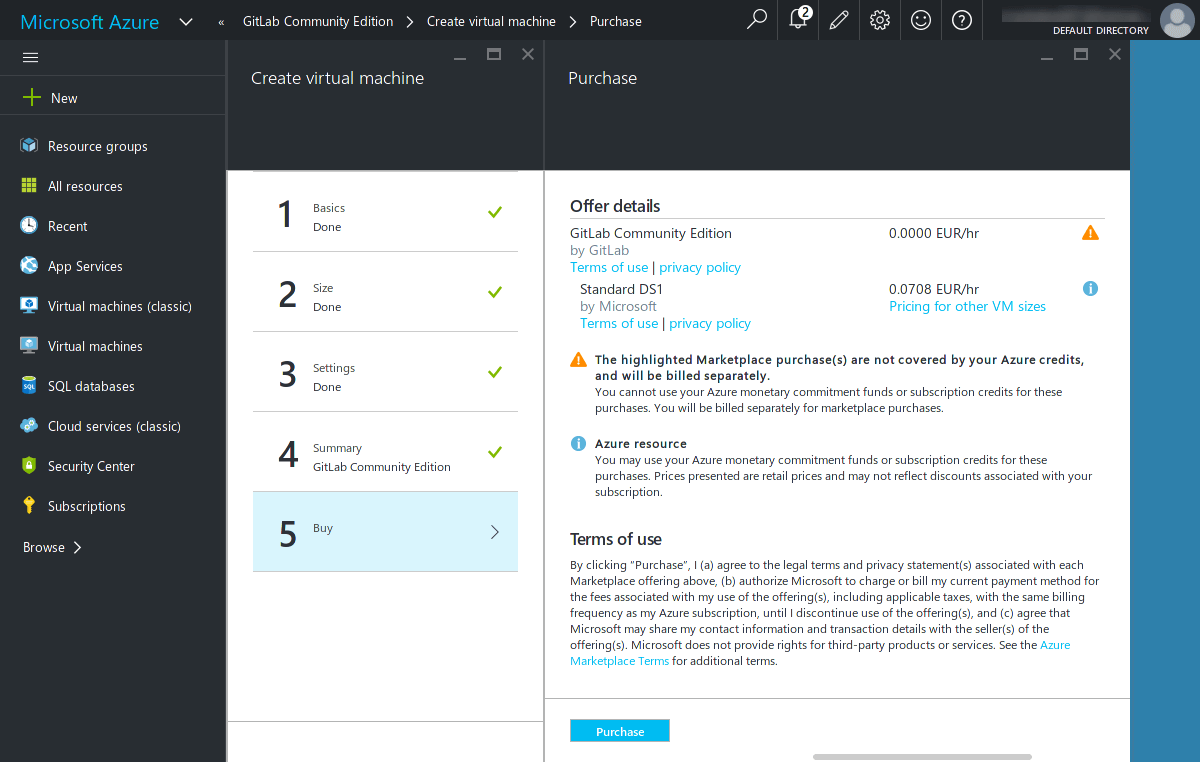
Buy
This is the last step and you are presented with the price/hour your new VM will cost. You can see that we are billed only for the VM at this page, GitLab CE is a separate tile which is free to use. Go on and click Purchase for the deployment to begin.
Deployment page
At this point, Azure takes over and begins deploying your GitLab Ubuntu VM. You can scroll down to see the deployment process which takes a few minutes.
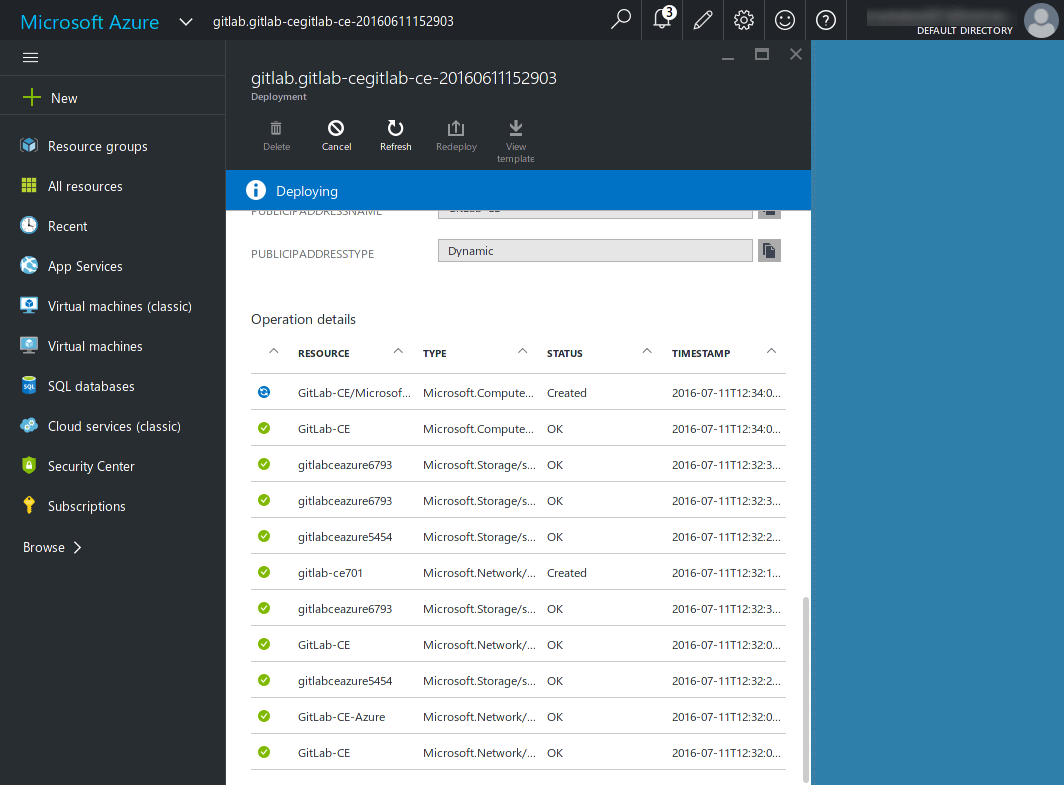
When GitLab environment is ready, you will see the management blade for your new VM. This is basically your VM dashboard where you can configure many things like the DNS name of your instance.
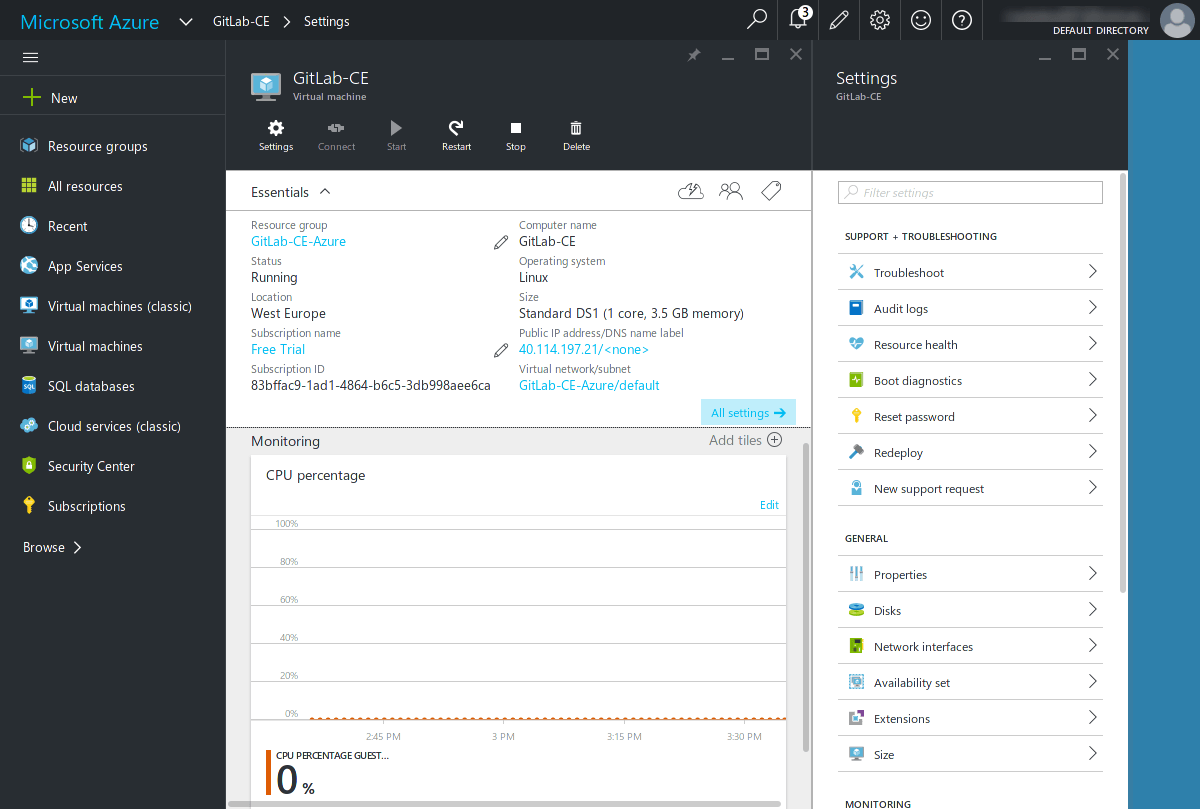
Set up a domain name
The public IP address that the VM uses is shown in the 'Essentials' blade. Click on it and select Configuration under the 'General' tab. Enter a friendly DNS name for your instance in the DNS name label field.
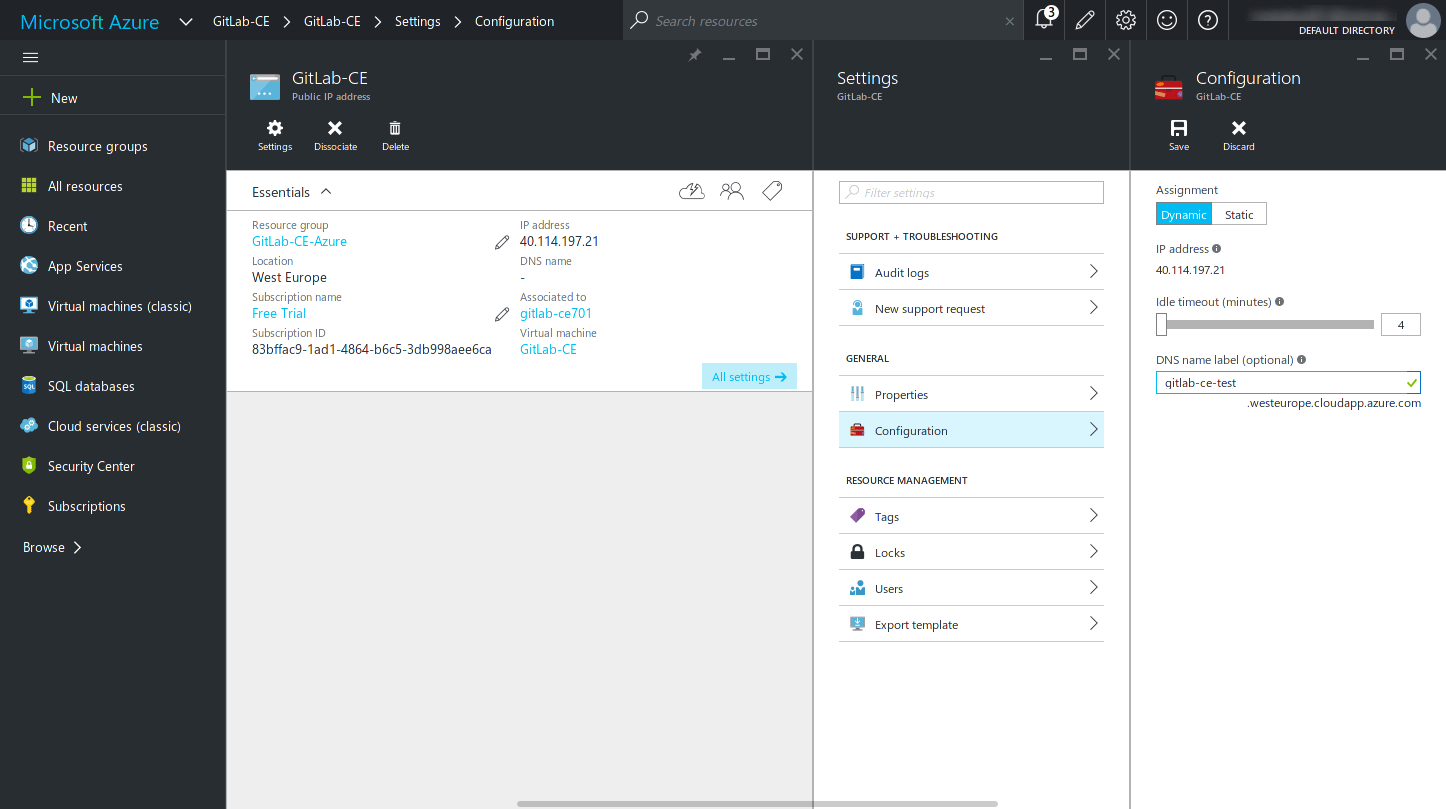
In the screenshot above I have set my DNS name to
gitlab-ce-test.xxx.cloudapp.azure.com. Hit Save for the changes to take
effect.
If you want to use your own domain name, add a DNS A record into your
domain registrar pointing to the IP address displayed given by Azure.
Connecting to GitLab
Use the IP address or the domain name you set up from the previous step to visit GitLab on your browser.
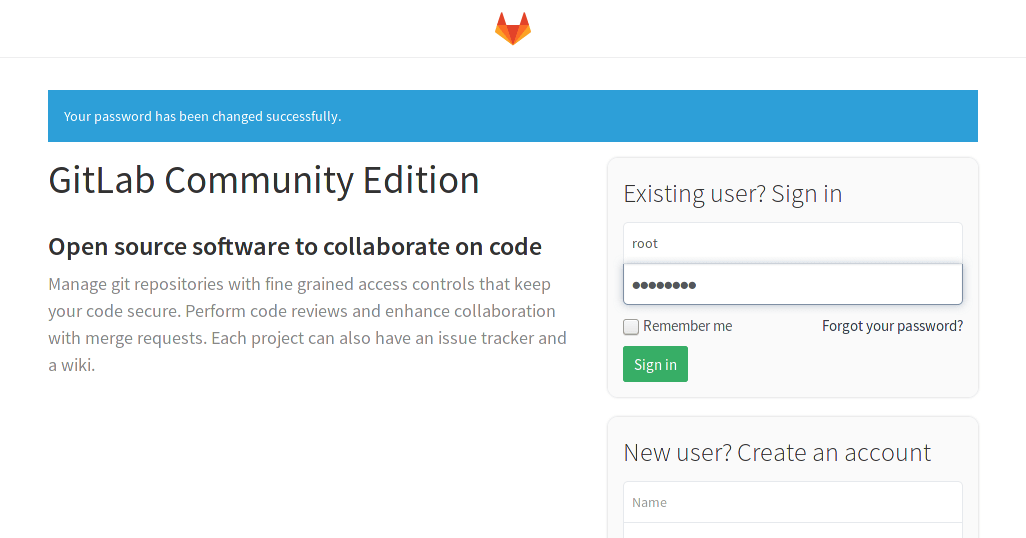
The first time you hit the URL, you will be asked to set up a new password for the administrator user that GitLab has created for you.
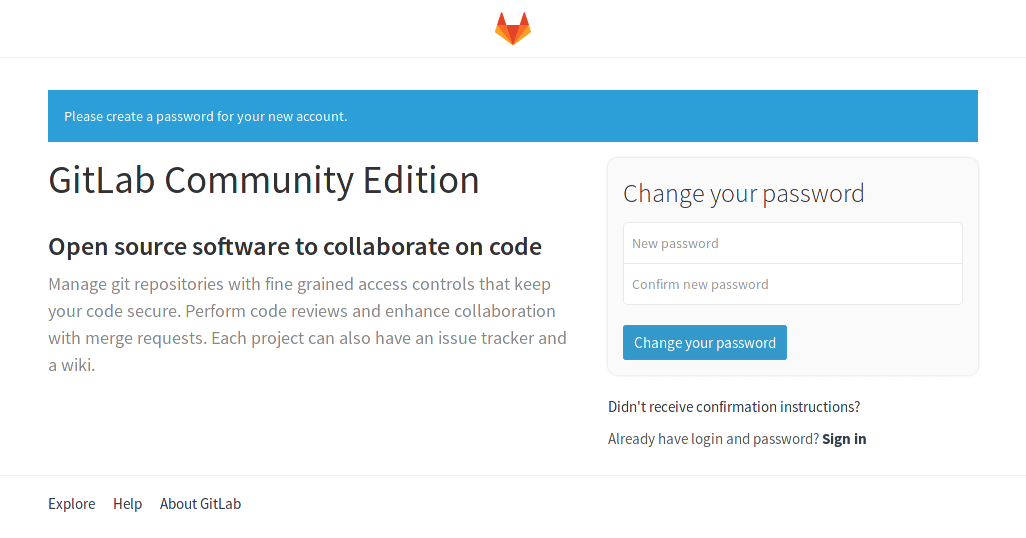
Once you change the password you will be redirected to login. Use root as the
username and the password you configured just before.
At this point you have a working GitLab VM running on Azure. Congratulations!
Creating your first GitLab project
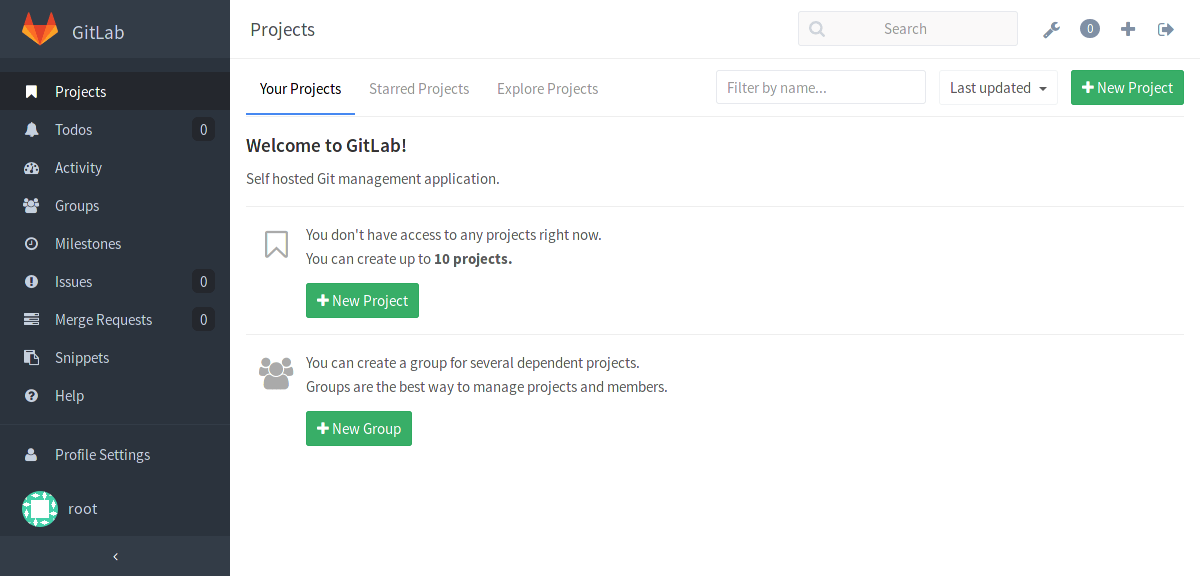
You can skip this section if you are familiar with Git and GitLab. Otherwise, let's create our first project. From the Welcome page click New Project.
I'm going to make this a private project called "demo":

It only takes a few moments to create the project and the next screen will show you the commands to begin working with your new repository locally.
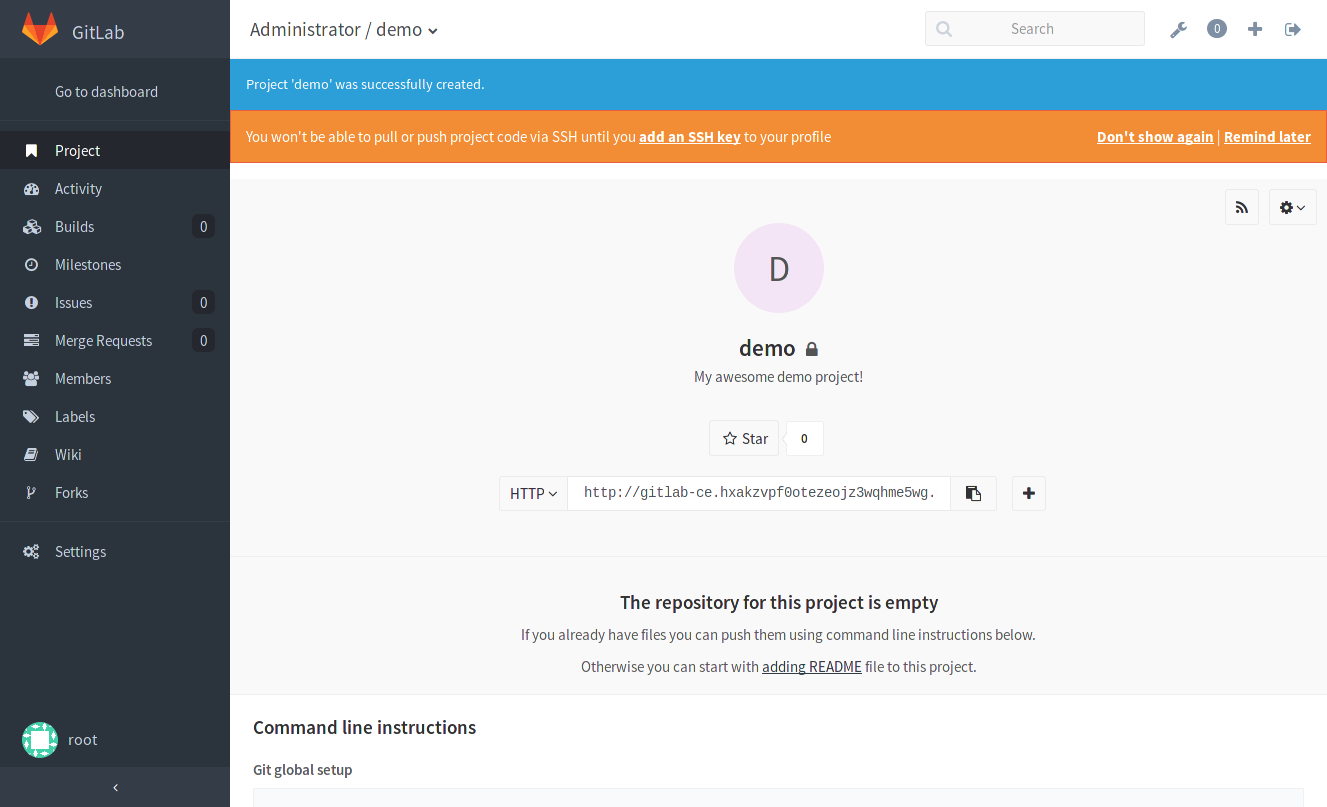
Following these instructions you should be able to push and pull from your new GitLab repository.
That's it! You have a working GitLab environment!
Maintaining your GitLab instance
It's important to keep your GitLab environment up-to-date and since the GitLab team is constantly making enhancements to the product, occasionally you may need to upgrade for security reasons.
Let's review how to upgrade GitLab. When you click on the "Admin Area" wrench, GitLab will tell you whether there are updates available. In the following screenshot we are told to update ASAP, and this is because there is a security fix.
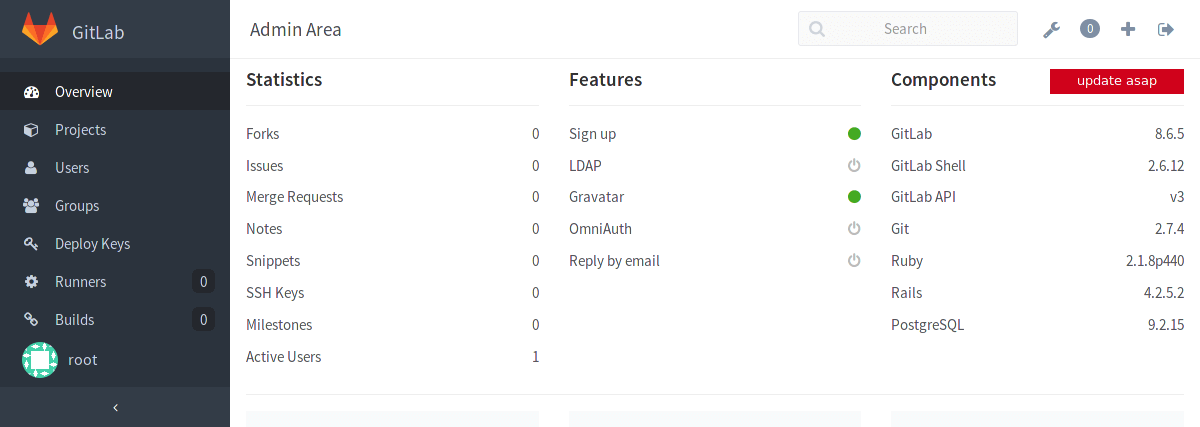
On the screenshot we can see the current Azure Marketplace offered GitLab CE version 8.6.5, and there is an update available. To update you need to connect to your Ubuntu server using PuTTY or an equivalent SSH tool. Remember to log in with the username and password you specified when you created your Azure VM.
In your terminal type in the following to connect to your VM:
Provide your password at the prompt to authenticate.
Your domain name will differ and is the one we set up previously. You can also use the public IP instead of the domain name.
Once you login, use the following command to upgrade GitLab to the latest version.
sudo apt-get update && sudo apt-get install gitlab-ce
Once it completes you should have an up-to-date GitLab instance!

Conclusion
GitLab is a great Git repo tool, plus a whole lot more. In this post we looked at how to run GitLab using the Azure Marketplace offering. Azure is a great way to experiment with GitLab. If you decide, like me, that GitLab is the best solution for source code management you can continue to use Azure as your secure, scalable cloud provider.
About guest author
This is a guest blog post by Dave Wentzel, a Data Solution Architect with Microsoft.
We want to hear from you
Enjoyed reading this blog post or have questions or feedback? Share your thoughts by creating a new topic in the GitLab community forum.
Share your feedback