Published on: February 24, 2015
2 min read
How to install GitLab on your own domain
Want to get your first own GitLab instance running? Use these easy to follow instructions and you will be active in no time!

Want to get your first own GitLab instance running? We're here to help!
This is what you need to do:
- Get a VM
- Point your domain to GitLab
- Install GitLab
- Use GitLab
1. Get a VM
It's a good time to want to have a VM. You can get one cheap and easily from:
- DigitalOcean
- Amazon AWS
- Google Compute
- Microsoft Azure
- Dreamhost
- Linode
If it's just for you, almost any size will do. We recommend to get a VM with 2 cores and 2GB of memory. It can handle you and all your friends.
DigitalOcean is particularly nice to use and even has a one-click install for GitLab, which bypasses this tutorial completely!
If you have the option to set the domain name in the process, set it to the domain where you want your GitLab domain to be.

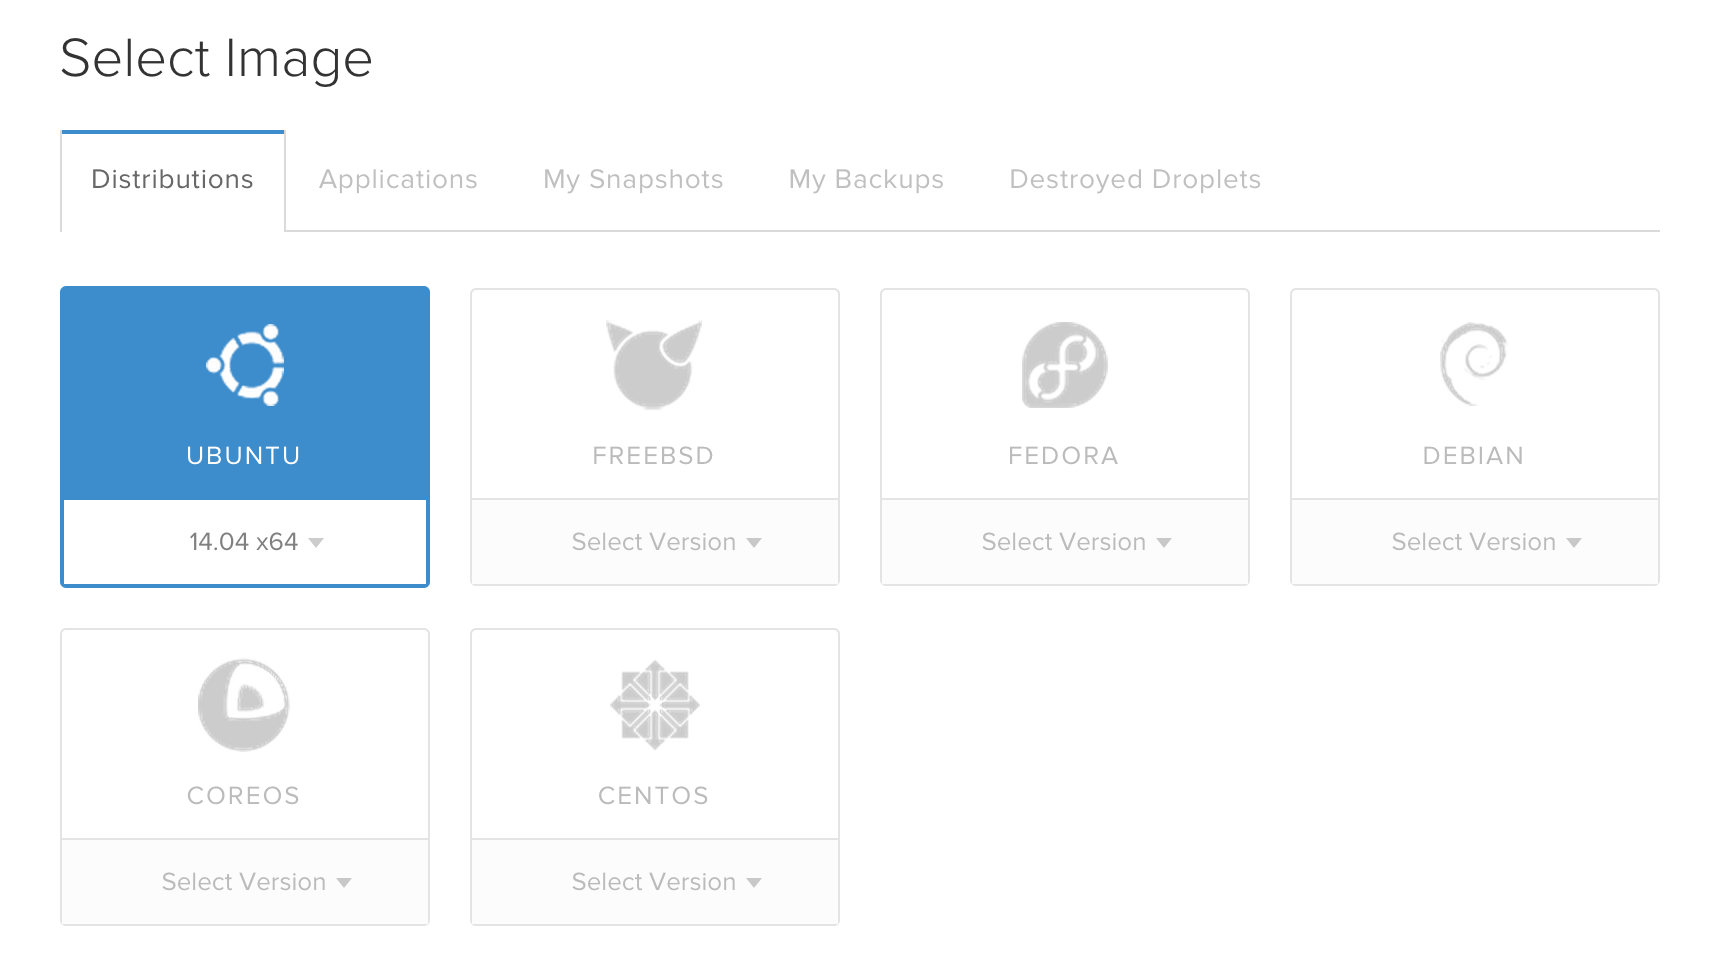
You can create a VM with any of the supported OS's, but if you have no preference, use Ubuntu 14.04 x64.

Create the VM and take note of the assigned IP for your domain.

2. Point your domain to GitLab
At the place you bought your domain name, you want to point your GitLab domain to the IP address you noted.
Create an A-Type record set with the GitLab domain as name and the IP address as value.
That may sound arcane, but most domain-resellers make it quite easy.
In my case, I'm pointing 104.236.58.42 (IP) to gitlab.jobvandervoort.com.
3. Install GitLab
Go into your new VM by pointing your terminal to your new domain:
If you're using DigitalOcean, you can also use their web console.
Next, install Postfix:
sudo apt-get install postfix
Select Internet site. Just keep hitting ENTER. The defaults will work.
Download and unpack GitLab! We're getting GitLab 7.8.0 Community Edition. It comes together with GitLab CI 7.8.0 and is full of awesomeness.
      wget https://downloads-packages.s3.amazonaws.com/ubuntu-14.04/gitlab_7.8.0-omnibus-1_amd64.deb
sudo dpkg -i gitlab_7.8.0-omnibus-1_amd64.deb
Configure and start GitLab:
sudo gitlab-ctl reconfigure
4. Use GitLab
Go to your domain and sign in! Use these credentials for the first time:
      Username: root
Password: 5iveL!fe
Have fun!
We want to hear from you
Enjoyed reading this blog post or have questions or feedback? Share your thoughts by creating a new topic in the GitLab community forum.
Share your feedback
