Published on: November 4, 2024
3 min read
Fast Python Flask server deployment with GitLab + Google Cloud
This tutorial shows how to use GitLab’s Google Cloud integration to deploy a Python Flask server in less than 10 minutes, helping developers become more independent and efficient.

Deploying an application to the cloud often requires assistance from production or DevOps engineers. GitLab's Google Cloud integration empowers developers to handle deployments independently. In this tutorial, you'll learn how to deploy a Python Flask server to Google Cloud in less than 10 minutes. Whether you’re a solo developer or part of a large team, this setup allows you to deploy applications efficiently.
You'll learn how to:
- Create a new project in GitLab
- Create a Flask server utilizing
main.py - Utilize the Google Cloud integration to create a Service account
- Utilize the Google Cloud integration to create Cloud Run via a merge request
- Access your newly deployed Flask server
- Clean up your environment
Prerequisites:
- Owner access on a Google Cloud Platform project
- Working knowledge of Python
- Working knowledge of GitLab CI
- 10 minutes
Step-by-step Python Flask server deployment to Google Cloud
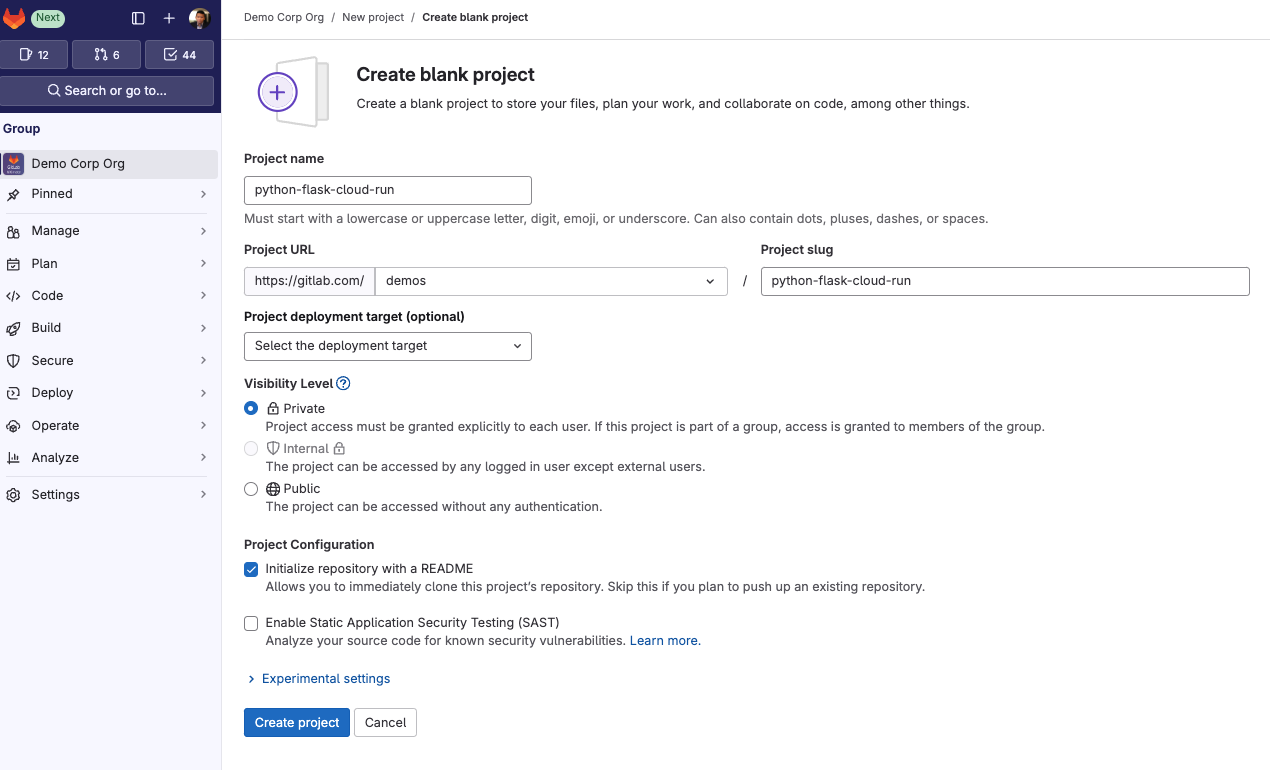
1. Create a new project in GitLab.
We decided to call our project "python-flask-cloud-run" for simplicity.

2. Create a flask server utilizing main.py demo.
Find the main.py demo here: https://gitlab.com/demos/applications/python-flask-cloud-run.
      import os

from flask import Flask

app = Flask(__name__)

@app.route("/")
def hello_world():
    """Example Hello World route."""
    name = os.environ.get("NAME", "World")
    return f"Hello {name}!"

if __name__ == "__main__":
    app.run(debug=True, host="0.0.0.0", port=int(os.environ.get("PORT", 8080)))
3. Create a requirements.txt with the following dependencies.
      Flask==3.0.3
gunicorn==22.0.0
Werkzeug==3.0.3
4. Utilizing the Google Cloud integration, create a Service account.
Navigate to Operate > Google Cloud > Create Service account.

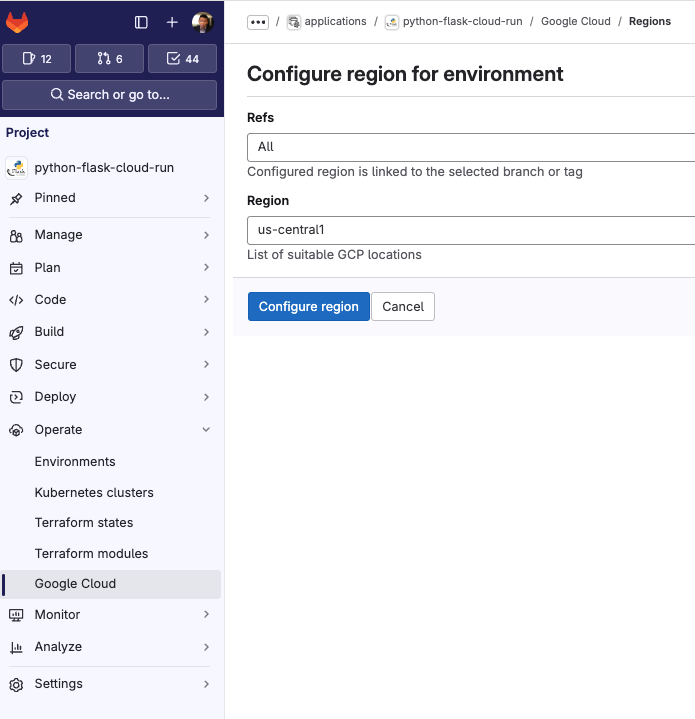
5. Also configure the region you would like the Cloud Run instance to deploy to.

6. Utilizing the Google Cloud integration, configure Cloud Run via merge request.

7. This will open a merge request. Immediately merge this merge request.

Note: GCP_PROJECT_ID, GCP_REGION, GCP_SERVICE_ACCOUNT, GCP_SERVICE_ACCOUNT_KEY will all be automatically populated from the previous steps.

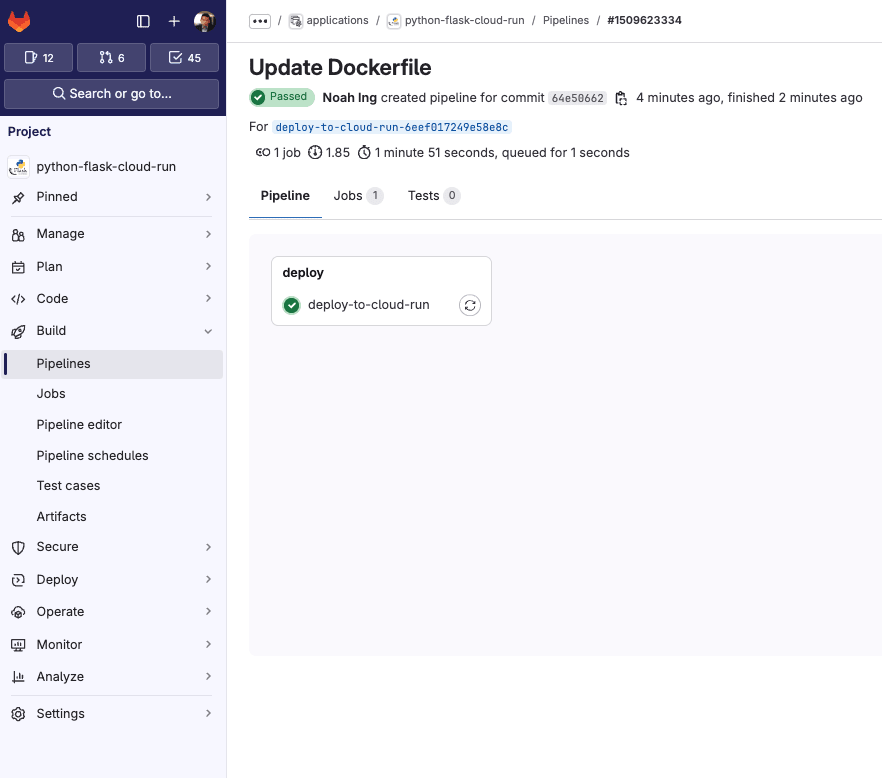
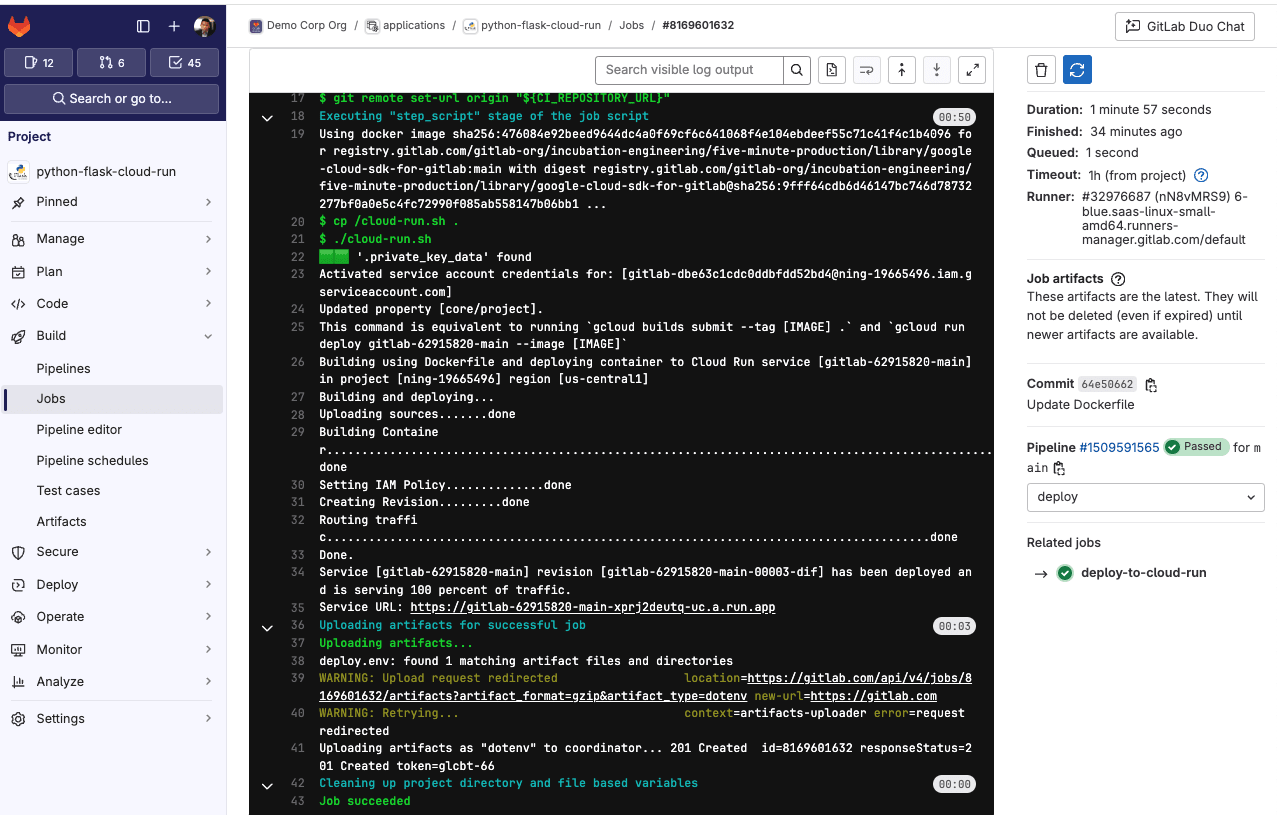
8. Voila! Check your pipeline and you will see you have successfully deployed to Google Cloud Run utilizing GitLab CI.


9. Click the Service URL to view your newly deployed Flask server.
Navigate to Operate > Environments to see a list of deployments for your environments.

By clicking on the environment called main, you’ll be able to view a complete list of deployments specific to that environment.

Next steps
To get started with developing your Flask application, try adding another endpoint. For instance, in your main.py file, you can add a /bye endpoint as shown below:
      @app.route("/")
def hello_world():
    """Example Hello World route."""
    name = os.environ.get("NAME", "World")
    return f"Hello {name}!"
Push the changes to the repo, and watch the deploy-to-cloud-run job deploy the updates. Once it’s complete, go back to the Service URL and navigate to the /bye endpoint to see the new functionality in action.
Clean up
To prevent incurring charges on your Google Cloud account for the resources used in this tutorial, you can either delete the specific resources or delete the entire Google Cloud project. For detailed instructions, refer to the cleanup guide.
For more DevSecOps capabilities, start a free trial of GitLab Ultimate and GitLab Duo.
We want to hear from you
Enjoyed reading this blog post or have questions or feedback? Share your thoughts by creating a new topic in the GitLab community forum.
Share your feedback

