Published on: February 4, 2019
11 min read
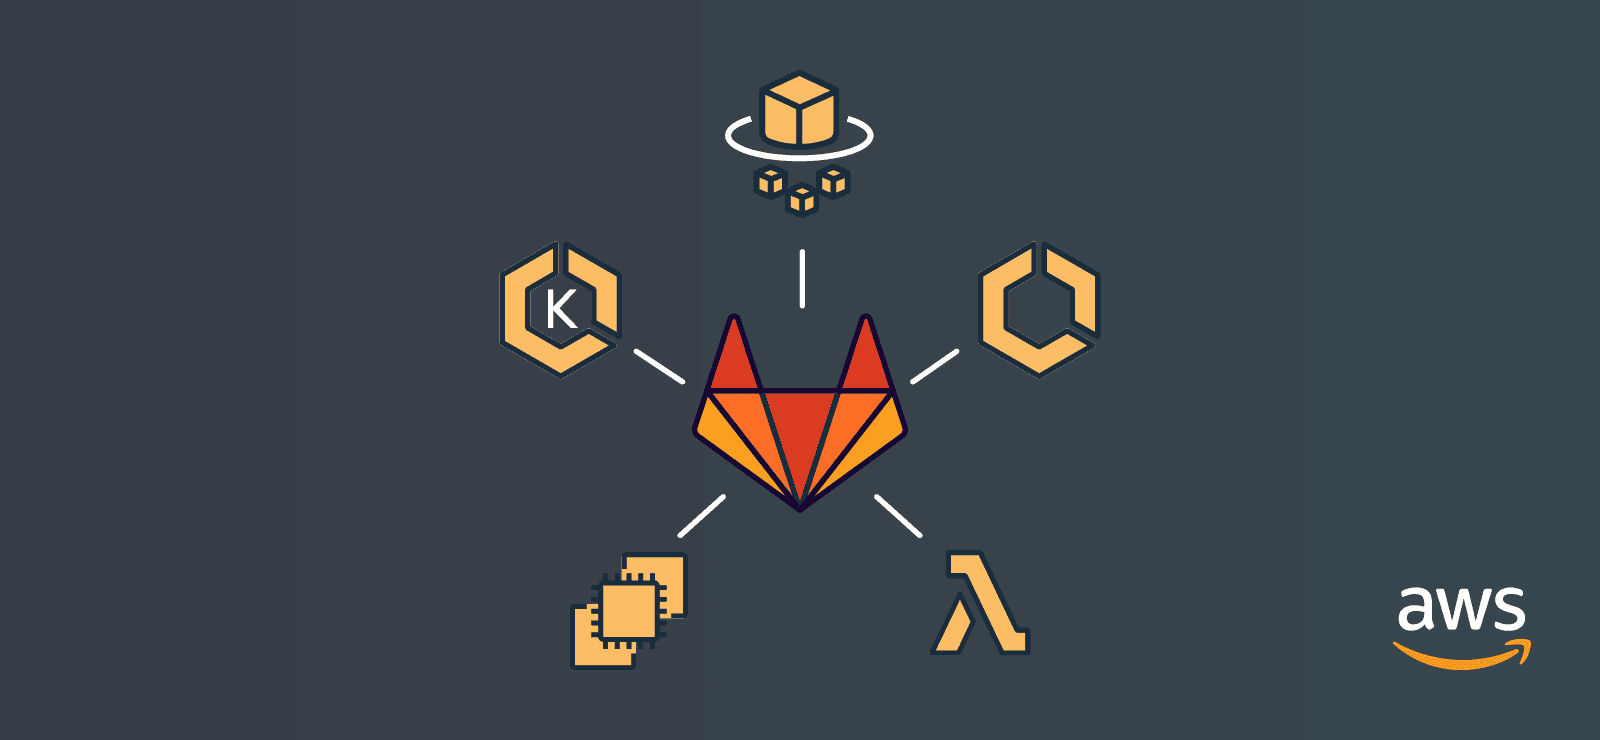
How to set up multi-account AWS SAM deployments with GitLab CI/CD
Our guest author, an AWS Serverless hero, shares how to automate SAM deployments using GitLab CI/CD.
I've been working with serverless applications in AWS for about three years – that makes me an old salt in serverless terms! So I know that deploying and maintaining a serverless app can be tricky; the tooling often has critical gaps.
AWS's SAM (Serverless Application Model) is an open source framework that makes it easier to define AWS resources – such as Lambda functions, API Gateway APIs and DynamoDB tables – commonly used in serverless applications. Once you lay out your app in a SAM template, the next thing you need is a consistent, repeatable way to get that template off your laptop and deployed in the cloud.
You need CI/CD.
I've used several different CI/CD systems to automate SAM deployments, and I always look for the following features:
- A single deployment pipeline that can build once and securely deploy to multiple AWS accounts (dev, staging, prod).
- Dynamic feature branch deployments, so serverless devs can collaborate in the cloud without stepping on each other.
- Automated cleanup of feature deployments.
- Review of our SAM application directly integrated with the CI/CD tool's user interface.
- Manual confirmation before code is released into production.
In this post, we'll find out how GitLab CI can check these boxes on its way to delivering effective CI/CD for AWS SAM. You can follow along using the official example code, available here.
Multi-account AWS deployments
We'll want to set up our deployment pipeline across multiple AWS accounts, because accounts are the only true security boundary in AWS. We don't want to run any risk of deploying prod data in dev, or vice versa. Our multi-account setup will look something like this:
Any time we work with multiple AWS accounts, we need cross-account IAM roles in order to authorize deployments. We'll handle this task through the following steps. (All referenced scripts are available in the example repo)
1. Establish three AWS accounts for development, staging, and production deployments
You can use existing AWS accounts if you have them, or provision new ones under an AWS Organization.
2. Set up GitLab IAM roles in each account
Run the following AWS CLI call with admin credentials in each of the three accounts:
aws cloudformation deploy --stack-name GitLabCIRoles --template-file setup-templates/roles.yml --capabilities CAPABILITY_NAMED_IAM --parameter-overrides CIAccountID="<AWS Account ID where your GitLab CI/CD runner lives>" CIAccountSTSCondition="<The aws:userid for the IAM principal used by the Gitlab runner>"
Replace CIAccountID and CIAccountSTSCondition as indicated with values from the AWS account where your GitLab CI/CD runner exists. (Need help finding the aws:userid for your runner’s IAM principal? Check out this guide.)
This CloudFormation template defines two roles: SharedServiceRole and SharedDeploymentRole. The SharedServiceRole is assumed by the GitLab CI/CD runner when calling the AWS CloudFormation service. This role trusts the GitLab CI/CD runner's role. It has permissions to call the CloudFormation service, pass a role via IAM, and access S3 and CloudFront: nothing else. This role is not privileged enough to do arbitrary AWS deployments on its own.
The SharedDeploymentRole, on the other hand, has full administrative access to perform any AWS action. A such, it cannot be assumed directly by the GitLab CI/CD runner. Instead, this role must be "passed" to CloudFormation using the service's RoleArn parameter. The CloudFormation service trusts the SharedDeploymentRole and can use it to deploy whatever resources are needed as part of the pipeline.
3. Create an S3 bucket for CI artifacts
Grab the AWS account ID for each of your development, staging, and production accounts, then deploy this CloudFormation template in the account where your GitLab CI/CD Runner exists:
aws cloudformation deploy --stack-name GitLabCIBucket --template-file setup-templates/ci-bucket.yml --parameter-overrides DevAwsAccountId="<AWS Account ID for dev>" StagingAwsAccountId="<AWS Account ID for staging>" ProdAwsAccountId="<AWS Account ID for prod>" ArtifactBucketName="<A unique name for your bucket>"
This CloudFormation template creates a centralized S3 bucket which holds the artifacts created during your pipeline run. Artifacts are created once for each branch push and reused between staging and production. The bucket policy allows the development, test, and production accounts to reference the same artifacts when deploying CloudFormation stacks -- checking off our "build once, deploy many" requirement.
4. Assume the SharedServiceRole before making any cross-account AWS calls
We have provided the script assume-role.sh, which will assume the provided role and export temporary AWS credentials to the current shell. It is sourced in the various .gitlab-ci.yml build scripts.
Single deployment pipeline
That brings us to the .gitlab-ci.yml file you can see at the root of our example repository. GitLab CI/CD is smart enough to dynamically create and execute the pipeline based on that template when we push code to GitLab. The file has a number of variables at the top that you can tweak based on your environment specifics.
Stages
Our Gitlab CI/CD pipeline contains seven possible stages, defined as follows:
 {: .shadow.medium.center}
      stages:
 - test
 - build-dev
 - deploy-dev
 - build-staging
 - deploy-staging
 - create-change-prod
 - execute-change-prod
 {: .shadow.medium.center}
"Stages" are used as a control flow mechanism when building the pipeline. Multiple build jobs within a stage will run in parallel, but all jobs in a given stage must complete before any jobs belonging to the next stage in the list can be executed.
Although seven stages are defined here, only certain ones will execute, depending on what kind of Git action triggered our pipeline. We effectively have three stages to any deployment: a "test" phase where we run unit tests and dependency scans against our code, a "build" phase that packages our SAM template, and a "deploy" phase split into two parts: creating a CloudFormation change set and then executing that change set in the target environment.
Test
Our .gitlab-ci.yml file currently runs two types of tests: unit tests against our code, and dependency scans against our third-party Python packages.
Unit tests
Unit tests run on every branch pushed to the remote repository. This behavior is defined by the only: branches property in the job shown below:
      test:unit:
 stage: test
 only:
   - branches
 script: |
   if test -f requirements.txt; then
       pip install -r requirements.txt
   fi
   python -m pytest --ignore=functions/
Every GitLab CI/CD job runs a script. Here, we install any dependencies, then execute Python unit tests.
Dependency scans
Dependency scans, which can take a few minutes, run only on code pushed to the master branch; it would be counterproductive for developers to wait on them every time they want to test code.
These scans use a hardcoded, standard Docker image to mount the code and run "Docker in Docker" checks against a database of known package vulnerabilities. If a vulnerability is found, the pipeline will log the error without stopping the build (that's what the allow-failure: true property does).
Build
The build stage turns our SAM template into CloudFormation and turns our Python code into a valid AWS Lambda deployment package. For example, here's the build:dev job:
      build:dev:
 stage: build-dev
 <<: *build_script
 variables:
   <<: *dev_variables
 artifacts:
   paths:
     - deployment.yml
   expire_in: 1 week
 only:
   - branches
 except:
   - master
What's going on here? Note first the combination of only and except properties to ensure that our development builds happen only on pushes to branches that aren't master. We're referring to dev_variables, the set of development-specific variables defined at the top of .gitlab-ci.yml. And we're running a script, pointed to by build_script, which packages our SAM template and code for deployment using the aws cloudformation package CLI call.
The artifact deployment.yml is the CloudFormation template output by our package command. It has all the implicit SAM magic expanded into CloudFormation resources. By managing it as an artifact, we can pass it along to further steps in the build pipeline, even though it isn't committed to our repository.
Deploy
Our deployments use AWS CloudFormation to deploy the packaged application in a target AWS environment.
In development and staging environments, we use the aws cloudformation deploy command to create a change set and immediately execute it. In production, we put a manual "wait" in the pipeline at this point so you have the opportunity to review the change set before moving onto the "Execute" step, which actually calls aws cloudformation execute-changeset to update the underlying stack.
Our deployment jobs use a helper script, committed to the top level of the example repository, called cfn-wait.sh. This script is needed because the aws cloudformation commands don't wait for results; they report success as soon as the stack operation starts. To properly record the deployment results in our job, we need a script that polls the CloudFormation service and throws an error if the deployment or update fails.
Dynamic feature branch deployments and Review Apps
 {: .shadow.medium.center}
When a non-master branch is pushed to GitLab, our pipeline runs tests, builds the updated source code, and deploys and/or updates the changed CloudFormation resources in the development AWS account. When the branch is merged into master, or if someone clicks the "Stop" button next to the branch's environment in GitLab CI, the CloudFormation stack will be torn down automatically.
It is perfectly possible, and indeed desirable, to have multiple development feature branches simultaneously deployed as live environments for more efficient parallel feature development and QA. The serverless model makes this a cost-effective strategy for collaborating in the cloud.
If we are dynamically deploying our application on every branch push, we might like to view it as part of our interaction with the GitLab console (such as during a code review). GitLab supports this with a nifty feature called Review Apps. Review Apps allow you to specify an "environment" as part of a deployment job, as seen in our deploy:dev job below:
      deploy:dev:
 <<: *deploy_script
 stage: deploy-dev
 dependencies:
   - build:dev
 variables:
   <<: *dev_variables
 environment:
   name: review/$CI_COMMIT_REF_NAME
   url: https://${CI_COMMIT_REF_NAME}.${DEV_HOSTED_ZONE_NAME}/services
   on_stop: stop:dev
 only:
   - branches
 except:
   - master
The link specified in the url field of the environment property will be accessible in the Environments section of GitLab CI/CD or on any merge request of the associated branch. (In the case of the sample SAM application provided with our example, since we don't have a front end to view, the link just takes you to a GET request for the /services API endpoint and should display some raw JSON in your browser.)
 {: .shadow.medium.center}
The on_stop property specifies what happens when you "shut down" the environment in GitLab CI. This can be done manually or by deleting the associated branch. In the case above, we have stopped behavior for dev environments linked to a separate job called stop:dev:
      stop:dev:
 stage: deploy-dev
 variables:
   GIT_STRATEGY: none
   <<: *dev_variables
 <<: *shutdown_script
 when: manual
 environment:
   name: review/$CI_COMMIT_REF_NAME
   action: stop
 only:
   - branches
 except:
   - master
This job launches the shutdown_script script, which calls aws cloudformation teardown to clean up the SAM deployment.
For safety's sake, there is no automated teardown of staging or production environments.
Production releases
 {: .shadow.medium.center}
When a change is merged into the master branch, the code is built, tested (including dependency scans) and deployed to the staging environment. This is a separate, stable environment that developers, QA, and others can use to verify changes before attempting to deploy in production.
 {: .shadow.medium.center}
After deploying code to the staging environment, the pipeline will create a change set for the production stack, and then pause for a manual intervention. A human user must click a button in the Gitlab CI/CD "Environments" view to execute the final change set.
Now what?
Step back and take a deep breath – that was a lot of information! Let's not lose sight of what we've done here: we've defined a secure, multi-account AWS deployment pipeline in our GitLab repo, integrated tests, builds and deployments, and successfully rolled a SAM-defined serverless app to the cloud. Not bad for a few lines of config!
The next step is to try this on your own. If you'd like to start with our sample "AWS News" application, you can simply run sam init --location git+https://gitlab.com/gitlab-examples/aws-sam to download the project on your local machine. The AWS News app contains a stripped-down, single-account version of the gitlab-ci.yml file discussed in this post, so you can try out deployments with minimal setup needed.
Further reading
We have barely scratched the surface of GitLab CI/CD and AWS SAM in this post. Here are some interesting readings if you would like to take your work to the next level:
SAM
- Implementing safe AWS Lambda deployments with AWS SAM and CodeDeploy
- Running and debugging serverless applications locally using the AWS SAM CLI
GitLab CI
Please let me know if you have further questions!
About the guest author
Forrest Brazeal is an AWS Serverless Hero. He currently works as a senior cloud architect at Trek10, an AWS Advanced Consulting Partner. You can read more about Trek10's GitLab journey here.
We want to hear from you
Enjoyed reading this blog post or have questions or feedback? Share your thoughts by creating a new topic in the GitLab community forum.
Share your feedback